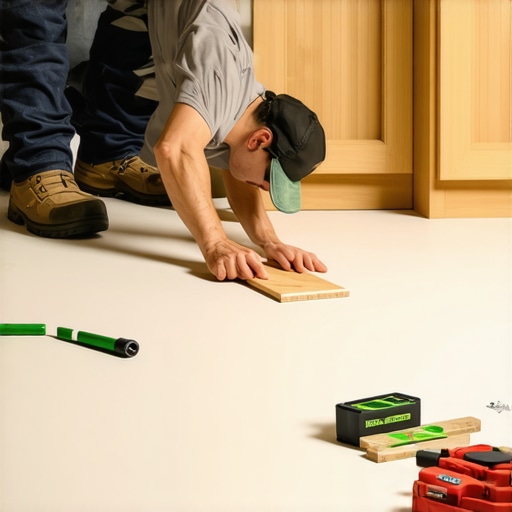
How to Level Base Cabinets on an Uneven Garage Floor for a Flush Finish
It happened to me during a recent garage remodel—standing there, cabinets in place, and suddenly realizing that my once-straight lines were now crooked, thanks to that stubborn uneven floor. I had spent hours planning, measuring, and installing, only to see my efforts undermined by a simple, yet frustrating problem: a floor that wasn’t level. That lightbulb moment hit me hard. Why do so many of us overlook this crucial detail? And more importantly, how can we overcome it without tearing everything out?
Why Leveling Cabinets on an Uneven Floor Is More Than Just Aesthetic
The truth is, if your cabinets aren’t properly leveled, it can lead to a cascade of issues— doors that won’t close properly, drawers that stick, and worst of all, a finish that looks sloppy and unprofessional. Especially in spaces like garages or workshops, where durability matters just as much as appearance, leveling isn’t just about looks; it’s about functionality. An uneven foundation can compromise the integrity of your cabinets over time, causing warping or even damage.
From personal experience, I learned the hard way that skipping this step can result in a crooked mess that’s a nightmare to fix later. Early on, I made the mistake of simply shimmying the cabinets into place and hoping for the best, which only exacerbated the problem. A fascinating fact from the National Kitchen & Bath Association states that properly leveled cabinetry extends the lifespan of your installation and reduces maintenance needs—something I wish I had grasped from the start. For those tackling similar projects, the good news is that there are effective techniques to level cabinets on even the most uneven floors.
If you’re wondering whether this challenge is worth the effort, ask yourself: Do you value a sleek, professional look? Want your doors and drawers to function smoothly? If your answer is yes, then stabilizing those cabinets is a step you can’t afford to ignore. In the following sections, I’ll walk you through practical and proven methods to achieve a perfectly level installation, so you can enjoy that seamless, flush finish you’re dreaming of. Ready to get started? Let’s dive into the how-to.
Assess the Floor and Cabinets
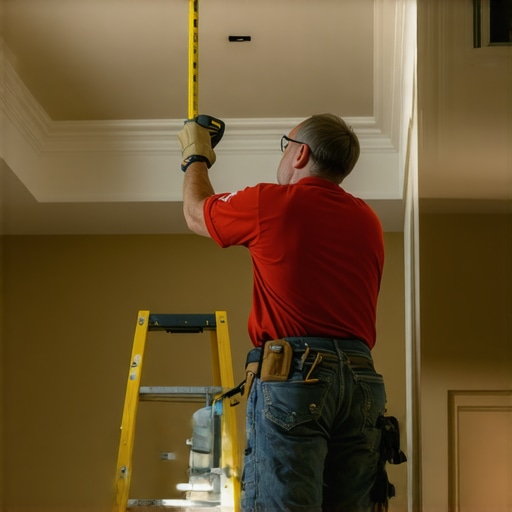
Start by examining the slope or unevenness of your floor using a long level or a straightedge. Place it across the cabinet base where the furniture will sit. I vividly recall my first attempt: I laid a 4-foot level across the garage floor, noticing a 1-inch difference between ends. This initial check informs your approach for leveling and ensures a stable foundation for your cabinetry.
Gather Essential Tools and Materials
you’ll need shims (plastic or wood), a drill, screws, a carpenter’s level, adjustable braces, and possibly a sander. I recommend stacking multiple shims when height adjustments are significant—this prevents overcompressing thin shims and provides stable support. Having everything ready prevents interruptions during installation.
Prepare the Cabinets for Leveling
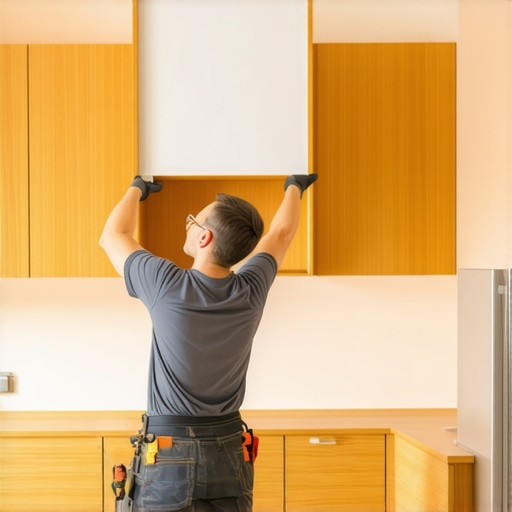
Remove any packaging or temporary supports. Place the cabinets where they will be installed, and verify the existing level with your carpenter’s level along the front, sides, and back. My mistake was installing without double-checking—led to crooked doors that I had to adjust later, wasting time. Confirming the current position helps plan shim placement precisely.
Apply Shims for Stable Support
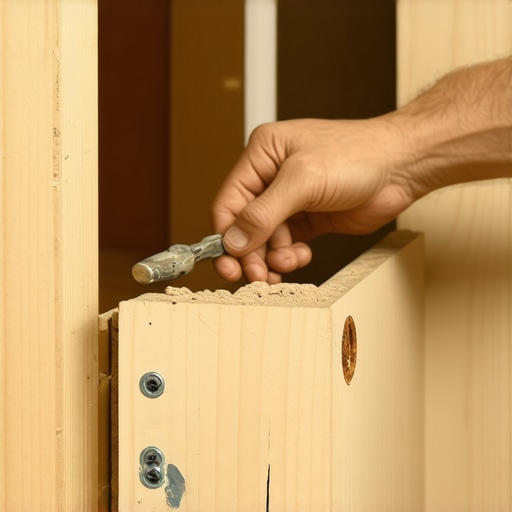
Insert shims under the low side of the cabinet, starting at the front corners, adjusting until the cabinet is level in all directions. Tap gently with a hammer if needed. During my project, I stacked shims beneath the front left corner, then checked repeatedly with the level, until both the front and side were perfectly plumb. Proper shim placement ensures a solid base for secure attachment.
Secure the Cabinet Temporarily
Once level, fasten the cabinet temporarily with clamps or braces to keep it stable. This prevents shifting during the final fastening. I used adjustable braces attached to nearby structures, which held the cabinet in position while I drilled pilot holes for screws.
Fix Cabinets Permanently
Drive screws through the cabinet base into the wall or floor framing, ensuring you don’t pinch or distort the cabinetry. For added stability, add additional shims at points where gaps remain, then secure with screws. I found that inserting screws at multiple points prevented cabinet sway and maintained level alignment over time.
Check and Adjust Doors and Drawers
After securing, open and close doors and drawers; if misaligned, make minor hinge adjustments or add additional shims at hinges. During my experience, a slight tweak to the hinge screws aligned the doors perfectly, giving a professional finish. Fine-tuning at this stage enhances both looks and functionality.
Verify Stability and Finish
Finally, double-check the level and plumbing across the entire installation. Confirm that all fasteners are tight, and the cabinet is secure. When finished, I applied a small bead of caulk along the base to seal gaps, preventing debris buildup. Ensuring stability avoids future cabinet sagging or shifting, prolonging their lifespan.
Many homeowners believe that designing custom cabinets or built-ins is a straightforward process focused solely on choosing the right style and finish, but this is a misconception. One of the most overlooked aspects is the flooring beneath your cabinetry. While it’s tempting to ignore uneven floors, the truth is that even minor discrepancies can lead to long-term issues, such as door misalignments and structural stress. Advanced designers understand that addressing floor irregularities with precise leveling techniques significantly enhances the durability and appearance of your installation. Overconfidence in standard installation methods often results in costly adjustments later, so investing in thorough floor assessments and custom shimming is crucial. Some assume that complex solutions like adjustable mounts are only necessary for commercial spaces, but modern hardware now makes it feasible to correct unevenness in residential projects efficiently. Don’t fall for the myth that perfect floors aren’t essential for your cabinetry; understanding the nuanced interplay between flooring condition and cabinet stability ensures a professional, long-lasting result. Moreover, many get caught up in aesthetics without considering the hidden complexities—such as moisture variations causing wood warping or how humidity levels affect wood expansion. A study by the Wood Handbook highlights that extreme humidity fluctuations can cause significant warping, which is why climate considerations should influence material choices and assembly techniques. This advanced understanding prevents common mistakes, like choosing materials unsuitable for your home’s environment, ensuring your investment stands the test of time. When planning your remodel, consider not just the style but also these hidden factors that can undermine your project if overlooked. For a comprehensive approach, check out resources on maximizing space with creative storage solutions, or discover how custom cabinetry can revolutionize your kitchen functionality. Remember, successful remodeling isn’t just about choosing beautiful materials—it’s about understanding and managing the intricate details that make your design work perfectly in the real world. Have you ever fallen into this trap? Let me know in the comments.
When it comes to ensuring your custom cabinetry remains flawless over years of use, having the right tools and methods is essential. One must-have in my kit is a high-precision digital level, such as the Bosch Electronic Self-Leveling Cross-Line Laser. I prefer this device because it offers unparalleled accuracy when verifying both horizontal and vertical alignments, especially in rooms with uneven floors. This tool significantly reduces the guesswork during installation and helps maintain precise plumb and level conditions, which directly contribute to the longevity of your cabinetry.
Another indispensable tool I rely on is a cordless brad nailer equipped with adjustable depth controls. It enables me to fasten components securely without damaging the wood surface. Using this device ensures that the cabinetry’s components stay aligned long-term, minimizing movement or warping over time. For delicate veneer finishes, I opt for a pneumatic finishing nailer to achieve a smooth, snag-free surface while securing trim and moldings effectively.
In addition to hardware tools, software plays a growing role in cabinetry maintenance, especially in planning and design adjustments. For example, SketchUp allows me to simulate layouts and detect potential issues before physical work begins. This proactive approach saves time, reduces material waste, and helps spot long-term concerns such as door clearance and hardware placement. As technology advances, integrating augmented reality (AR) apps lets homeowners visualize modifications in their actual spaces, fostering better decision-making and satisfaction.
To keep your cabinets functioning smoothly over time, regular cleaning and hardware lubrication are crucial. I recommend using a silicone-based spray like Dupont Teflon Lubricant on hinges and slides—it’s non-greasy and doesn’t attract dust. Applying this at least biannually prevents squeaks and ensures drawers and doors open effortlessly, preserving their integrity longer. Also, inspecting fasteners periodically and tightening loose screws can prevent sagging or misalignments that compromise the structure.
Looking ahead, the trend in cabinetry maintenance leans toward smart hardware. With the rise of IoT-enabled hinges and drawer slides, future upgrades could include self-adjusting mechanisms that detect misalignments and correct them autonomously. According to a 2024 article in Kitchen & Bath Business, integrating sensors into hardware could dramatically simplify upkeep, making long-term maintenance almost effortless.
How do I keep custom cabinets in top shape without constant fuss?
Practicing proactive maintenance—such as employing high-quality tools like precision levels and lubricants—can extend the life of your cabinetry significantly. Incorporate regular check-ins on hardware tightness and cleanliness, and consider adopting emerging technologies like smart hinges for a future-proof solution. For more ideas on optimizing your space and keeping your investment pristine, explore our guides on storage solutions and built-in innovations.

What I Wish I Knew Before Starting
One of the most overlooked aspects of a professional-looking kitchen or garage is ensuring your cabinets are perfectly level. I learned the hard way that rushing through this step can lead to crooked doors and uneven surfaces, which detracts from both beauty and functionality. My biggest lesson? Investing time in assessing your floor’s true levelness early on saves countless headaches later. Now, I always double-check with a long level and trust my personal method of stacking shims carefully—it’s a game-changer.
Secrets No One Tells About Floor Irregularities
Everyone talks about installing cabinets, but few emphasize how floor unevenness can sabotage your project. I discovered that small discrepancies—just fractions of an inch—can cause doors to misalign or drawers to stick. The key is addressing these irregularities during the initial setup using precise shimming and sturdy braces. This proactive approach ensures your cabinetry lasts longer and looks sharp, whether in a finished kitchen or a rugged garage.
How Tools Can Transform Your Results
Switching from guessing to precision is so empowering. I rely on a high-quality digital level and adjustable braces, which I swear by for their accuracy and ease. Incorporating these tools allows me to fine-tune every cabinet before fastening, preventing any future sagging or shifting. If you’re serious about a flawless install, investing in reliable hardware and software, like SketchUp for planning, is worth every penny—it’s made my projects more predictable and satisfying. For inspired storage ideas, check out our storage solutions.
When You Play It Safe, You Miss Out
It’s tempting to think that a quick shim and screw will do the trick, but that’s where mistakes happen. I realized that taking extra time to verify every measurement and securing cabinets with quality hardware led to professional-grade results. Remember, a level cabinet isn’t just about looks; it’s about enduring performance. Making this effort encourages a sense of pride and ensures your space functions smoothly for years to come. Curious about more planning tips? Our guide on reinforcing base cabinets can give you additional insights.