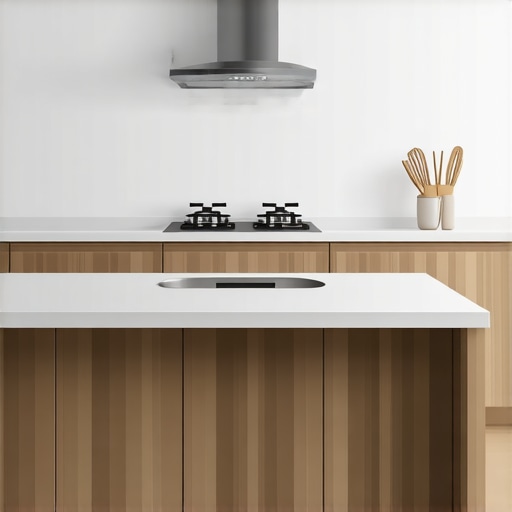
Why Every Base Cabinet Needs Adjustable Feet on Uneven Concrete
I’ll never forget the sound of my first real “clunk.” It was ten o’clock on a Tuesday, and I was finishing up what I thought was a flawless row of storage units in my basement. I stepped back, admired my work, and then watched in slow motion as a marble rolled right off the edge of the countertop. It didn’t just roll; it picked up speed. My slab, which looked as flat as a billiard table to the naked eye, was actually a series of rolling hills and valleys. I spent the next four hours cutting tiny, frustrating slivers of wood to shove under the corners. It was a mess, it looked amateur, and frankly, I felt like a failure. If you’ve ever dealt with the garage cabinet installation mistake of trusting your floor to be level, you know exactly the headache I’m talking about. Today, I’m going to show you why ditching those traditional wood bases for adjustable feet is the single best decision you’ll make for your next project. [image placeholder]
Why Your Concrete Floor is Lying to You
When we think of concrete, we imagine a permanent, unmoving plane of perfection. In reality, residential slabs are rarely truly level. According to the American Concrete Institute, standard residential floor finishes often have a curvature or “waviness” that is almost impossible to see until you try to set a square box on top of it. When you are investing in custom cabinets, even a sixteenth of an inch of slope can translate into doors that won’t stay shut or countertops that eventually crack under the uneven stress. I used to think I could just “scribe” my way out of it by cutting the bottom of the cabinet to match the floor, but on concrete, that’s a recipe for disaster. The wood eventually wicks up moisture from the slab, leading to swelling and rot.
Will these plastic legs actually hold up under a heavy load?
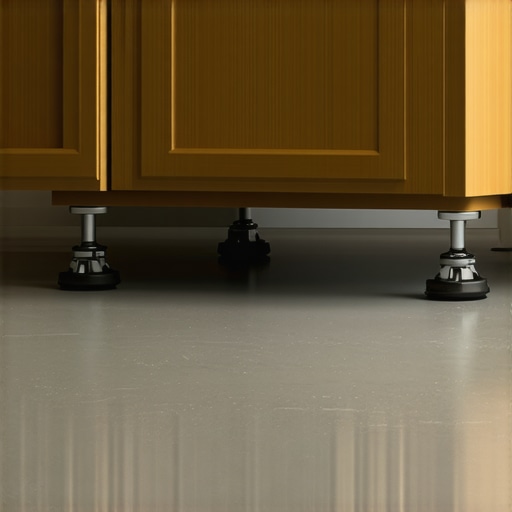
I get it. You look at a set of four plastic legs and wonder if they’ll snap the moment you load up your cast iron pans or heavy-duty tools. I had the same fear during my first kitchen remodel. But here’s the thing: high-quality adjustable feet are engineered to distribute thousands of pounds of downward pressure. More importantly, they create a critical air gap between your expensive cabinetry and the damp concrete. That’s why plywood box construction still wins in these areas, but even the best plywood shouldn’t be swimming. Have you ever noticed a weird, musty smell coming from your lower cabinets after a heavy rain? That’s usually the floor telling you that your cabinet bases are acting like a sponge. Moving to an adjustable leg system changes the game entirely by keeping everything high, dry, and perfectly level.
Find the High Spot Before You Touch a Screw
Every floor has a peak, a “North Star” that dictates the height of every other cabinet in the run. If you start at the low end and try to work your way up, you’ll eventually run out of leg height or—worse—your countertop will hit a windowsill before you’re level. I remember a kitchen remodel in a 1920s bungalow where the floor dipped so aggressively it looked like a skate park. I spent an hour just spinning around with a laser level, marking the high point on the drywall with a sharpie. Once you find that spot, you set your first cabinet there, retracting the legs to their lowest functional height. This gives you the maximum “travel” or room to expand the legs on the lower sections of the floor. 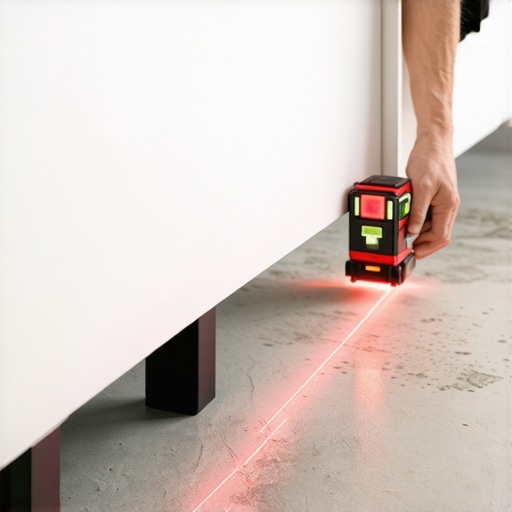
Ditch the Wood Screws for Mounting Plates
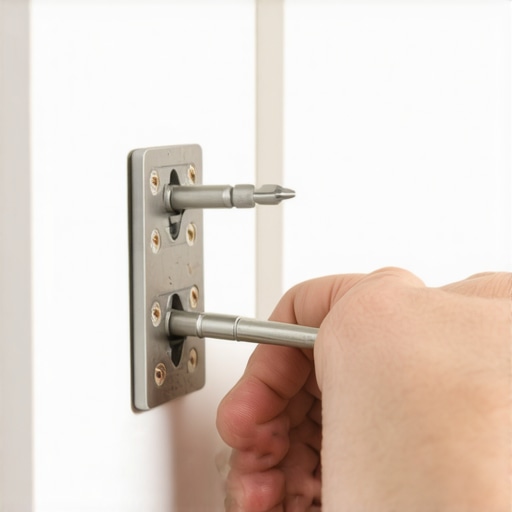
Most people make the mistake of using standard wood screws when attaching leg plates to the cabinet bottom. If you’re working with custom cabinets, you want to use the specific 15mm or 20mm screws provided by the leg manufacturer. These have a wider thread pitch that bites into the plywood without piercing through to the interior of your cabinet. When I was building a set of built-ins that elevate your living room’s functionality, I tried to rush by using whatever deck screws I had in my pouch. I ended up with jagged metal points poking through the bottom shelf of a $2,000 unit. Take the extra thirty seconds to swap your bit and use the right hardware.
The Laser Level is Your Best Friend
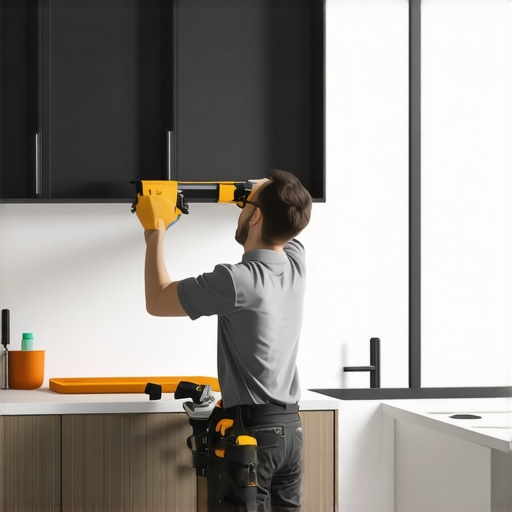
You can use a bubble level, but you’ll be chasing your tail all day. A cross-line laser level projects a perfectly horizontal beam across the entire room. Line that beam up with the top edge of your “high point” cabinet. Now, as you slide the next unit into place, you simply twist the adjustable feet until the top of the cabinet box “kisses” the laser line. It’s like landing a plane on a runway; you aren’t guessing, you’re observing. If you’re dealing with the hidden cost of choosing particle board, being perfectly level is even more critical because the material has zero flex—if it’s not supported evenly, it will eventually crack at the joints.
Locking the Heights and Snapping the Toe Kick
Once the boxes are level, don’t just walk away. Give each leg a final check to ensure it’s firmly contacting the floor. Sometimes as you adjust one corner, the opposite corner lifts slightly. This is where adjusting European hinges later becomes a nightmare because the box itself is twisted. The beauty of these legs is the clip system for the toe kick. Instead of nailing a piece of wood to the cabinet—which makes preventing cabinet rot difficult because you can’t see leaks—you simply snap the finished trim onto the legs. It hides the plastic, allows for airflow, and can be popped off in seconds if you ever need to inspect for moisture or pests. This approach is one of the many smart storage ideas that professional installers use to ensure a project lasts.Now that we have conquered the leveling game, let’s talk about a mistake I see even high-end contractors make: the black hole effect. Everyone assumes that to maximize space with innovative storage solutions, you simply need to make cabinets as deep as possible. I disagree. In my experience, depth is often the enemy of efficiency. If you cannot see it, you will not use it. This is why I have become a vocal advocate for the shift toward shallower, more accessible storage. [image placeholder]
The Deep Shelf Fallacy and the Death of Organization
When homeowners plan a kitchen remodel, they often demand 24-inch deep base cabinets with standard shelving. This is a trap. Deep shelves in base cabinets are where Tupperware goes to die. Research from the National Kitchen & Bath Association (NKBA) emphasizes that functional storage is defined by the ‘first-layer’ visibility rule—meaning if you have to move more than two items to reach what you need, the system has failed. This is why the pantry pull-out move is so revolutionary; it brings the back of the cabinet to you. I have seen clients spend thousands on custom cabinets only to end up frustrated because they are still ‘digging’ for their blender.
How do I prevent my corner cabinets from becoming a cluttered abyss?
The ‘dead corner’ is the ultimate test of an installer’s expertise. Most people think a Lazy Susan is the only answer, but those center poles actually waste a significant amount of cubic inches. I always suggest kidney-shaped pull-outs instead. They utilize the entire swing radius of the corner without that annoying pole in the middle. Another nuance people miss is the upper cabinet depth. While 12 inches was the standard for decades, why 15-inch deep upper cabinets are replacing the standard is simple: modern dinner plates are larger than they used to be. If you stick with 12 inches, your oversized stoneware might keep your cabinet doors from closing flush.
Stop Building Storage You Will Never Use
The biggest ‘oops’ factor I encounter is the lack of a ‘landing zone’ near major appliances. People get so caught up in selecting storage solutions for a perfect kitchen upgrade that they forget where they are actually going to put the hot tray when it comes out of the oven. If your beautiful new built-ins take up every inch of counter space, the room becomes unusable. Always prioritize workflow over raw volume. Have you ever fallen into the trap of ‘more is better’ only to realize your cabinets are just full of things you forgot you owned? Let me know in the comments.
Building the cabinets is only half the battle; the real victory is ensuring they stay functional for twenty years without a single squeak or sag. To do that, you need to transition from the mindset of a ‘builder’ to that of a ‘technician.’ I’ve seen too many DIYers finish a modern kitchen remodel featuring custom cabinets and built-ins only to have the drawers start sticking six months later because they skimped on the precision tools during the final calibration.
The Specialized Gear That Saves Your Sanity
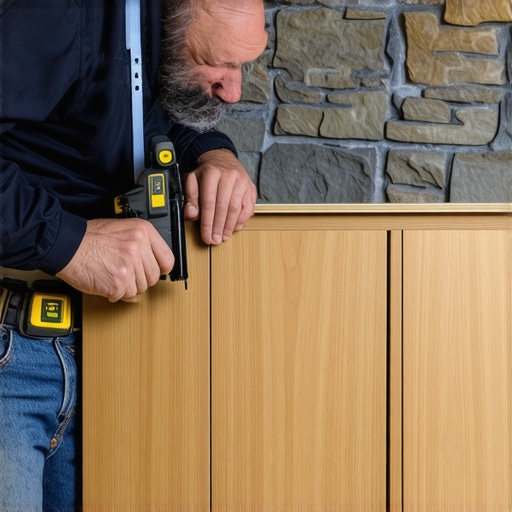
If you want to move beyond basic homeowner repairs, you need a few non-negotiable items in your kit. First, get a high-quality scribing tool. I personally use an Accu-Scribe because it handles the irregular textures of stone and brick far better than a compass. When you are trying to fit built-ins and storage hacks for a sleek functional kitchen, that tight fit against the wall is what separates a custom look from a ‘big box’ store purchase. I also swear by a set of Vix bits—these are self-centering drill bits that ensure your hinge screws are perfectly centered every time. If a screw is even a hair off-center, it pulls the hinge plate, and you’ll be fighting door alignment forever. According to technical documentation from Blum, the industry leader in hardware, drawer systems can lose up to 20% of their dynamic load capacity if the cabinet box is out of square by more than 0.5mm. That is a razor-thin margin that you simply cannot hit without precision measuring tools.
What’s the secret to keeping your cabinets moving smoothly for decades?
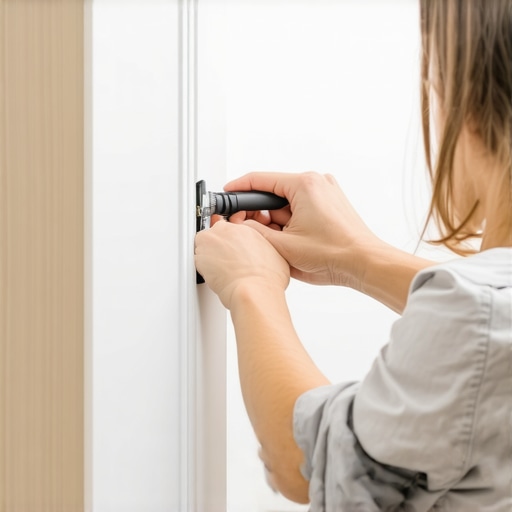
Maintenance isn’t about deep cleaning; it’s about mechanical upkeep. Every six months, I tell my clients to perform a ‘hardware audit.’ This starts with why your soft-close slides are failing and the quick-cleaning fix: usually, it’s just sawdust or kitchen grime gumming up the hydraulics. A quick wipe with a microfiber cloth and a blast of compressed air usually restores that ‘whisper-quiet’ close. You should also be aware of why soft-close hinges fail and the simple tension adjustment. Most modern hinges have a small toggle or screw that regulates the closing speed. As the house settles and the seasons change, you’ll likely see the inset cabinet gap re-aligning doors after seasonal humidity changes. Don’t panic when a door looks crooked in August; it’s just the wood breathing. A half-turn on the lateral adjustment screw is all it takes to bring it back to center.
Where High-End Storage is Heading in 2026
Looking forward, the trend is moving away from purely static wood boxes and toward ‘smart-integrated’ cabinetry. We are starting to see more voice-activated opening systems and internal lighting that adjusts color temperature based on the time of day. However, the core principle remains the same: a solid foundation. Even the smartest kitchen will fail if the boxes aren’t level and the hardware isn’t maintained. I predict a massive shift toward carbon-neutral, formaldehyde-free plywoods that offer even better moisture resistance than current marine-grade options. If you want to stay ahead of the curve, focus on the ‘bones’ of your project now so you can upgrade the ‘tech’ later. My challenge to you? Go grab your level today and check the ‘high spot’ on your current island—you might be surprised how much it has moved since it was installed.
The Hardest Lesson I Learned About Custom Cabinets
After years in the field, I’ve realized that even the most expensive materials in the world can’t hide a poor foundation. Here is what I wish someone had told me before my first big job:
- Trust the scribe over the bubble: You can’t fight gravity. If you don’t find that high spot before you start, you’ll be chasing your tail for three days straight.
- Gaps allow for growth: When installing custom cabinets ideas that transform your home’s style, leave a tiny bit of breathing room near walls. Tight fits look great in photos, but when the house shifts during humidity changes, it’s the cabinets that will buckle.
- Hardware is the heartbeat: Never skimp on your slides. I’ve seen beautiful boxes ruined by cheap, rattling tracks that fail within months.
[image placeholder]
The Gear I Carry to Every Kitchen Remodel
I don’t leave my truck without these specific tools because they are the difference between a “DIY look” and a professional masterpiece. I highly recommend picking up an Accu-Scribe for those tricky wall transitions. If you’re struggling with built-ins and storage hacks for a sleek functional kitchen, a self-centering Vix bit is your best friend—it ensures every hinge screw sits dead center, preventing the dreaded crooked door syndrome. Finally, always keep a copy of the Blum technical manual on your phone; it’s the most reliable source for weight ratings and clearance specs in the industry.
Your Future Kitchen Starts with a Single Level Line
Transforming your home isn’t about having the biggest budget; it’s about the patience to do the small things correctly. Whether you are adding a few expert tips on selecting storage solutions for a perfect kitchen upgrade or tackling a full-scale renovation, remember that you are building the backdrop for your family’s life. Don’t be afraid to slow down, double-check your measurements, and invest in the foundation. With the right storage solutions and a bit of precision, you can create a space that feels as good as it looks. Have you ever discovered a major floor slope mid-way through an installation? Let me know in the comments below!