How to Conceal the Seam Where the Cabinet End Panel Meets the Wall
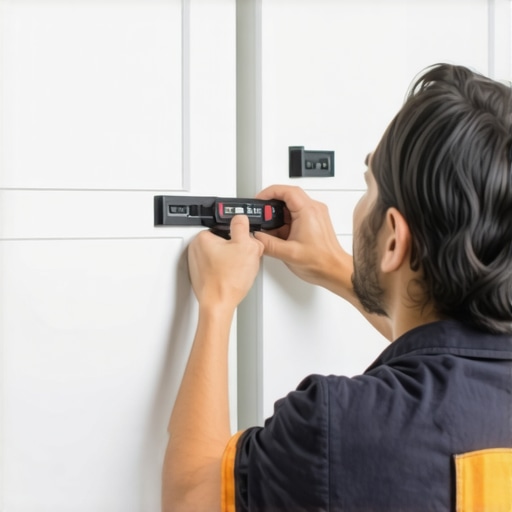
I remember standing in my kitchen at 2 AM, flashlight in hand, staring at the side of my brand-new pantry. I had just finished a massive modern kitchen remodel featuring custom cabinets and built-ins, and by all accounts, it was a masterpiece. But there it was. A jagged, shadow-filled canyon where the flat end panel met my “perfectly straight” drywall. It wasn’t even a big gap—maybe an eighth of an inch—but it screamed DIY disaster every time the morning sun hit it. I tried to ignore it, but once you see that black line, you can’t un-see it. It feels like the whole project is unfinished, doesn’t it? If you have ever felt your heart sink looking at a gap in your seamless kitchen remasters, you are not alone.
The Tiny Gap That Ruined My Dream Kitchen
The reality is that your walls are never actually straight. Even when you invest in high-end custom cabinets ideas that transform your homes style, a house settles, and drywallers are human. According to the National Association of Home Builders (NAHB), residential construction standards allow for small deviations in wall flatness, which means that perfectly square cabinet of yours is fighting a losing battle against a wavy wall from day one. Early in my career, I made the classic rookie mistake of trying to fill a half-inch gap with pure silicone. Let me tell you: it looked like a toothpaste accident and turned yellow within six months. It was a mess. Today, we are going to solve this the right way so your built-ins and storage hacks for a sleek functional kitchen actually look like they grew out of the wall.
Does scribing actually make a difference for a DIYer?
You might be thinking this is too much work for a small detail. Is it really worth the hassle of pulling out a compass or a jigsaw? Absolutely. When you transform your kitchen with custom cabinets, the difference between “looks good” and “looks professional” lives entirely in the transitions. A seamless joint does not just satisfy your inner perfectionist; it prevents dust and grease from migrating behind your expensive woodwork. Have you ever looked at your cabinets and felt like they were just sitting there instead of being part of the home? If so, you’re exactly where I was. We are going to talk about techniques similar to how to scribe a bookshelf to a wonky plaster wall and how to apply those same tricks to your end panels. It is about more than just hiding a mistake; it is about creating that high-end look that elevates the whole room. Ready to grab your pencil and finally fix that shadow line? Let’s dive into the tools you will need to bridge the gap properly.
Take Control of the Transition with a Precision Scribe
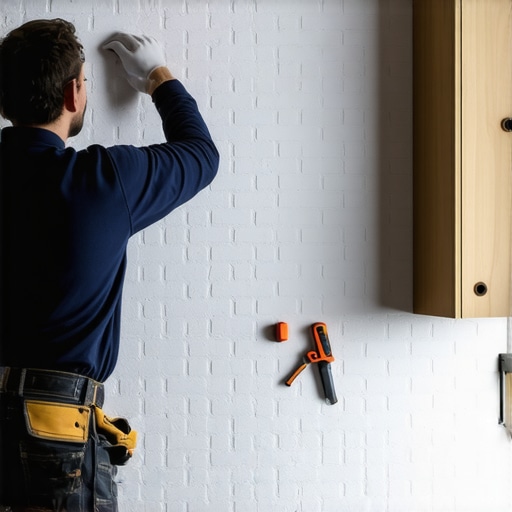
Scribing is not just about cutting wood; it is about creating a custom topographical map of your wall on the edge of your cabinet. Think of your scribe tool as a bridge between two worlds: the perfectly engineered world of custom cabinets for a stylish kitchen overhaul and the chaotic, wavy world of your home’s drywall. To get this right, you need to understand that the wall is your guide, and the cabinet is your canvas. If you treat the wall like a straight line, you will always lose. Instead, you have to embrace every bump and dip to ensure your innovative storage solutions for modern kitchen remodels look truly built-in.
Tape and Prep Save Your Finish from Disaster
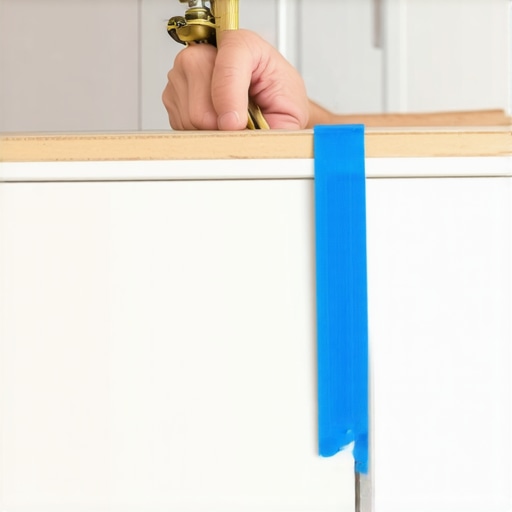
Before you even touch a pencil, you must apply blue painter’s tape to the edge of your panel. This is a non-negotiable step. I learned this the hard way during a high-stakes modern kitchen remodel featuring custom cabinets and built-ins where I tried marking directly onto a dark espresso-stained cherry wood. Between the shadows and the dark grain, I couldn’t see my line, made a jagged cut, and had to spend four hours trying to sand out the mistake. The tape does more than make your line visible; it protects the delicate finish from the baseplate of your jigsaw. When you are aiming for why painted maple beats oak for a smooth cabinet finish levels of perfection, the last thing you want are metal scratches on your brand-new paint. Lay the tape flat, overlapping the edge, so you have a clean surface to record the wall’s imperfections.
Use Your Compass to Map the Walls Secret Curves
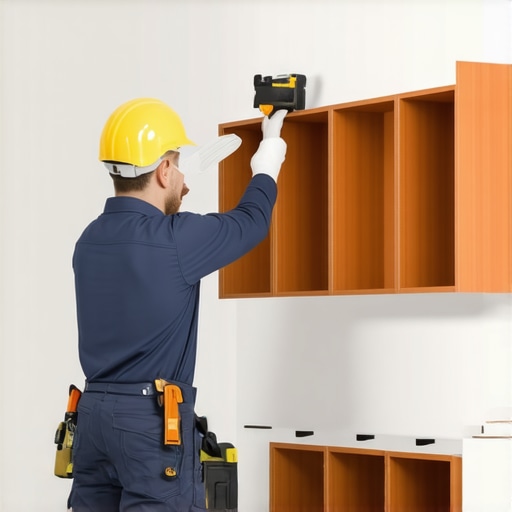
Now, position your cabinet exactly where it will live. It must be perfectly plumb and level before you begin. If the cabinet is leaning even a fraction of a degree, your scribe line will be inaccurate, and the gap will return as soon as you screw the box to the wall. Use shims to find that perfect vertical alignment. Once locked in, set your compass (or scriber) to the widest point of the gap. This is your “magic number.” As you drag the point of the compass along the wall, the pencil end should follow exactly, mirroring the wall’s unique profile onto your taped edge. This technique is what allows you to maximize space with innovative storage solutions for every room by tucking cabinets into corners that would otherwise require bulky, ugly filler strips.
Sneak Up on the Line for a Zero-Gap Fit
When it is time to cut, do not try to hit the line in one pass. Think of this like tailoring a custom suit; you can always take more fabric off, but you cannot put it back. Use a jigsaw with a fine-tooth, down-cut blade. A down-cut blade is essential because it pushes the wood fibers down rather than pulling them up, which prevents chipping on the finished face of your cabinet. Cut about a sixteenth of an inch away from your pencil line. Once the bulk is gone, use a belt sander or a hand plane to “sneak up” on the line. I once spent forty-five minutes hand-sanding a single end panel for a client who was a literal rocket scientist. He checked the seam with a flashlight, and when he couldn’t find a single shadow, I knew the extra effort was worth it. This level of detail is the hallmark of expert tips on selecting storage solutions for a perfect kitchen upgrade and ensures your kitchen feels like a singular, cohesive masterpiece. For even trickier surfaces, you might need to adapt these methods, much like how to scribe a bookshelf to a wonky plaster wall, but the core principle of mapping the chaos remains the same.
Most homeowners insist on ‘solid wood everything’ because it sounds premium, but here is the nuance: solid wood is a living material. It breathes, expands, and shrinks with the seasons. If you use solid wood for the center panel of a painted Shaker door, you are essentially begging for ‘bridge lines’—those annoying cracks in the paint where the panel meets the frame. This is exactly why solid wood doors warp and how to prevent it by choosing the right materials for the right job. High-end makers often use an MDF core for the center panel because it is dimensionally stable and provides a superior surface for paint. According to the Wood Components Manufacturers Association (WCMA), engineered wood products provide a more consistent surface for modern finishes than solid timber, which can have varying moisture pockets that ruin a high-gloss look.
Why do your soft-close drawers still feel like they are fighting you?
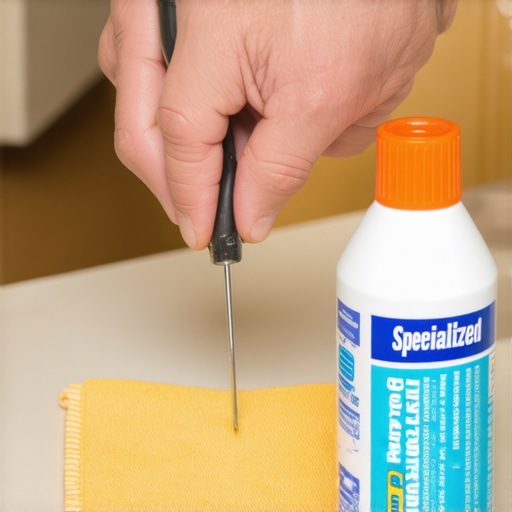
It is a common frustration: you spent thousands on custom cabinets for a stylish kitchen overhaul, but after six months, the drawers start to stick or slam. Everyone tells you the hardware is broken, but in my experience, it is usually just a lack of maintenance. Dust from the installation phase or kitchen grease can gum up the hydraulic dampers. Understanding why your soft-close slides are failing and the quick cleaning fix can save you a service call and keep your smart storage ideas to maximize your kitchen space this year functioning like silk.
Another ‘oops’ factor I see constantly is the depth trap. The industry standard has been 12-inch deep upper cabinets for decades, but that was before we all had massive dinner plates and stand mixers. This is why 15-inch deep upper cabinets are replacing the standard 12-inch in high-functioning homes. Those extra three inches are the difference between a cluttered counter and a kitchen where everything has a home. Don’t let a contractor talk you out of it just because it’s ‘not how we usually do it.’ When you transform your kitchen with custom cabinets, you are the one who has to live with the storage limits. Have you ever fallen into the ‘all solid wood’ trap and regretted it? Let me know in the comments. We still need to talk about the weight load, especially why we recommend plywood cases over particle board for heavy pantry shelves to avoid the dreaded shelf-sag, and how the hardware mistake that makes expensive cabinets look cheap can undermine your entire investment.
Maintaining the momentum of a major project means looking past the initial installation and into the years of hard use your kitchen will endure. I have seen fifty-thousand-dollar kitchens look like they are falling apart after just three years because the owner did not know how to adjust european hinges when your doors are crooked. It is a tragedy, really, because the solution is usually just a few turns of a screwdriver. When you invest in custom cabinets for a stylish kitchen overhaul, the hardware is the most hard-working component. If you are still using a standard construction blade for your trim work, please stop. I personally swear by a 48-tooth triple-chip grind (TCG) blade on a track saw. It is the only way to ensure your custom cabinets ideas that transform your homes style do not end up with micro-chips on the edges that eventually grow into peeling paint.
How can I keep my custom cabinets looking new for a decade?
The secret to longevity is not a special cleaner; it is mechanical maintenance. Every six months, you should check the tension on your doors. Environmental changes cause wood to move, which is why soft-close hinges fail and the simple tension adjustment is the first thing I teach my clients. If a door is hitting its neighbor, it is not just annoying—it is chipping the finish. According to Blum technical documentation for the Movento runner system, high-end hardware is tested for 100,000 open/close cycles, but that performance depends entirely on keeping the tracks free of abrasive particulates like drywall dust or salt. I once had a client call me because their drawers were ‘broken’ only to find a single grain of rice jammed in the hydraulic damper. A quick vacuuming of the runners is part of smart storage ideas to maximize your kitchen space this year that keep everything gliding like silk.
Beyond the hardware, you need to protect the ‘wet zones.’ I tell every homeowner that why you need a waterproof liner in your sink base cabinet is the cheapest insurance policy you can buy. Even the best-built modern kitchen remodel featuring custom cabinets and built-ins cannot survive a slow drip from a garbage disposal if the water soaks into the cabinet floor. I prefer a rigid plastic tray with a lip that can hold at least a gallon of water. It is a small detail that saves you from the nightmare of a rotting sink base five years down the line.
Smart technology is coming for your pantry
I predict that the next five years will see a massive shift toward ‘active’ cabinetry—built-ins that do more than just hold items. We are already seeing the built-in charging station that finally clears your countertops as a top-tier request, but the trend is moving toward integrated climate control for wine and spice storage. Imagine built-ins that elevate your living rooms functionality by including hidden, cooled drawers for snacks or medicine. The boundaries between furniture and appliances are blurring, and custom work is the only way to stay ahead of that curve. Your homework for today? Go to that one cabinet door that has always been slightly crooked and find the adjustment screw. It is a five-minute fix that makes your whole kitchen feel brand new again.
The Secret to Making Scribe Lines Disappear
The biggest takeaway I have after decades of installs is that your kitchen is a living thing. I used to think a modern kitchen remodel featuring custom cabinets and built-ins was a static monument, but it is actually a dynamic environment that reacts to your home. One lightbulb moment for me was realizing that the ‘gap’ is not the enemy—the shadow is. By back-bevelling your scribe cut, you create a sharp leading edge that bites into the wall, eliminating the shadow line even if the wall is slightly textured. I also learned that custom cabinets ideas that transform your homes style must account for seasonal shifts. Leaving a hair of breathing room in the internal joinery while keeping the visible scribe tight is the only way to avoid finish cracking when the humidity drops. Finally, always scribe to the ceiling; if your cabinets go to the top, you will need the same precision there to avoid a lopsided crown molding. If you are working in tight quarters, these smart storage solutions for small kitchens in 2025 are especially sensitive to bad transitions because every detail is at eye level.
The Gear I Trust for a Zero-Gap Finish
For those ready to level up their toolkit, I recommend moving beyond a school-grade compass. I personally swear by the FastCap AccuScribe because its flat head allows you to track around corners where a standard point would slip. For the actual cut, I trust a track saw with a 48-tooth triple-chip grind blade to prevent micro-chipping on delicate veneers. If your project involves complex masonry, the tips in how to scribe a bookshelf to a crooked stone wall will show you why a power planer is often better than a jigsaw for heavy stock. For those looking for long-term peace of mind, I always suggest integrating the removable cabinet panel hack for faster emergency plumbing access. It is a simple addition during the scribe process that saves you from destroying your work during a future pipe leak.
Take the First Step Toward Your Dream Kitchen
Now it is your turn to take these skills and transform your home into a professional masterpiece. Do not be intimidated by the jagged line of an old wall; look at it as a roadmap for your next high-end installation. When you take the time to bridge those gaps properly, you are not just installing cabinets; you are creating a legacy of craftsmanship that will stand the test of time. If you find yourself stuck on a tricky corner or want a professional eye on your next project, feel free to contact us to discuss your vision. Have you ever attempted to scribe a panel only to realize your wall was even wavier than you thought? Let me know how you handled the curve in the comments below!