How to Stop Your Kitchen Cabinet Doors from Hitting the Adjacent Wall
It happened again—my cabinet door swung open with that familiar creak and BAM! It slammed right into the adjacent wall. I remember standing there, half annoyed, half frustrated, realizing that no matter how many kitchen remodels I tackled, this problem stubbornly persisted. It’s such a tiny issue, yet it disrupts the flow of my cooking space and turns what should be a seamless experience into a minor annoyance. If you’ve ever found yourself dodging swinging cabinet doors or feeling guilty about hitting your walls, you’re not alone—this is a common frustration that many homeowners face.
Why Your Kitchen Cabinets Just Won’t Stay Quiet
Is It Really Worth the Fuss to Fix Your Cabinet Doors?
Early in my renovation journey, I made the mistake of assuming that wall hits were just part of an aged or poorly designed kitchen. I thought, “Well, that’s just the way it is.” Spoiler alert: it’s not. One of the biggest reasons I finally decided to address this was because every time I opened a cabinet, I’d dodge a flying door or see the wall’s paint get chipped. This minor inconvenience turned into a major insight—the problem wasn’t just about keeping my wall looking fresh; it was about creating a kitchen where every move feels effortless.
Interestingly, according to industry experts, improperly aligned or too-wide door swings can be a major culprit behind this issue, even in high-end kitchens. Fixing this isn’t just about convenience; it can actually prevent long-term damage and preserve your investment, especially when you’re using custom cabinets designed to last with quality hardware. If you’re tired of that thud or scrape every time you reach for a spice jar or plate, the good news is that solutions are within your grasp.
Now, before we dive into the practical steps, I want to ensure you don’t fall into common pitfalls. I once rushed into a hardware store and bought a set of hinges without checking the specifications, only to find out they didn’t fit my cabinet design. Don’t make my mistake—getting the right hardware and understanding your cabinet geometry is key to a smooth fix.
Ready to turn those annoying wall hits into a thing of the past? Let’s explore some practical, tested strategies to stop your cabinet doors from hitting that wall and restore harmony to your kitchen space.
Assess Your Cabinet and Wall Alignment
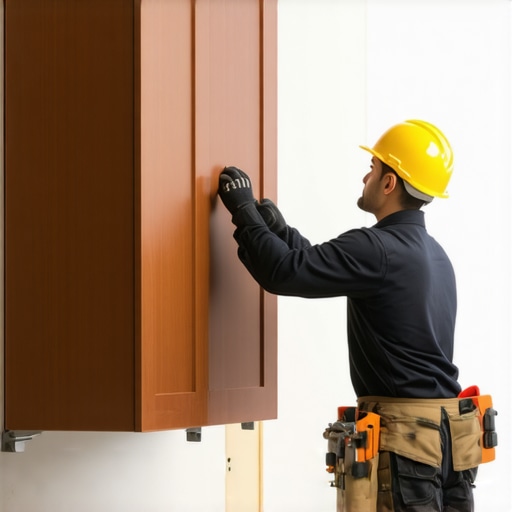
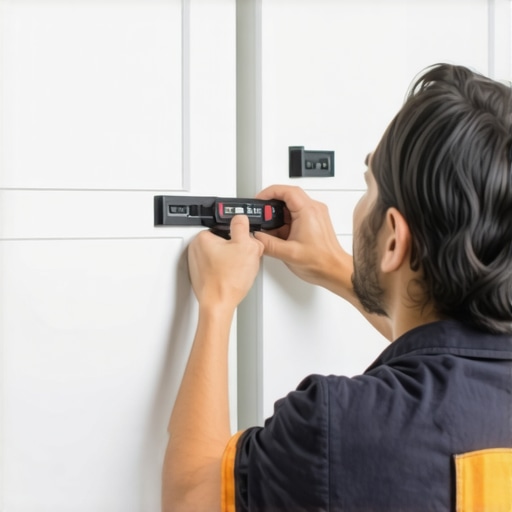
Start by removing items from your cabinets to get a clear view of their positioning. Use a level and measuring tape to check if your cabinet doors are aligned properly and if there’s enough clearance from the wall. For instance, I once used painter’s tape and a ruler to mark my cabinet edges, which revealed some misalignment that caused the door to swing too wide. Correcting this initial issue often involves adjusting hinges or adding spacers.
Adjust Hinges for Optimal Swing Radius
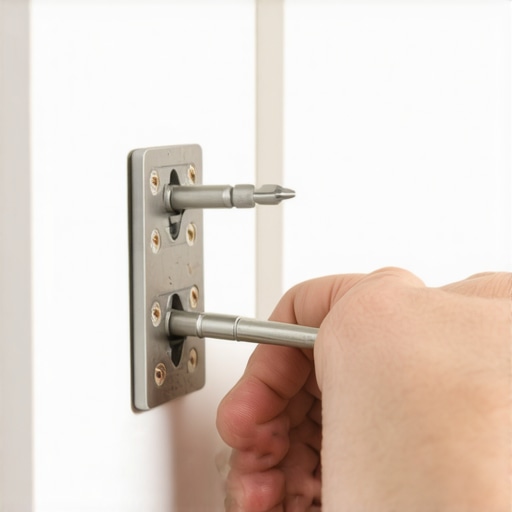
Most cabinet doors hang from adjustable hinges that can be fine-tuned with a screwdriver. Focus on the hinge screws that control the door’s angle and its distance from the cabinet frame. To illustrate, I replaced a loose hinge and tightened the screws, which reduced the swing radius, preventing the door from hitting the wall. Always check if hinges are suitable for your cabinet style and size. Using high-quality soft-close hinges like those discussed here can provide smoother operation and prevent slamming that causes wall contact.
Implement Door Stops or Limiters
Install door stops that physically prevent the door from opening beyond a certain point. Magnetic stops are simple to install and adjustable. I added a small magnetic catch on my cabinet frame, which allowed me to set a maximum open angle, effectively preventing the door from swinging into the wall. Make sure your stops are positioned to accommodate cabinetry and user preferences. When in doubt, consult hardware guides or professionals, like those featured in the expert tips section.
Add Spacers or Filler Strips to the Wall Side
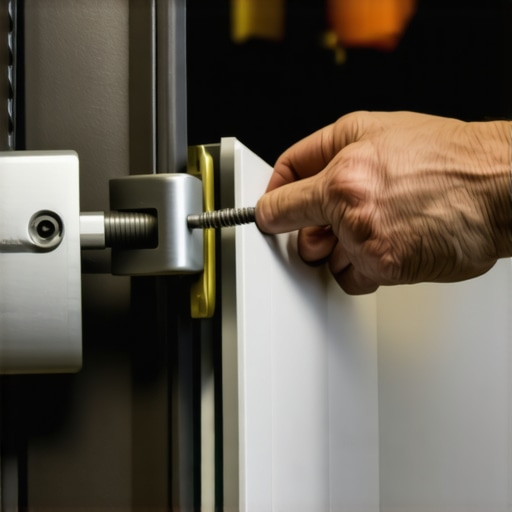
Sometimes, the wall itself is too close because of uneven surfaces or existing structures. Using thin spacers or filler strips between the cabinet and wall can increase clearance. I used inexpensive wood strips glued and nailed to the wall behind the cabinet, which effectively pushed it outward, creating space for the door to swing freely. This straightforward step can be particularly effective if your walls are uneven, as explained in detailed built-in storage solutions. Measure the gap precisely before cutting your filler strips for a snug fit.
Consider Reconfiguring or Swapping Hardware
Sometimes, the problem lies in the hardware choice. Heavy, oversized hinges or hinges not designed for your cabinet’s weight can cause misalignment and excessive swing. I swapped out generic hinges for heavy-duty, self-closing models, which provided better control. For customized solutions, exploring custom cabinet ideas can yield hardware options tailored perfectly to your space and needs. Remember, precise hardware selection directly impacts how your doors swing and align, preventing unwanted contact.
Final Tweaks and Testing
Once adjustments are made, open and close the cabinet doors multiple times to test the range. Observe if they hit the wall or swing freely. Fine-tune hinges, stops, or spacers until the operation feels effortless and safe. I found that combining several of these steps—adjusting hinges and adding spacers—eliminated the problem entirely, turning my kitchen into a seamless space. Don’t hesitate to revisit your initial measurements after adjustments; this ensures you maintain an optimal clearance for a sleek, functional design. For more insights on storage and cabinetry, check out this comprehensive guide.When it comes to kitchen remodels and storage improvements, many assume that choosing trendy built-ins or high-end custom cabinets guarantees they’ll be solving all space and functionality issues. However, as an experienced homeowner and DIY enthusiast, I can tell you that most people get this wrong by overlooking subtle yet crucial details that impact long-term success.
One common myth is that bigger cabinets or elaborate built-in systems automatically translate to better organization. In reality, without considering flow and user behavior, these solutions can lead to clutter buildup and inefficiency. For example, installing deep pantry shelves without appropriate pull-outs or dividers often results in inaccessible or wasted space, which defeats the purpose of the remodel. Explore how modern remodelers optimize storage with custom solutions.
Why You’re Still Facing Clutter Despite Custom Cabinets
Many homeowners, even those with high-quality cabinetry, struggle with clutter because they neglect the importance of tailored interior accessories. Drawers without dividers or lazy susans, for instance, cause disorganized chaos, making it hard to find essentials quickly. An advanced mistake is assuming that standard hardware and accessories fit all spaces uniformly, but in practice, tailored accessories improve usability dramatically. According to industry experts, designing storage with flexibility and user-specific needs in mind is essential for truly functional space (see innovative storage ideas).
Should Your Built-ins Be Restrictive or Adaptable?
One crucial nuance often missed is the balance between built-in permanence and adaptability. Many homeowners opt for permanent installations without contemplating future needs or space changes. For example, fixed niches may look sleek but can limit reconfiguration as your household evolves. It’s worth asking: How can you design built-ins that are both stylish and flexible? Modular systems and adjustable shelving can save money and frustration down the line. This insight is supported by research on adaptable home systems, which shows that flexibility enhances the longevity and usability of storage solutions (learn how to incorporate flexibility).
Another trap to avoid is underestimating the role of precise measurements and understanding your space’s unique architecture. For instance, uneven walls or existing structures can compromise even the most well-planned cabinets, leading to gaps, misalignments, or inefficient use of space. The secret lies in detailed measurement and sometimes customizing fillers or fillers to adapt to irregularities. As I always recommend, don’t skip the step of thorough assessment—doing so can save you from costly corrections later. Check out the built-in hacks for sleek storage to learn more.
Have you ever fallen into this trap? Let me know in the comments.
Maintaining your kitchen storage solutions, built-in cabinets, and remodel features requires more than just initial installation; it demands consistent attention and the right tools. Personally, I swear by a few equipment and software that keep my kitchen functioning flawlessly over the years. One such tool is a high-quality digital caliper. I use it for precise measurements when adjusting hinges or spacers, ensuring my custom cabinets fit perfectly despite wall irregularities. Unlike standard tape measures, a digital caliper provides exact readings within thousandths of an inch, which is crucial for fine-tuning large or detailed cabinetry.
Another indispensable item I rely on is a magnetic screwdriver set. I prefer the ones with a magnetic tip because it makes finding tiny screws and aligning hardware a breeze—especially when working overhead or in tight spaces. Being organized is essential, so I keep a small parts tray to hold screws and hinges during adjustments. This setup prevents misplaced hardware and speeds up repairs, reducing the risk of misalignment that can cause long-term operation issues.
In the age of smart homes, I also recommend integrating smart storage solutions. Using inventory management apps helps me keep track of maintenance schedules for different hardware components, like soft-close hinges or drawer slides, reminding me when it’s time for lubrication or replacement. These apps can sync across devices, ensuring your kitchen’s crucial parts stay in top shape, extending their lifespan and maintaining aesthetics.
What’s Next for Maintenance in a Remodel-Heavy Era? The trend points toward more integrated tech—like sensor-enabled hinges that notify you when they need oil or tightness. As these innovations become more affordable, I predict a future where kitchens self-diagnose, minimizing downtime and repair costs. Adopting early is a smart move to stay ahead in maintaining your investment.
To truly keep things running smoothly long-term, I encourage you to adopt a routine maintenance protocol. Schedule monthly checks: lubricate hinges with a silicone spray, tighten loose screws, and inspect for wear on drawer slides. Consider studying expert storage advice to understand better ways to prevent common issues. For example, I recently implemented the tip-out tray hack to eliminate dead space, significantly reducing clutter and the need for frequent repairs.
If you want to make a significant leap in your maintenance routine, try installing heavy-duty, self-closing hinges that resist wear over time. As these professional-grade hinges demonstrate, quality hardware combined with proper lubrication and routine checks can prevent costly replacements down the line. Consistency is key—regular adjustments now save headaches and expense later.
Unlocking the Secrets I Wish I Knew About Cabinets and Storage
One of the most eye-opening lessons I learned was how seemingly small details drastically impact the functionality and aesthetics of my kitchen. I used to believe that choosing trendy hardware or popular finishes was enough—turns out, precision in measurements and hardware compatibility are the real game-changers. Over time, I discovered that adjusting hinges and installing fillers not only prevented wall hits but also improved the overall feel of my space. This experience taught me that paying attention to the minute details transforms a good remodel into a great one, and sharing this insight might save you from costly mistakes.
A Handpicked Collection of Tools That Made My Remodel Easier
My go-to toolkit includes a high-precision digital caliper, which ensures that every hinge and spacer is measured exactly, leading to perfect alignments. A magnetic screwdriver set simplifies hardware installation, especially in tight corners, while a sturdy parts tray keeps small components organized, preventing misplacement. Notably, integrating smart storage apps allowed me to track maintenance and hardware replacement schedules, prolonging the life of my cabinets and hardware—these resources are genuinely worth exploring. For instance, my favorite app alerts me when it’s time for hinge lubrication, maintaining smooth operation over the years.
Feeling Inspired to Tackle Your Kitchen’s Potential
Remember, your kitchen remodel isn’t just about visual appeal—it’s an ongoing journey of refinement. With the right tools, knowledge, and a willingness to learn, you can create a space that’s both beautiful and highly functional. Embrace the process, pay attention to the subtle details, and don’t hesitate to explore innovative storage solutions like built-ins or custom cabinetry that adapt to your lifestyle. Your investment today lays the foundation for a more organized, enjoyable kitchen tomorrow. Take the first step confidently—improvement is within your reach! If you’re curious, what small adjustment are you planning to make to enhance your kitchen’s efficiency? Let me know your ideas below.