Why You Should Never Use Standard Paint on Kitchen Cabinets
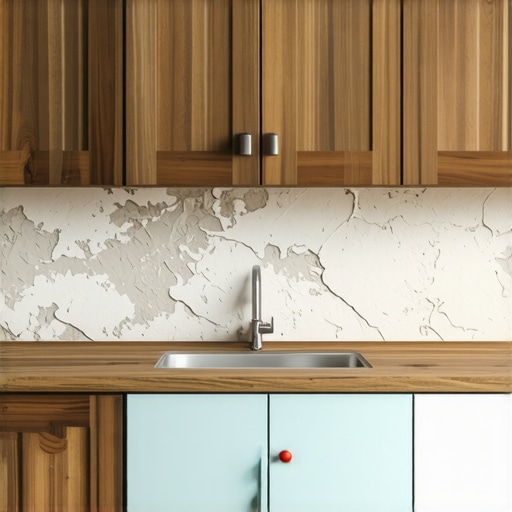
I vividly remember the day I painted my first set of kitchen cabinets with standard wall paint. It was a sunny Saturday, and I was full of enthusiasm—armed with a few brushes, some rollers, and a daring spirit. But within a few weeks, I faced the horrifying realization: the paint was chipping, peeling, and looking worse with every passing day. That lightbulb moment made me wonder—why in the world did I use regular paint on cabinets that need durability and style?
The Real Cost of Cutting Corners with Standard Paint
Ever since that mishap, I’ve learned a lot about what works—and what definitely doesn’t—when it comes to finishing your kitchen cabinetry. The truth is, standard paint might seem like an easy, inexpensive choice, but it can lead to costly, time-consuming problems down the line. Cabinets are exposed to moisture, heat, oils, and frequent cleaning—conditions that standard paint simply isn’t built to withstand. This is why many pros avoid it for kitchens altogether.
Choosing the right finish isn’t just about aesthetics; it’s about longevity and maintenance. I used to brush off the importance of proper paint, thinking all coatings were created equal. Big mistake. An early one, to be precise. I wish I had known then what I know now—there’s a reason why many experienced craftspeople advocate for specialized finishes on cabinetry.
By making this switch, I was able to avoid countless touch-ups and re-priming sessions, saving both money and frustration. And trust me, when you see your cabinets standing the test of time, you’ll be glad you invested in quality from the start. If you’re curious about other ways to upgrade your space, I recommend checking out some ideas for custom cabinets that truly make a difference in your home’s style.
Is Your Fear of the Cost Worth the Risk?
Many folks worry about the added expense of professional-grade paint or finishes. I get it—costs can seem daunting initially. But when I looked at the bigger picture—replacing chipped paint every year or dealing with flaky surfaces—the math was clear. You often get what you pay for, and settling for cheap, standard paint can turn into a false economy. According to a study by the Consumer Reports, durable finishes can add years to your cabinets’ lifespan, saving money over time.
Have you faced the dilemma of repainting or redoing your cabinets sooner than expected? I’d love to hear about your experiences. Making the right choice now can mean fewer headaches later and a kitchen that remains beautiful and functional for years.
Now that we’ve covered why standard paint isn’t the best choice, let’s dive into the practical steps to achieve a durable, stunning finish that will stand the test of time—because your kitchen deserves nothing less than excellence.
Select High-Quality Paint and Prepare Your Cabinets
Start by choosing a premium, water-based enamel designed specifically for cabinetry. Remove all hardware and clean your cabinets thoroughly with a degreaser to eliminate oils and residues that can cause paint failure. Sand the surfaces lightly with 220-grit sandpaper to create a smooth, porous surface for better adhesion.
Sand and Clean Carefully for Lasting Results
Sand all surfaces, including corners and edges, to remove gloss and ensure paint adherence. After sanding, wipe down with a tack cloth or damp rag to remove dust and debris. This simple but crucial step prevents uneven finish and chipping later on.
Use a Primer That Seals and Bonds
Apply a high-quality primer suitable for your cabinet material. Use a brush for tricky corners and edges, then a roller for flat surfaces to achieve a smooth coat. Priming seals the surface, blocks stains, and provides a strong base, which is essential for durable painting—especially if transitioning from a darker color or laminate finish.
Choose the Right Application Tools and Technique
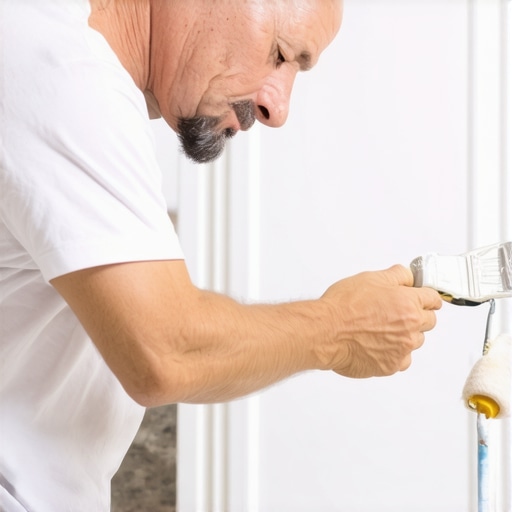
Use high-density foam rollers for large flat areas to minimize brush marks. For detailed work, a quality brush or a small foam brush works best. Apply the paint in thin, even coats, following the grain of the wood, and avoid overloading your brush or roller to prevent drips and splotches. I remember one time I used a roller loaded with too much paint; it caused runs that took hours to correct, emphasizing the need for precision in application.
Layer Thin Coats for Smooth, Flake-Resistant Finish
Wait at least 4 hours between coats, or according to the manufacturer’s instructions. Multiple thin coats create a stronger, more resilient surface than a single heavy application. Sand lightly with 400-grit sandpaper after the first coat to eliminate brush strokes and improve adhesion for subsequent layers.
Seal with a Durable Topcoat
Finish with a clear, water-based polycrylic or polyurethane designed for cabinetry. This topcoat adds an extra layer of protection against moisture, heat, and cleaning agents. When applying, use a clean, synthetic brush or a spray for the smoothest finish. Allow adequate drying time, and avoid disturbing the surface during curing, or you’ll risk smudges and imperfections. Recall a time I hastily reassembled a cabinet after sealing, which caused smudges; patience truly pays off.
Final Tips for Lasting Cabinets
Reinstall hardware only after the topcoat has fully cured. Regularly clean your cabinets with a gentle, non-abrasive cleaner to maintain the finish’s integrity. Investing time in proper prep, application, and sealing ensures your cabinet paint survives the rigors of daily kitchen life.
 While many homeowners focus on flashy features or trendy finishes during a kitchen remodel, a less obvious but equally critical area is storage solutions. Contrary to popular belief, opting for standard cabinetry without considering the nuanced needs of your space often leads to overlooked problems that can hamper functionality long-term. For example, many assume that more cabinets always mean better storage, but without thoughtful planning, you might end up with awkwardly placed or underused spaces. Incorporating innovative storage ideas like hidden drawers or custom built-ins can significantly optimize your kitchen, but misunderstanding their placement or function is a common pitfall. An overlooked nuance is neglecting the importance of access and accessibility in high-use zones, which can make or break daily convenience. Interestingly, a study by the National Kitchen and Bath Association highlights that poorly designed storage can lead to increased clutter, reducing overall satisfaction with the remodel. Advanced homeowners should consider not just aesthetics but also how their storage systems interact with workflow, ensuring everything is within easy reach. Do you lean towards built-in solutions or prefer flexible, movable storage? Keep in mind, improper installation or choosing the wrong type of cabinetry can turn sleek designs into frustrating spaces. For insights on selecting durable and functional cabinets, check out expert advice on custom cabinets. Focus on these often-neglected details, and you’ll avoid the trap of a beautiful but inefficient kitchen. Remember, integrating proper storage isn’t just about holding more items; it’s about creating a seamless, clutter-free environment that enhances your home’s value and your daily life. Have you ever fallen into this trap? Let me know in the comments.Maintaining your kitchen storage solutions and cabinetry over time requires the right tools, consistent habits, and a strategic approach. I personally rely on a few key equipment pieces and methods that have proven effective in ensuring durability and ease of maintenance. First, I recommend investing in a high-quality, cordless electric drill with adjustable torque settings. This tool allows for both precise assembly and occasional adjustments without damaging delicate cabinetry or hardware. I prefer models from Makita or DeWalt because of their battery longevity and durability, which means I can rely on them for projects that span several days or routine touch-ups.
For cleaning and maintenance, I swear by a microfibre cleaning cloth paired with a pH-balanced, gentle cleaner. This combo prevents scratches on painted or finished surfaces and helps maintain the finish’s integritylong-term. Additionally, a soft-bristled detailing brush is invaluable for reaching into tight corners, hinges, and storage grooves—areas that tend to collect dust and grime over months and years.
When it comes to inspecting and adjusting built-ins or custom cabinets, a digital level ensures everything stays perfectly aligned. I recommend a magnetic, digital spirit level because it quickly registers any shifts that may occur with temperature changes or settling structures. For more complex projects, a laser distance meter ensures your installations remain precise, especially if you’re adding new storage features or expanding existing ones.
How do I maintain my storage systems over time?
To keep your cabinetry and storage solutions working smoothly, regular inspections are key. Check hinges, drawer glides, and hardware for tightness and wear—preemptive tightening can prevent bigger issues down the road. A quick spray of specialized lubricant on moving parts, like ball-bearing drawer slides, keeps everything operating silently and smoothly. For areas prone to moisture, such as under sinks or near dishwashers, periodic sealing with water-resistant paint or silicone ensures longevity. With the right tools and habits, your storage solutions can serve your family for decades.
Looking ahead, trends indicate a move toward smart storage systems integrated with technology, allowing for even better organization and maintenance alerts. Technologies such as app-controlled lighting or sensor-driven access could become standard in future cabinetry designs, making maintenance even easier. To stay ahead, consider experimenting with installing a few smart sensors in your existing cabinetry to monitor humidity or detect leaks—it’s a game-changer in proactive home management.
If you’re eager to elevate your storage game, I recommend trying my favorite advanced technique: installing magnetic, adjustable hinges and testing their alignment regularly. This simple step can dramatically improve cabinet longevity and ease of use, especially in high-traffic kitchens. For detailed guidance on perfecting this, visit this helpful resource.
Lessons Hidden in the Challenges of Kitchen Cabinet Finishes
My journey taught me that rushing through the preparation process often leads to premature failures. Skipping gentle sanding or neglecting thorough cleaning can seem minor at first but have lasting repercussions. The biggest lightbulb moment was realizing that investing in high-quality primer and topcoat isn’t just about aesthetics—it’s about safeguarding your hard work against moisture and daily wear. Also, I discovered that consistency in application—thin coats and proper drying—makes all the difference in achieving a professional look that endures. These insights aren’t just tips—they’re the result of my personal mistakes, and embracing them transformed the way I approach kitchen renovations.
Another revealing lesson was understanding the importance of choosing tools that match your project’s scale and detail. Using inferior brushes or rollers may seem convenient but can introduce imperfections that compromise durability. When I switched to premium brushes and foam rollers, the quality of finish improved exponentially, reducing touch-ups and rework. Lastly, patience proved to be a virtue; waiting the full recommended curing time before handling or reassembling prevented smudges and scratches—saving me time and frustration.
My Go-To Resources That Elevate My Remodeling Approach
- Expert Cabinetry Guides: I trust this comprehensive guide for understanding material choices and craftsmanship standards. It helps me make informed decisions about durability and style.
- Tool Recommendations: My favorite cordless drill from DeWalt has consistently delivered reliable power and battery life, thanks to its durable design and user-friendly features. It’s my staple for both assembly and adjustments.
- Maintenance Tips and Tricks: I rely on microbifiber cloths and pH-balanced cleaners from this trusted source to keep my cabinets looking new without damaging the finish. Regular checks with a digital level ensure everything stays aligned over time.
- Innovative Storage Insights: As storage needs evolve, I keep abreast of the latest trends via smart storage innovations to enhance both aesthetics and functionality in my projects.
Your Next Move: Transform Challenges into Opportunities
Embarking on a kitchen enhancement journey might seem daunting, but remember—each challenge is an opportunity to refine your craft. By applying these lessons learned, not only will your cabinetry stand the test of time, but your satisfaction with the process will grow immensely. Don’t wait for perfection; start today, and let each project teach you something new. The possibilities are vast, and your skills will flourish with every step you take.
What’s the biggest cabinet issue you’ve faced during your remodel? Share your story below—I’d love to hear how you turned obstacles into triumphs!