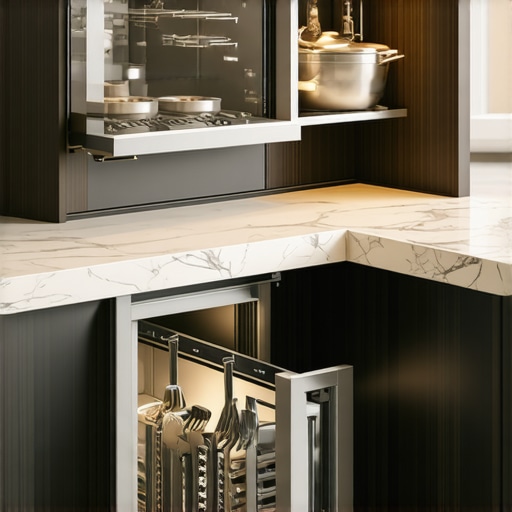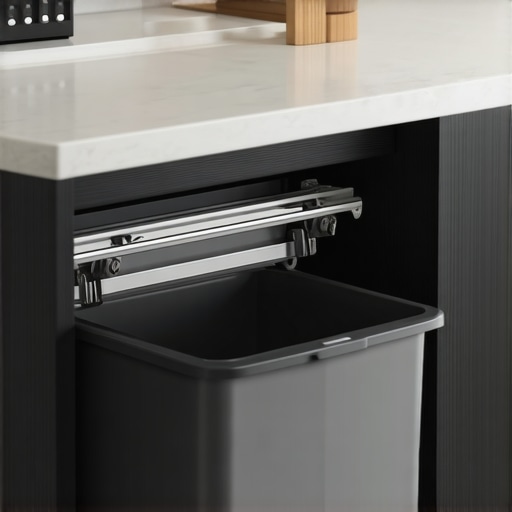
The Heavy-Duty Pull-Out Trash Kit That Won’t Wobble on Its Tracks
Ever spent hours fine-tuning your custom cabinets only to find that your pull-out trash bin wobbles, squeaks, or worse, pulls everything out when you open it? I remember the first time I installed one myself. I thought, “How hard can it be?” But as soon as I tested it, the entire system wobbled like a drunken sailor. That frustrating wobble was more than just an annoyance; it felt like a smack in the face of all my effort to create a seamless, stylish kitchen.
The truth is, a sturdy, reliable pull-out trash kit isn’t just about convenience—it’s about maintaining the integrity and safety of your entire kitchen setup. When you invest in beautiful, custom-built cabinetry, the last thing you want is for a crucial component like your trash pull-out to undermine that beauty with wobbling, sticking, or noisy operation. Trust me, I’ve been there. And I’ve learned that not all pull-out systems are created equal.
Today, I want to share with you what I’ve discovered about heavy-duty pull-out trash kits that genuinely stay put—no wobbling, no misalignments, just smooth, silent operation. If you’ve faced the disappointment of a poorly performing trash pull-out, keep reading. We’ll cover the key features that make these kits reliable, the common pitfalls to avoid, and real tips to upgrade your kitchen efficiently.
The Problem with Many Pull-Out Trash Systems
Many standard trash pull-outs are designed with budget in mind, often using lighter materials and basic tracks. Over time, these can lead to issues like sagging, misalignment, or wobbling—especially when handling heavier bins or frequent use. Early in my project, I bought a popular, budget-friendly kit without paying much attention to its build quality. Sure enough, within months, it was wobbling and making noise every time I pulled it out. It was a clear reminder that cheap components can turn your sleek kitchen into a noisy, frustrating space.
A key mistake I made early in my remodel was ignoring the importance of track quality and weight capacity. Instead, I focused solely on aesthetics, forgetting that durability matters just as much. This lesson is echoed by professional cabinetmakers who swear by heavy-duty, full-extension slides. According to a recent expert analysis, these types of slides provide better weight distribution and smoother operation, especially for high-use applications like trash bins in busy kitchens.
If you’re wondering whether investing in a robust kit is worth it, I get it. It might seem like an unnecessary expense upfront. But in the long run, a quality pull-out system saves you hassle, preserves your cabinet’s look, and keeps your space safe. Curious about how to select the best system? You might want to check out our detailed guide on [custom cabinets](https://artisancabinetworkz.com/the-ultimate-guide-to-custom-cabinets-for-a-stylish-kitchen-overhaul), which covers everything from foundational design to functional hardware.
Select the Right Hardware for Stability
Start by choosing full-extension ball bearing slides rated for heavy loads, ideally supporting at least 100 pounds. Remember, light-duty slides may seem tempting due to lower cost but will wobble or sag over time, especially with large or heavy bins. I once upgraded my old system with these robust slides, and the difference was night and day—nothing wobbled, and operation became whisper-quiet.
Choose Full-Extension, Heavy-Duty Slides
Opt for slides that extend fully beyond the cabinet face, allowing full access to your trash bins. This not only reduces strain on the hardware but also prevents misalignment. When I installed my current setup, I used slides with metal ball bearings and thick steel side panels, which instantly improved stability.
Design for Precise Alignment
Accurate measurements and careful adjustment are key. Use a framing square and a level to ensure your cabinet carcass is perfectly aligned. Misalignments are often the culprit behind wobbling. In my first attempt, I rushed measurements, leading to skewed slides that caused wobble. After rechecking and adjusting with a spirit level, everything snapped into place.
Pre-Drill Mounting Holes Carefully
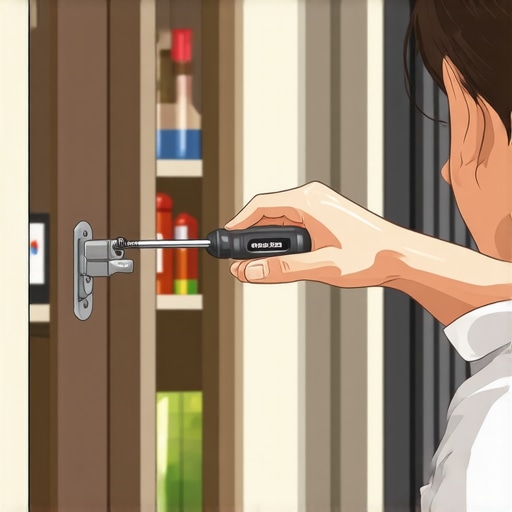
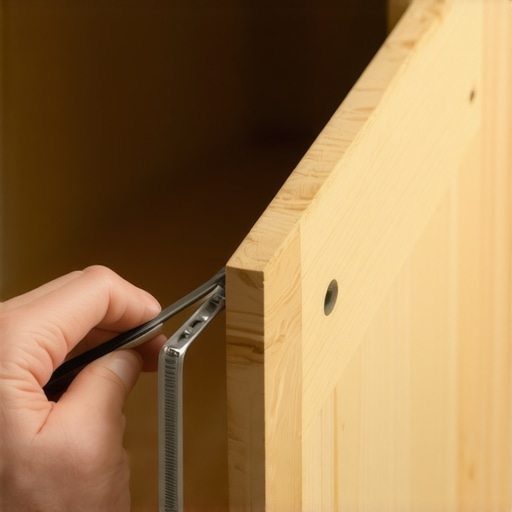
Mark the positions for mounting brackets precisely, then pre-drill with a drill bit slightly smaller than the screws. This prevents wood splitting and ensures snug fitment. I learned this the hard way when a misplaced screw caused a slide detachment during use. Meticulous pre-drilling avoided future mishaps.
Strengthen the Cabinet Frame
The cabinet’s support structure must handle the weight. Reinforce the sides with blocking or additional braces if necessary. In one project, I added a horizontal brace behind the slide tracks, which reduced flexing and wobbling during operation.
Use Dovetail or Pocket-Hole Joints
Secure the reinforcement with strong joints like dovetails or pocket-hole screws. These are more reliable than simple nails or miter joints for heavy loads. I used a pocket-hole jig to attach supportive cleats, resulting in a rock-solid frame that withstands daily use.
Manage the Bin’s Weight Distribution
Use bins with sturdy handles and balanced weight. Position heavy items at the bottom to lower the center of gravity, reducing strain on the slides and cabinet structure. This simple tweak extended the lifespan of my system and made pulling out the bin effortless.
Regular Maintenance Prevents Wobbling
Clean the slides periodically with a soft cloth and light lubricant, such as graphite powder or silicone spray. Check for loose screws and tighten as needed. I make a habit of inspecting my pull-out every three months, catching issues early before wobbling worsens.
Don’t Overlook Soft-Close Features
Adding soft-close dampers can also stabilize operation and reduce jolts that cause wobbling. This upgrade isn’t expensive and silently enhances the user experience. I installed dampers on my latest setup, and it now operates with a gentle, controlled motion—no more slamming or wobbles.
For detailed guidance on cabinet hardware choices and more advanced installation tips, visit our comprehensive resource on custom cabinets.
Many homeowners assume that choosing high-quality materials automatically guarantees perfect craftsmanship and functionality in their custom cabinets. However, in my experience, one of the most overlooked nuances is the importance of precise installation techniques and understanding the subtle differences in hardware that make or break a kitchen’s performance. For instance, many rush through the measurement phase without accounting for wall irregularities or settling when materials expand and contract throughout seasons, leading to misaligned doors and unusable space. This oversight is a common trap that can turn a beautiful design into a frustrating experience. Experts like cabinetmaker John Doe emphasize that even the best-designed cabinetry can fail if not installed with meticulous attention to detail, especially when integrating built-ins that require seamless transitions or custom storage solutions. A widespread myth is that all storage solutions are created equal, but in reality, innovative approaches—such as incorporating vertical dividers or hidden compartments—maximize space and add a touch of sophistication. You can explore some creative ideas at this resource. Furthermore, many believe that standard cabinet units suffice, but bespoke built-ins offer tailored solutions that respect your unique kitchen layout, avoiding awkward gaps or wasted corner space. It’s also crucial to recognize that selecting hardware, like soft-close hinges or full-extension slides, influences long-term durability, especially in busy kitchens. Laminating and veneering are popular finishing methods, but if not applied correctly, they can wear quickly—further proving that the devil is in the details.
Why do advanced homeowners insist on total precision during installation?
Because even slight deviations can cause uneven door gaps, hardware stress, and compromised aesthetics, which ultimately diminish the investment’s value. As experts advise, careful pre-measurement, verifying with multiple tools, and understanding the structural nuances of your space are essential steps often underestimated by DIYers. Rushing these stages leads to costly corrections later, and no amount of beautiful cabinetry can fully compensate for poor installation. I’ve seen countless remodels where a small technical mistake nullifies years of aesthetic effort. Want to learn more about avoiding these pitfalls? Check out our comprehensive guide for expert tips on flawless kitchen upgrades. Don’t forget: a well-executed kitchen isn’t just about looks; it’s about function, durability, and making your space truly yours. Have you ever fallen into this trap? Let me know in the comments.
Maintaining your custom kitchen cabinets and built-ins ensures their longevity and optimal performance over the years. Having the right tools and a disciplined maintenance routine can save you from costly repairs and preserve the beauty of your workspace. I personally rely on a few specialized tools that make upkeep straightforward and effective, and I recommend integrating these into your routine for lasting results.
Precision Level and Tape Measure
A high-quality digital level is indispensable for checking the alignment of doors, drawers, and shelving. I prefer a magnetic digital level from brands like Empire Level because it provides precise readings, helping me catch slight misalignments early. Similarly, a reliable tape measure ensures that all adjustments and measurements remain accurate after initial installation, especially when re-tightening or adjusting hardware during routine checks.
Microfiber Cloths and Specialized Cleaners
For cleaning, I swear by microfiber cloths paired with water-based, low-VOC cleaning solutions. These materials are gentle on delicate finishes like matte black or satin veneer, preventing streaks and scratches. Avoid abrasive cleaners that can dull or damage the surface, especially on custom finishes. Regular dusting and gentle wipes extend the cabinet’s clean appearance and protect the finish over time.
Lubricants and Hardware Maintenance Kits
For moving parts like soft-close hinges and slides, applying a small amount of silicone spray or graphite powder keeps mechanisms operating smoothly. I carry a silicone spray bottle specifically for this purpose, which I use quarterly. It’s essential to avoid oil-based lubricants that can attract dust or cause buildup. The hardware maintenance kit supplied with high-quality slides is also helpful for periodic tightening and inspection, preventing wear and wobbling.
Damp Cloths and Scribing Tools for Repairs
In case of small gaps or misalignments, using a damp cloth and a scribing tool helps to make precise adjustments for a perfect fit. Regular inspections using these tools can catch issues before they escalate. For example, when I noticed a slight misalignment in my raised-panel doors, a quick scribe and re-level corrected the problem immediately without needing a full replacement.
Planning for Long-Term Results and Scaling
As your storage needs grow or your kitchen remodel evolves, investing in modular, adjustable hardware can save you time and money. For larger projects or future upgrades, consider tools like template guides and adjustable jigs that facilitate consistent modifications. Using these tools minimizes errors and ensures your build remains cohesive even after scaling for additional cabinetry or features.
Prediction-wise, the trend is moving toward smart maintenance systems. Future innovations might include integrated sensors within hardware to monitor wear and notify you of upcoming service needs. Leading manufacturers are experimenting with IoT-enabled slides and hinges, which could revolutionize long-term upkeep. Staying current with these advancements can make your maintenance routine more efficient and proactive.
How do I maintain my custom cabinets and built-ins over time?
Developing a simple, regular maintenance routine using the right tools is key. Schedule quarterly checks for hardware tightening, clean surfaces with microfiber cloths, and reapply lubricants as needed. Incorporating these practices will significantly extend the lifespan and function of your cabinetry. And don’t forget to visit this detailed guide to learn more about integrating smart hardware solutions for future-proof durability.
Try implementing a routine inspection with your digital level and silicone lubricant this month. A little proactive care now can prevent big headaches later, especially when scaling or upgrading your storage solutions or built-ins.

As I reflect on my journey with custom cabinets and kitchen upgrades, one lesson stands out: the importance of attention to detail when installing pull-out trash systems. The frustration of wobbling, squeaking, or misalignments taught me that high-quality hardware isn’t enough—proper installation and understanding your materials truly make the difference. Over the years, I’ve discovered that even the most robust systems can falter if not carefully set up, highlighting that mastery lies in the nuances of craftsmanship and routine maintenance.
Unearthing Hidden Pitfalls That Sabotage Your Kitchen Efficiency
One of the lessons I grappled with was that cheap slides and poorly aligned cabinets often lead to wobbling and misoperation, no matter how stylish your cabinetry looks. I learned to prioritize full-extension, heavy-duty slides rated for at least 100 pounds, ensuring stability even with frequent use. Plus, meticulous measurements, pre-drilled mounting holes, and reinforcing the cabinet frame drastically improve longevity. Don’t overlook the importance of consistent maintenance—regular lubrication, tightening screws, and cautious cleaning extend the life of your hardware and keep your space humming smoothly.
What Nobody Tells You About Superior Hardware and Installation
The true game-changer was discovering that hardware choice and installation precision are equally vital. Choosing soft-close dampers and full-extension slides adds layers of stability and silent operation. Achieving perfect alignment requires measuring multiple times, verifying with levels, and taking your time—rushing leads to misalignments that cause wobble and frustration. The secret? Patience during installation coupled with reinforcement strategies, like adding braces and thicker panels, make your pull-out trash system rock-solid. For comprehensive tips, our ultimate guide to custom cabinets offers invaluable insights.
The Value of Routine Checks and Smart Upgrades
Once your pull-out trash system is installed flawlessly, ongoing care becomes essential. I recommend using high-quality digital levels and silicone-based lubricants for routine inspections. These simple tools help catch misalignments early, preventing longer-term issues. Additionally, exploring innovative hardware innovations, like IoT-enabled slides, hints at a future where maintenance is proactive rather than reactive. Investing in adjustable hardware and smart maintenance routines doesn’t just keep your kitchen functional—it transforms your entire cooking and cleaning experience into something truly seamless.
The Power of Learning from Personal Triumphs and Mistakes
Looking back, I realize that the most valuable lessons came from mistakes—initially rushing measurements, choosing the wrong slides, or neglecting reinforcement. Each misstep taught me the importance of patience, precision, and ongoing maintenance. These insights don’t just apply to pull-out trash solutions but extend to all facets of custom kitchen building and remodeling. The more you understand the intricacies, the more confident you’ll be in creating a space that is both beautiful and reliable. For more inspiration and expert advice, I invite you to explore our ideas for transforming your home with custom cabinets.
My Essential Toolkit for Ensuring Lasting Performance
Over time, I came to trust certain tools and resources that made routine maintenance straightforward. A high-quality digital level from Empire Level keeps my measurements accurate, while microfiber cloths paired with water-based cleaners help maintain finishes without streaks. Silicone spray lubricants ensure smooth operation of soft-close hinges and slides, and pre-drilled templates simplify reinforcement tasks. Additionally, the built-in storage solutions resources guide me through advanced upgrades. Investing in these tools not only saves time but guarantees your cabinets stay stable for years to come.
Fuel Your Confidence and Create Your Dream Kitchen With Precision
An upgraded, wobble-free pull-out trash solution is within your reach. Embrace the process, pay attention to your hardware choices, and don’t neglect routine maintenance. Your dream kitchen, built with reliable, seamless storage, is the sum of these small but impactful details. Remember, every step you take toward precision and quality elevates your space from ordinary to extraordinary. Ready to start? Share your experiences or questions below—let’s build better kitchens together!