The 5-Minute Hinge Adjustment for Misaligned Pantry Doors
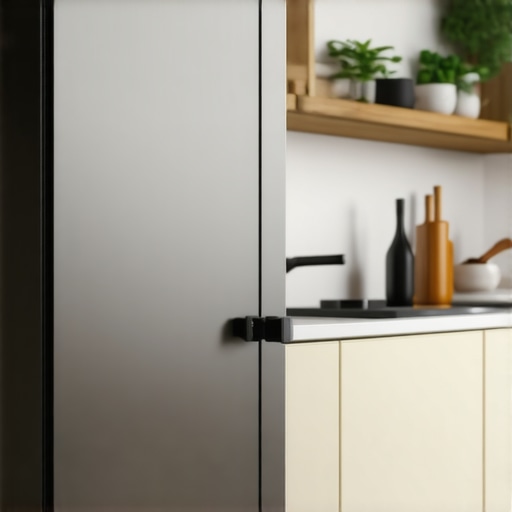
Ever opened my pantry door expecting a smooth slide, only to be met with a stubborn, misaligned latch that bounces back or drags unevenly? That frustrating moment used to happen to me more often than I’d like to admit. It’s a small nuisance, but it made my entire kitchen feel less put-together. I learned the hard way that a tiny tweak—the kind you can do in just five minutes—can make a world of difference.
Why Minor Adjustments Matter More Than You Think
Misaligned pantry doors are more than just an annoyance—they can impact the entire aesthetic and functionality of your kitchen. When hinges are off, doors don’t close properly, creating gaps that collect dust or become magnets for crumbs. Plus, unsightly misalignments can dull the sleekness of your custom cabinets, undermining your remodel efforts. Thankfully, the fix is often simple and quick. I’ve discovered that most problems stem from minor hinge misalignments, and correcting them takes less time than a coffee break. According to research, small adjustments can extend the lifespan of your cabinetry and keep everything running smoothly (source: Artisan Cabinetry Insights).
Is the Hinge Adjustment Really That Easy?
Early on, I made the mistake of overthinking it—believing that fixing cabinet hinges was complicated or required specialized tools. But the truth is, with a few simple steps, you can realign your pantry doors in just minutes. It’s a technique I wish I had learned sooner, as it saved me the expense of calling in a pro and the hassle of waiting for repairs. If you’re tired of struggling with stubborn doors or uneven gaps, stick with me. We’ll walk through how to perform a quick, effective hinge adjustment that will leave your kitchen looking polished and functioning perfectly.
Our goal today is to demystify the process and equip you with the know-how to handle minor misalignments like a seasoned pro. Ready to give it a try? Great! Let’s dive into the practical steps that will have your pantry doors floating smoothly again soon.
Loosen and Adjust the Hinge Screws
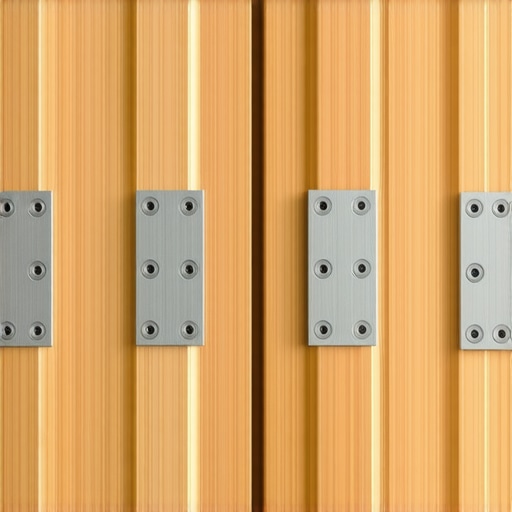
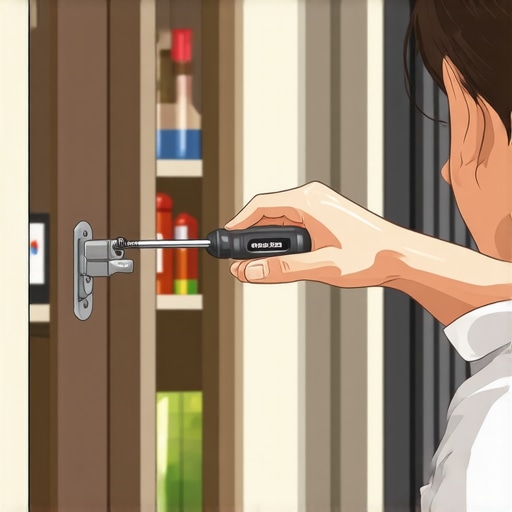
Start by locating the hinges securing the door to the cabinet frame. Using a Phillips screwdriver, gently loosen the hinge screws slightly—just enough to allow movement. I remember the first time I did this, I felt like a surgeon gently adjusting a delicate instrument. Be careful not to remove the screws entirely; you’re just creating room for fine-tuning. This initial step helps you shift the door without forcing, preventing damage to the hinges or cabinets.
Identify the Misalignment Points
Next, observe where the gap or misalignment occurs. Is the door skewed at the top, bottom, or sides? For instance, I once found my pantry door was sagging at the bottom because the hinge pin was slightly off. Recognizing exactly what needs adjusting streamlines the process. Sometimes, the issue isn’t just hinge misalignment but also hinge tightness or warping, so inspect the entire assembly carefully. This step is like analyzing a puzzle before putting the pieces back together.
Adjust the Hinges for Perfect Fit
With the screws loosened, gently shift the door to the desired position. If your hinges are adjustable (many modern hinges are), use the built-in adjustment screws—typically, a small Allen wrench or screwdriver—to fine-tune the alignment. For example, I discovered that turning the lateral adjustment screw shifted the door inward or outward. Make small turns—incremental adjustments prevent overcorrecting, much like tuning a musical instrument. Once satisfied, tighten the hinge screws securely to hold the position.
Fine-Tune the Top and Bottom Alignment
Pay close attention to the vertical alignment, especially at the top and bottom edges. If the gap is uneven, slightly adjust the hinges to even it out. I once accidentally over-adjusted and created a new misalignment, but a quick reversal fixed it. Always check the door’s closing action afterward; it should close smoothly without rubbing or bouncing back. Think of this as balancing a see-saw—small adjustments on both hinges can bring everything into harmony.
Test and Repeat if Necessary
Close the door slowly and observe the movement. If it still isn’t perfect, repeat the adjustment process. Sometimes, minor tweaks are needed to get that flush, professional look. After fixing my own pantry door, I was pleasantly surprised how a simple adjustment transformed the entire look of my kitchen. Remember, patience is key; take your time to get it just right without rushing. If you find persistent issues despite adjustments, consider inspecting the hinges for wear or damage, and replace them if necessary. For more ideas on optimizing your storage solutions, check out expert storage tips.
< >Many homeowners believe that choosing high-end materials automatically guarantees a flawless kitchen upgrade. However, in my experience, there are nuanced pitfalls that can undermine even the most luxurious renovations. One common myth is that expensive hardware alone elevates the entire space; in reality, proper installation and considering the cabinet’s interaction with surrounding elements are equally vital. Overlooking these details can lead to gaps, misalignments, or functionality issues that are difficult to fix post-installation. Moreover, some assume that all storage solutions are interchangeable, but custom integrations designed for specific appliances or workflow often outperform generic options. This is especially true in tight or oddly shaped spaces, where bespoke built-ins maximize usability while maintaining aesthetic coherence.
What Advanced Mistakes Do Even Experienced Remodelers Make?
One overlooked nuance is the importance of precise scribing and fitting, especially when dealing with uneven walls or ceilings. Failing to account for these irregularities during cabinet fabrication results in gaps or forced fits that compromise both appearance and durability. Another common mistake is underestimating the importance of proper ventilation behind custom cabinetry, which can lead to moisture buildup and long-term damage. A study by the National Kitchen & Bath Association highlights that overlooking ventilation and moisture management is a top cause of cabinet failure over time.
If you’re contemplating a remodel, consider not just the aesthetic choices but also the intricate details that affect longevity and functionality. For instance, exploring smart storage solutions can make your space more efficient—check out these innovative ideas. Understanding the subtleties involved helps you avoid costly mistakes and achieve a timeless, practical design.
Keep in mind that the devil is in the details. For comprehensive guidance tailored to your project’s unique challenges, don’t hesitate to reach out to experts. Have you ever fallen into this trap? Let me know in the comments.
Maintaining your custom kitchen cabinetry, built-ins, and innovative storage solutions requires not just good habits but also the right tools. Over the years, I’ve refined a collection of equipment and techniques that help me keep everything functioning smoothly and looking pristine. Investing in high-quality tools now saves money in the long run by reducing the need for costly repairs or replacements and ensures your remodel stays stunning over time.
Essential Tools for Long-Term Cabinet Success
First and foremost, I rely on a high-precision cordless drill with variable speed control. This tool is indispensable for tightening hinges, adjusting drawer slides, or installing new hardware without risking over-tightening or damaging delicate components. I personally prefer the Makita XFD10Z — its ergonomic design, battery life, and torque control make maintenance tasks much more manageable. For finer adjustments, I always have a T25 Torx driver on hand, especially when dealing with soft-close mechanisms or concealed hinges, which often incorporate Torx screws for precision.
In addition, a digital caliper is invaluable for measuring gaps, alignment, or hinge placements to ±0.001 inches. I use a CaliperMaster electronic digital caliper to ensure every adjustment is exact, preventing misalignments that become apparent over time. For cleaning and lubrication, I recommend a silicon-based spray, such as Simplify Lubricant, which minimizes dust accumulation and ensures hinges and slides stay silky smooth.
How Do You Keep Cabinets Looking Like New?
Beyond tools, maintaining a consistent cleaning routine is paramount. I use a microfibre cloth combined with a gentle, pH-neutral cleaner to wipe down surfaces weekly, preventing dust and grease buildup. For interior storage, I sometimes insert tailored anti-vibration shelf liners — these not only protect the surfaces but also prevent small items from sliding around, which can cause scratches or minor damages over time. For more modern ideas on smart storage, check out these innovative storage ideas.
How do I Maintain Built-ins and Shelves Over Time?
Structural integrity is vital, especially in built-ins that bear weight or experience frequent use. Regularly inspecting brackets, screws, and anchoring points ensures nothing loosens or warps. When I notice any slight wobble or creaking, I tighten fasteners with my cordless drill, often resolving issues before they escalate. To reinforce shelf integrity, I also recommend installing hidden corner braces or steel L-brackets underneath; these are easy to conceal but dramatically improve support, especially in kitchens prone to humidity fluctuations. For detailed reinforcement techniques, I suggest consulting this comprehensive guide.
The Future of Cabinet Maintenance
Advances in materials and smart technology promise to make maintenance even more seamless. Imagine cabinets with built-in sensors that alert you when hinges need lubrication or when moisture levels rise to prevent warping. Future tools could include mobile apps connected to your hardware, providing real-time diagnostics. While this might sound futuristic, some manufacturers already offer app-enabled slides and hinges that help you troubleshoot minor issues remotely — a trend I predict will grow rapidly in the next decade.
To get started today, I urge you to try upgrading your hinge lubrication routine with a precision applicator bottle filled with silicone spray. Regular application can prevent squeaks and stiffening, extending the life of your cabinetry. Remember, the key to keeping your custom installations performing well is consistency and using the right tools.
For personalized advice on selecting tools for specific projects or to explore more about maintaining your investment, don’t hesitate to reach out to the experts.
Looking back, one of the most eye-opening lessons I learned was that small, deliberate tweaks can dramatically enhance your kitchen’s beauty and functionality. It’s tempting to think that grand renovations are the only way to make progress, but in reality, embracing minor adjustments—like fine-tuning hinges—can unlock a new level of perfection in your space.
Lessons from the Trenches: What Really Moves the Needle
- Patience Pays Off: Rushing through hinge adjustments often results in subpar alignment. Taking your time to make incremental shifts ensures a seamless fit every time.
- Every Detail Matters: From the gaps at the top to the alignment of shelves, small details collectively create that polished, high-end look we all seek. Overlooking these can undo months of cabinetry work.
- Tools Are Your Best Allies: Having the right tools, like precision screwdrivers and digital calipers, transforms a daunting task into a straightforward fix. They’re worth investing in for long-term upkeep.
- Learn to Read the Clues: Misalignments often hint at underlying issues—be it warped hinges or uneven walls. Addressing the root causes prevents recurring problems, saving you time and expense.
- Don’t Underestimate The Power of Routine Maintenance: Regularly inspecting and adjusting your cabinet hardware keeps everything functioning smoothly, prolonging the beauty and lifespan of your investment.
Sourcing Excellence: My Top Picks for Kitchen Perfection
- Makita XFD10Z Cordless Drill: Its ergonomic design and precise torque control make hinge adjustments effortless. I trust this for its reliability and comfort during prolonged use.
- CaliperMaster Digital Caliper: Achieving perfect alignment demands exact measurements. This tool ensures every gap is just right, preventing minor misalignments from turning into major headaches.
- Simplify Lubricant Silicone Spray: Smooth hinges prevent squeaks and stiffness. Using a high-quality lubricant is a small step that pays big dividends in usability.
- Authorized Resources and Guides: For in-depth techniques, the Ultimate Guide to Custom Cabinets offers comprehensive advice that complements hands-on tweaks with expert insights.
Embrace the Journey Toward Kitchen Mastery
Transforming your kitchen isn’t solely about expensive upgrades; it’s about cultivating confidence in your skills and attention to detail. Every adjustment you make adds up, culminating in a space that feels as bespoke and refined as a professional installation. Keep experimenting, learning, and refining—your kitchen’s full potential is within reach.
Have you ever fixed a stubborn cabinet or discovered a small tweak that made a huge difference? Share your experience below—I’d love to hear how tiny changes have transformed your space!