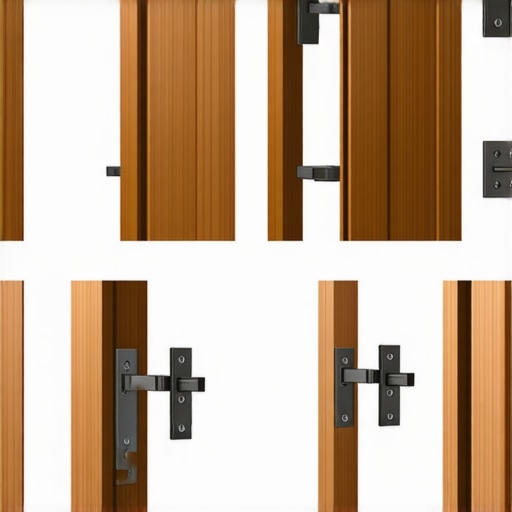
The Secret to Adjusting Blum Hinges for a Perfectly Level Door
I remember the first time I installed a set of custom cabinets in my kitchen. Eager to see my work come together beautifully, I tightened the hinges and stepped back to admire my achievement. But when I opened the door—disaster. The door was crooked, tilting at an awkward angle, and I felt a wave of frustration crash over me. It was a small detail, yet it made the entire space look sloppy. That lightbulb moment made me realize how crucial hinge adjustment is in creating a polished, professional finish. Faulty hinge alignment can turn a sleek remodel into a design nightmare, and I knew I wasn’t the only one struggling with it.
Today, I want to share the secret I uncovered that transformed my cabinet installations from frustrating to flawless. If you’re tired of doors that don’t quite sit right—whether you’re remodeling your kitchen, bathroom, or upgrading your built-ins—this guide will walk you through the simple yet essential steps to master Blum hinge adjustments and achieve that perfectly level door every time.
Why Proper Hinge Adjustment Matters More Than You Think
Few things make a kitchen look more professionally finished than perfectly aligned cabinet doors. When hinges aren’t adjusted properly, it’s immediately noticeable. Crooked doors, uneven gaps, and squeaky hinges can ruin the aesthetic and even compromise functionality. Plus, improperly adjusted hinges can lead to wear and tear, making doors sag or squeak over time. According to a study by the National Kitchen & Bath Association, consistent door leveling and hinge adjustment significantly extend the lifespan of cabinetry and enhance overall value. Whether you’re doing a DIY project or hiring a pro, understanding how to properly tweak Blum hinges is a game-changer.
In my early days, I made the classic mistake of rushing through hinge adjustments without fully understanding the process. It led to time-consuming re-dos and, honestly, a bit of dented confidence. But I learned that Blum hinges—while innovative—require a specific technique to get the perfect alignment. Now, I’ll guide you through those key steps so you can avoid my mistakes and enjoy a perfectly polished finish.
Have you ever faced the frustration of crooked cabinet doors? If so, you’re not alone. Many homeowners and DIY enthusiasts struggle with this common issue. Luckily, with just a little know-how, you can take control and make your doors look store-bought instead of handmade. Ready to discover how? Let’s dive into the practical steps that will turn your cabinet misalignments into perfection.
In the next section, we’ll explore how to identify the root of misalignment and prepare for a smooth adjustment process. Remember, mastering hinge adjustments isn’t just about aesthetics—it’s about creating a space you love and feel proud of. Stay with me, and I’ll show you how to turn those crooked doors into a thing of the past.
Identify the Misalignment and Prepare
Begin by closing the cabinet door and observing the gaps around the edges. Use a pencil to mark where the door contacts the frame at top, middle, and bottom. This helps you visualize where adjustments are needed. For example, I once installed a set of cabinet doors in my pantry, and I noticed the top edge was tilting outward. Marking those contact points instantly revealed the discrepancy, letting me plan precise adjustments.
Adjust the Lateral Movement
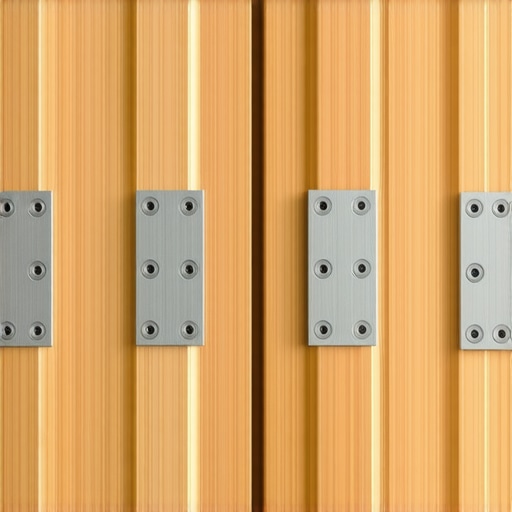
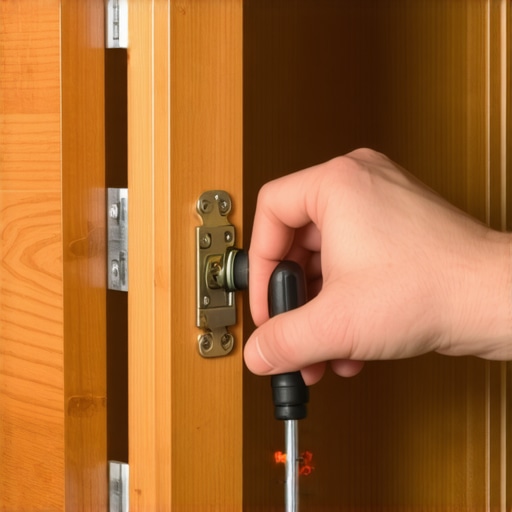
Blum hinges have a screw that controls side-to-side movement—usually a small, hex or Phillips screw on the hinge arm. Turn this screw clockwise to shift the door closer to the hinge side, or counterclockwise to move it away. During my first attempt, I carefully incremented this screw, turning it just a quarter turn at a time, and checked the door alignment after each turn. This step ensures that the gaps between doors are even and the door sits flush with neighboring panels.
Tip
Visually check the gaps after each adjustment. Patience is key—overturning can cause misalignment in the opposite direction. Always adjust in small increments, like a quarter turn, to fine-tune your door’s position.
Correct the Vertical Level
The vertical adjustment is handled by another screw, usually on the arm attaching the hinge to the cabinet frame. Slightly loosening this screw allows you to lift or lower the door. Re-tighten after positioning. I recall a time when I loosened the screws slightly, lifted the door to match the height of adjacent cabinets, and then re-tightened. The result was a seamless row of cabinet doors without visible misalignment.
Fix the Depth and Pivot Angles
The third adjustment involves controlling how far the door sits against the cabinet and its angle. This is done by tightening or loosening the screw closest to the hinge’s pivot. Experimenting with this screw allowed me to eliminate stubborn gaps or prevent doors from swinging too far outward. Remember, small changes go a long way, so adjust slowly and test frequently.
Combine Adjustments for a Flawless Finish
Most misalignments are a result of multiple factors. Use a combination of lateral, vertical, and depth adjustments to get the perfect fit. My initial misaligned cabinet doors became a showpiece after carefully combining these techniques, demonstrating the importance of a systematic approach.
Final Check and Fine-Tuning
Once you’re satisfied with the alignment, open and close the doors several times to test durability and smoothness. Ensure the gaps remain consistent and the doors don’t scrape or wobble. If necessary, make tiny tweaks to perfect the fit. Keep in mind that issues like uneven cabinet frames or warped doors may require additional steps, but mastering hinge adjustment is the foundation for a professional look.
When it comes to built-in and custom cabinets, many enthusiasts believe they’re simply selecting the right style and materials. However, this overlooks nuanced design and installation details that can make or break your project’s success. One common myth is that standard measurements and off-the-shelf solutions suffice for personalized spaces. In reality, integrating customized storage compartments demands precise planning, accounting for room-specific variables and future needs. Overlooking these factors can result in misfitting cabinets or inefficient use of space, which often leads to costly rework.
How can advanced design techniques prevent costly mistakes in custom cabinetry?
Incorporating data-driven measurements and adaptive design strategies is crucial. For instance, utilizing software that models your space with 3D renderings helps identify potential conflicts before manufacturing begins. Expert insights suggest that embracing flexible design principles, such as adjustable shelving or modular components, allows for dynamic adjustments post-installation, minimizing errors and maximizing usability. According to a study by the American Institute of Architects, meticulous pre-planning and tolerance analysis significantly improve project outcomes, reducing adjustments needed later. Be cautious of the trap that regards built-ins as static fixtures; in fact, they should be adaptable to evolving lifestyle needs. Want to learn more about these advanced strategies? Explore our comprehensive guide on creating seamless kitchen remasters with built-in storage and discover how to avoid common pitfalls. Remember, overestimating the simplicity of custom solutions can lead to issues that diminish your space’s functionality and aesthetics. Always approach your project with a detailed plan and consider future modifications. Have you ever fallen into this trap? Let me know in the comments or contact us for expert advice on custom cabinet planning. Proper attention to these nuances ensures your built-ins will stand the test of time, offering both beauty and practicality.Maintaining the longevity and functionality of your custom cabinetry and built-in storage solutions requires the right tools and a proactive approach. Personally, I rely on a few key pieces of equipment that make ongoing upkeep both efficient and effective. One indispensable tool is a high-precision hex driver set, which allows me to make minor hinge adjustments without stripping screws or causing damage. I use a ratcheting screwdriver with adjustable torque, especially when tightening delicate components, ensuring secure fit without over-torquing. For measuring, a digital caliper is essential for verifying door gaps and alignment during touch-ups, helping me maintain an immaculate finish over years of use.
When it comes to software, I recommend software like SketchUp for planning modifications or expansions. Its 3D modeling capabilities enable me to visualize potential upgrades or repairs before making irreversible changes, saving time and reducing errors. For ongoing maintenance, I keep a detailed digital log of adjustments, wear points, and parts replaced to anticipate future needs and avoid costly surprises.
预Prediction-wise, the trend in cabinet and built-in maintenance is moving towards smart monitoring solutions. Emerging IoT-enabled sensors can alert you to hinges or slides that need lubrication or adjustment before issues become visible or frustrating. Keeping this in mind, integrating smart features into your cabinetry can simplify long-term upkeep.
Wondering How to Keep Your Built-Ins Working Smoothly Over Time
Regular lubrication of hinges and slides is critical. I prefer using a silicone-based spray that’s specifically formulated for cabinetry hardware. It’s clean, dries quickly, and provides a long-lasting lubricant that reduces squeaks and eases operation. Additionally, inspecting the hardware quarterly helps identify loose screws or signs of wear early, preventing minor issues from escalating. For soft-close mechanisms, occasional inspection for proper function ensures that they continue to operate silently and smoothly.
Remember, simple routine checks can extend the life of your cabinetry. Consider incorporating preventative maintenance into your annual cleaning routine. By investing a little time now, you’ll save significant effort and expense later. Want some expert advice on how to set up a maintenance schedule tailored for your custom cabinets? Reach out through our contact page.
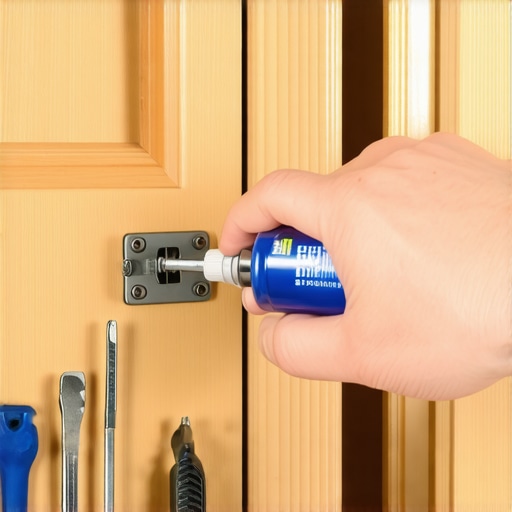
Here’s a visual guide showing the optimal placement and usage of a silicone-based lubricant for cabinet hardware, ensuring smooth operation and prolonged hardware life. Use this image as a quick reference during your routine checkups.
3 Crucial Lessons That Reshaped How I Approach Built-Ins
One of the most eye-opening insights I gained was that even the smallest miscalculation can unravel months of work, turning a sleek design into a source of frustration. Over time, I realized that patience, meticulous planning, and embracing imperfections in materials can make or break a cabinetry project. Learning to anticipate those tiny alignment issues before they become significant headaches has saved me countless hours and deepened my appreciation for craftsmanship.
Another lesson I hold dear is the importance of flexible design. I used to think that once built, a cabinet was fixed in stone—but now I see that incorporating adjustable components and modular solutions offers vital adaptability. This approach not only simplifies future upgrades but also cushions the inevitable shifts caused by humidity or settling, ensuring my custom work stays pristine for years to come.
Finally, understanding the hidden nuances behind hardware choices—like hinge type, drawer slides, and soft-close mechanisms—has transformed my projects from ordinary to extraordinary. Investing in quality, knowing how each component interacts, and aligning it with the overall aesthetic has been a game changer. It’s fascinating how these seemingly small details elevate a kitchen to a true masterpiece, demonstrating that excellence lies in the details.
Tools and Resources That Changed My Game
If you’re serious about taking your built-ins and cabinetry to the next level, a few tools and references have been indispensable. I swear by a high-precision digital caliper for ensuring perfect gaps and alignments—I’ve learned that good measurements prevent headaches down the line. The innovative storage solutions guide is also a treasure trove for inspiring ideas that maximize space and utility without sacrificing style. For planning and visualization, 3D modeling software has become an essential, helping me fine-tune designs before breaking out the tools. Lastly, I recommend the book “The Complete Guide to Installing Custom Cabinets”—it offers in-depth techniques and troubleshooting tips I wish I had early in my journey.
Own Your Space: Take Action Now
Designing and installing built-ins and custom cabinets isn’t just a task; it’s an art form that can dramatically elevate your living space. With patience, attention to detail, and the right resources, you can craft a space that feels both functional and uniquely yours. Remember, mastery comes from experience—and every project teaches a valuable lesson. So, why wait? Start planning your next cabinetry upgrade today and turn your vision into reality.
Have you ever encountered a lesson that totally changed how you approach built-ins or custom cabinetry? Share your stories below—I’d love to hear how you navigated those moments.