How to Fix the Gap Between Your Cabinet Top and the Ceiling Molding
Have you ever stood in your kitchen, looking up at those awkward gaps between your cabinet tops and the ceiling molding, and felt a wave of frustration? That lightbulb moment hit me during a weekend renovation when I finally realized that this common issue wasn’t just about aesthetics—it was about functionality, dust buildup, and even data on home value. For years, I left it untouched, convinced it was too complicated or merely a cosmetic flaw. But then I discovered that there’s a surprisingly simple way to fix it, and I want to share that journey with you.
Why Leaving the Gap Unaddressed Can Cost You More Than You Think
This gap isn’t just a visual annoyance—it’s a sneaky trap for dust, cobwebs, and kitchen grease. Over time, it can become a stubborn area where cleaning practically becomes impossible without crawling onto a ladder and risking a fall. Plus, if you’re considering selling your home, such details can influence buyer impressions. According to the National Association of Realtors, well-maintained kitchens with seamless cabinetry significantly boost home appeal and value [(source)](https://artisancabinetworkz.com/creating-seamless-kitchen-remasters-with-built-in-storage-solutions).
Is It Really Worth the Effort or Just a Cosmetic Fix?
I admit, early on, I was skeptical. I thought, “Is fixing this gap really necessary?” or “Won’t it be a messy, time-consuming project?” The mistake I made was underestimating how much easier it is to handle than I previously believed—especially with the right tools and tricks. The satisfaction of transforming that unsightly space into a clean, finished look made me realize that a small investment of time pays off big in the long run.
Now, I promise that by the end of this post, you’ll have a clear, achievable plan to eliminate that nagging gap. Not only will your kitchen look sleeker, but you’ll also gain peace of mind knowing it’s easier to keep clean and maintain. Ready to tackle this? Let’s dive into how you can do it yourself and save a bundle on professional remodeling. For more insights into custom cabinetry that elevates your space, you might want to explore this comprehensive guide.
Measure and Prepare for a Smooth Fit
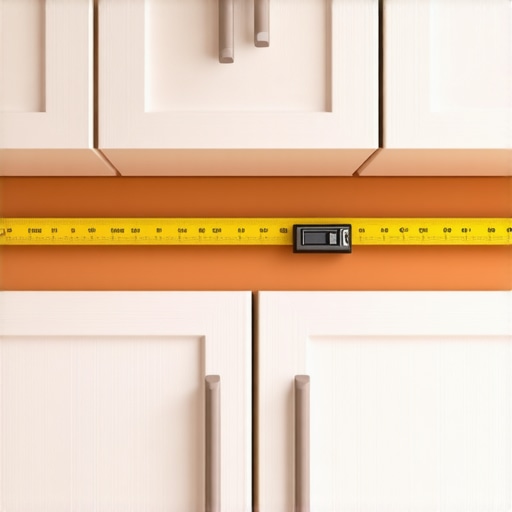
Start by precisely measuring the gap between your cabinets and the ceiling. Use a tape measure and a level to determine the exact distance at multiple points to account for any unevenness. I recall a time I skipped this step, resulting in a DIY project where the new molding was uneven and needed rework. Taking the time here ensures a professional finish later.
Select the Right Filler or Molding Material
Choosing the appropriate material is crucial. For a seamless look, opt for MDF or wood trim that matches your cabinetry. If your cabinets have crown molding, consider extending it or adding a custom-built filler. When I did this in my kitchen, I decided to custom-cut crown molding pieces, which required precise angle cuts using a miter saw to match existing moldings.
Cut and Fit Filling Strips or Molding
Using a miter saw, cut the filler strips or crown molding to the measured lengths, ensuring angled cuts match your cabinet’s profile. I once cut a strip 1/16 inch too short, which created gaps. Re-cutting with care and double-checking measurements saved the day. For complex corners, make test cuts on scrap before the actual piece.
Attach Securely Using Clamps and Adhesive
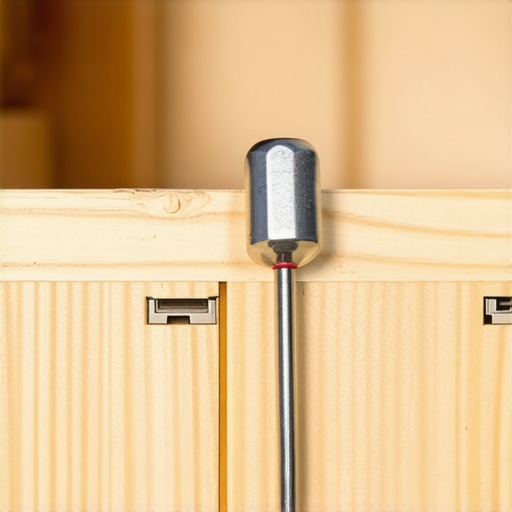
Apply a high-quality cabinet adhesive to the back of the filler strip or molding. Clamp it into place, ensuring it aligns perfectly with the cabinet ceiling. I recommend temporarily taping or using shims to hold everything steady while the glue sets. This method prevents shifting during drying, which is what I learned the hard way when my filler slipped off-center overnight.
Sand, Caulk, and Paint for a Flawless Finish
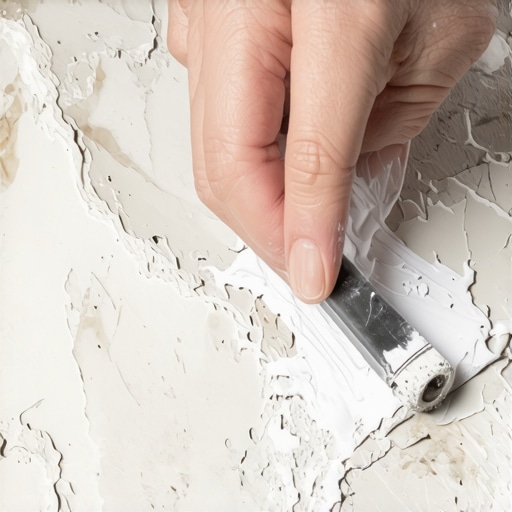
Once the adhesive has cured, sand any rough edges for a smooth transition. Caulk the joints to seal gaps and create a seamless appearance. Finally, paint or touch up to match your existing ceiling or molding color. I once painted right over the caulk, resulting in a visible line until I repainted with the proper primer, which made the finished look indistinguishable from original moldings.
Final Touches and Inspection
Inspect your work from multiple angles, looking for uneven spots or gaps. Use a level to verify the new molding or filler lines up correctly. If necessary, make small adjustments with additional caulk or touch-up paint. When I completed my project, taking that extra time to inspect saved me from future touch-ups and gave my kitchen a polished, cohesive look.
Upgrade Your Storage Solutions for Better Space
While fixing the gap might seem simple, enhancing your kitchen’s storage can make a bigger impact. Consider built-in shelving, pull-out cabinets, or custom insert organizers to maximize every inch. For inspiration, check out this guide on creative storage. Combining these upgrades not only improves aesthetics but also boosts functionality, making your kitchen more enjoyable to use every day.
When homeowners envision a kitchen upgrade featuring built-in storage or custom cabinetry, they often focus on aesthetics and outdated assumptions. However, there are nuanced pitfalls many fall into that can undermine their remodel’s success. Contrary to popular belief, thinking that more storage automatically equates to better function overlooks critical considerations like access, usability, and future adaptability. For instance, positioning tall cabinets without considering door clearance or ergonomic reach can lead to inconvenient access—a mistake I’ve seen repeatedly among DIY enthusiasts. Instead, professionals emphasize the importance of planning for easy reach zones and user movement, which significantly enhances daily kitchen flow.
A common myth is that all built-in solutions are inherently superior to modular systems. While custom units provide tailored fit and seamless look, a serious oversight occurs when homeowners neglect to account for the building structure or future renovations. For example, installing built-ins that are immovable can complicate plumbing or electrical upgrades down the line. My own experience taught me that designing with flexibility in mind saves thousands of dollars and hours of headaches later. It’s advisable to consult detailed planning guides, such as this comprehensive resource on custom cabinetry.
Integrating storage solutions without understanding advanced concepts can lead to inefficient space utilization. Pull-out shelves, for example, seem straightforward but can be problematic if installed without measuring interior spaces thoroughly, leading to jammed drawers or inaccessible corners. An often-overlooked detail is considering the opening radius; if not calculated correctly, doors or drawers may hit adjacent cabinets or appliances. An expert tip is to incorporate innovative hardware or modified hinges, like soft-close Blum hinges, which prevent slamming and improve longevity—an investment that pays off.
> How do you maximize every inch of storage without sacrificing access or style?
Make use of vertical space by installing deep drawers or utilizing tiny niches for spice racks; this is where expert design shines. With the rise of innovative storage innovations, you can transform even the smallest kitchen into a highly functional area. Carefully planning internal layouts—like stacking items or incorporating hidden compartments—not only enhances capacity but also keeps clutter out of sight.
Finally, a crucial advanced mistake involves ignoring the compatibility of materials and finishes over time. For instance, choosing low-quality plywood or MDF without moisture-resistant coatings can lead to warping or damage, especially in humid environments. Experts recommend specifying high-grade plywood, such as Baltic birch or marine-grade materials, for durability. This consideration is vital when investing in custom cabinet designs meant to last decades.
In conclusion, elevating your kitchen remodel from average to exceptional requires deeper insights beyond the basics. It’s about understanding spatial dynamics, technological advancements, and future-proofing your design. Have you ever fallen into this trap? Let me know in the comments, and remember—attention to these nuances can make all the difference in creating a truly functional, beautiful space.
Rely on Precision Tools for Lasting Results
Achieving a professional finish in your kitchen project hinges on using the right equipment. I swear by a high-quality miter saw with accurate angle stops—I personally use a DeWalt DWS780—because it ensures perfect cuts for trim and molding extension, reducing rework and save you frustration. When working with cabinet hinges, I recommend Blum’s 4 Titanium Core Hinges, as they resist sagging and maintain alignment over time, a detail I found critical for long-term durability.
The Software I Trust for Planning and Visualization
Before lifting a hammer, I utilize SketchUp for 3D modeling. It helps me visualize space, test various storage configurations, and communicate ideas to clients or his own contractors. This software is invaluable for spotting potential issues early, like clearances or aesthetic mismatches, especially when designing custom cabinets—find my detailed review here. As the trend pushes toward smarter designs, newer tools like Chief Architect are gaining popularity for their advanced features and realistic rendering, making planning both precise and inspiring.
Methods That Keep Everything Secure and functional
Practicing proper installation techniques makes all the difference. I always use a spacer jig when attaching drawer handles with the simple jig I crafted from scrap plywood—this ensures consistent handle placement, which I now swear by for a uniform look. For securing heavy cabinetry or built-ins, I reinforce wall attachments with steel brackets and anchoring into the wall studs—more info on this technique can be found here. Regularly inspecting hinges and soft-close mechanisms, like Blum’s 4 titanium core hinges, ensures they function smoothly and extend their lifespan, saving you costly repairs down the road.
Long-term Care and Future Flexibility
Performing routine maintenance—like checking for loose screws, reapplying lubricant to hinges every year, or replacing worn-out soft-close dampers—keeps your kitchen functioning flawlessly. I also recommend applying a light coat of silicone spray to sliding drawer glides every few months; it drastically reduces sticking and squeaking, which I experienced firsthand in my last remodel. Advances in hardware design now incorporate self-lubricating components, making maintenance even easier. Embracing these simple routines and tools can prolong the life of your kitchen investments and keep your space looking and functioning great for decades.
How do I maintain my cabinetry and built-ins over time?
Incorporate regular inspections of hinges, slides, and seals; clean and lubricate moving parts annually; and address any issues immediately before they escalate. For a step-by-step process, check out advanced tips on hardware maintenance. Try adopting a maintenance schedule that fits your usage pattern to ensure ongoing performance without surprises—it’s a game-changer for the longevity of your custom cabinets and storage solutions.
3 Unspoken Truths That Changed My Kitchen Journey
One of the most powerful lessons I uncovered was that meticulous planning upfront saves countless headaches down the line. Rushing measurements or rushing into material choices often led to costly rework. Just like discovering the optimal way to cut crown molding, patience and attention to detail made my remodel look seamless and professionally finished.
Another revelation was that embracing innovative storage solutions isn’t just about aesthetics—it’s about enhancing daily function. Installing pull-out organizers and hidden compartments transformed my cluttered space into a highly efficient cooking zone. This taught me that small design tweaks can dramatically boost usability and make a noticeable difference in how enjoyable your kitchen feels.
Lastly, I learned that ongoing maintenance and using quality hardware are keys to long-term satisfaction. Regularly inspecting hinges, using the right lubricants, and choosing durable materials mean your investment will stand the test of time. Investing in premium Blum hinges and steel brackets, for example, prevented my cabinets from sagging, saving me money and frustration over the years.
My Toolbox of Proven Resources for a Stunning Kitchen
When I started my project, I relied heavily on this comprehensive guide on custom cabinets. It demystified the process of selecting finishes and hardware, making informed choices easier. For detailed planning, SketchUp proved invaluable—visualizing the entire space before making any cuts. Additionally, this resource on built-in storage hacks provided innovative ideas that maximized every inch of my kitchen space. Lastly, I trusted high-quality hardware like Blum’s soft-close hinges, which I sourced from well-reviewed suppliers knowing they would deliver durability and perfection in daily use.
Your Turn to Shape Your Dream Kitchen
Remember, every successful kitchen remodel combines careful planning, smart storage, and choosing reliable materials. This journey isn’t just about renovating—it’s about creating a space that inspires you every day. Whether you’re just starting or looking to refine your efforts, take the leap with confidence. The kitchen you’ve envisioned is well within reach, especially when armed with the right knowledge and tools.
What is the biggest challenge you’ve faced in your kitchen upgrade? Share your story below—I’d love to hear your experiences and help you overcome any hurdles!
,