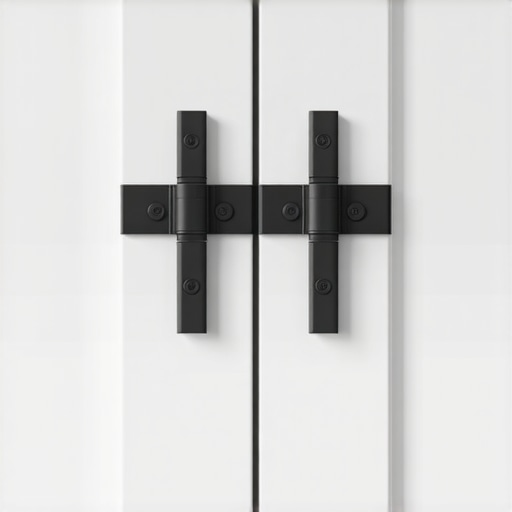
The Magnetic Latch Trick for Perfect Inset Cabinet Alignment
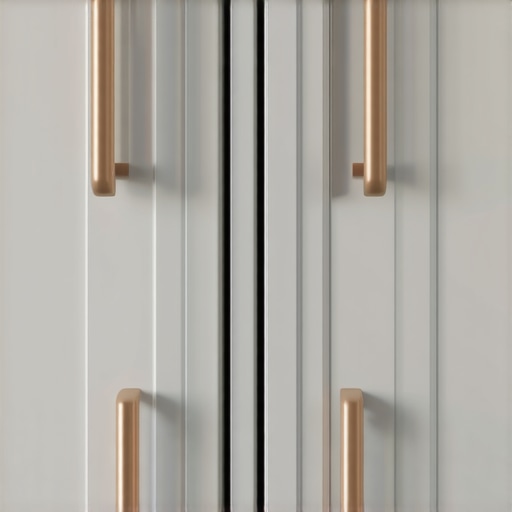
I vividly remember the first time I installed inset cabinets in my kitchen. Everything looked promising until I noticed a tiny misalignment that threw off the entire aesthetic. It was that frustrating moment where your perfectly planned upgrade feels tainted by a small but glaring flaw. Despite my many DIY attempts, simple problems like uneven gaps or doors that wouldn’t close smoothly kept cropping up. That’s when I stumbled upon a game-changing technique—the magnetic latch trick—that made me realize: achieving perfect inset cabinet alignment isn’t just a pipe dream.
Unlocking the Secret to Seamless Cabinet Alignment
Over the years, I’ve learned that the devil is in the details, especially when it comes to built-in features. Properly aligned inset cabinets can elevate your entire kitchen’s style, making it look professional and polished. But the path to that perfection often feels like navigating a maze of adjustable hinges, shims, and guesswork. Luckily, I found a simple yet effective method involving magnetic latches that acts like a secret weapon against misaligned doors. This trick not only improves cabinet door flushness but also ensures smooth, effortless operation—no more wobbly doors or uneven gaps ruining your design. Want to know how I cracked the code? Keep reading! This technique is especially helpful if you’re aiming for that sleek, minimalist look outlined in our seamless kitchen remaster guide.
Is this magnetic latch trick actually worth the hype?
Early on, I made a rookie mistake—ignoring the importance of consistent, precise adjustments—and paid for it with hours of rework. Trust me, I’ve been there. But once I adopted this magnetic approach, everything clicked into place. It’s a straightforward fix that even DIY enthusiasts can master after a bit of practice. Curious if this method is the right fit for your project? Absolutely. It’s a small detail that makes a huge difference, especially when you are aiming for a flawless inset finish. Ready to get your cabinets looking like they belong in a magazine? Let me show you the step-by-step process that transformed my kitchen—and can do the same for yours! Before diving into the how-to, it’s worth noting that taking these extra steps can save you time and frustration down the line, and even boost your home’s value. For more expert tips on upgrading your storage, don’t miss our guides to select the best storage solutions. Now, let’s dive into the practical steps to perfect that inset cabinet alignment with the magnetic latch trick.
Secure the Cabinets with Alignment Check
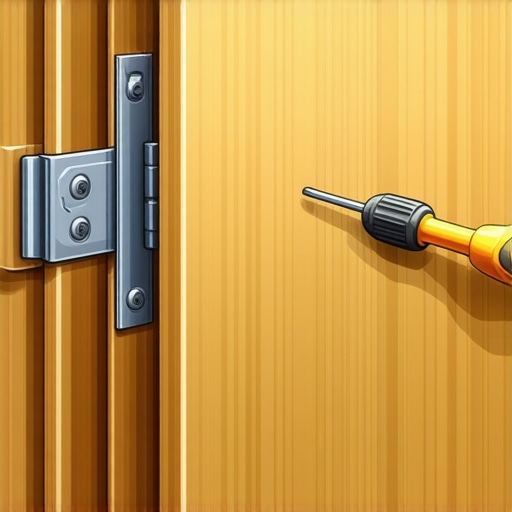
Start by fitting the inset cabinet doors onto the hinges but avoid fully tightening the screws. Gently close the doors to observe the gaps and flushness. Use a level to assess if the doors sit evenly. This initial step is crucial; I recall spending extra time here fixing a door that kept skewing until I meticulously checked alignment. For precise adjustments, having a helper hold the door slightly pressed against the frame can help spot misalignments early. This approach is akin to tuning a musical instrument—small tweaks make a world of difference. If needed, loosen the hinges and make tiny shims behind to correct misalignment before securing the screws tightly.
Set Up Magnetic Latches for Fine-Tuning
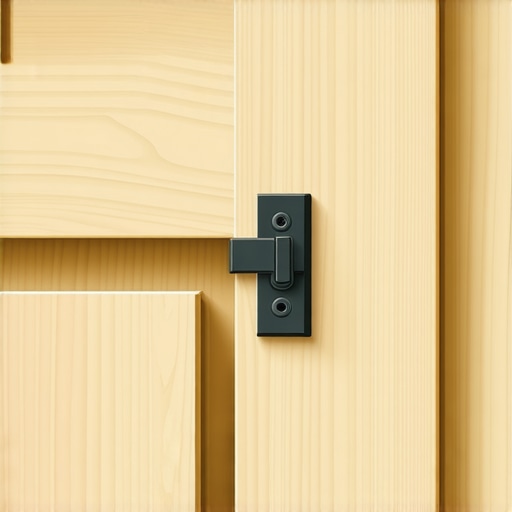
Attach small magnetic latches or magnets to the inside edge of the cabinet frame where the door meets. Use a template or tape to mark exact positions to ensure consistency. When the door is closed, the magnet will hold it firmly in place, maintaining perfect flushness. I remember experimenting with different magnet strengths, starting with weak ones to prevent overcompensation. This setup allows you to make micro-adjustments by simply repositioning the magnets. Think of it as installing tiny door stoppers that ensure the door stays exactly aligned without constantly tightening hinges. This method provides instant feedback—if the door shifts, reposition the magnet accordingly, which makes iterative adjustments quick and straightforward.
Fine-Tune with Small Movements
Once magnets are in place, close the doors and inspect the gaps. Adjust the magnet positions slightly to achieve the perfect flush finish. Use a painter’s shim or a non-marring tool to nudge the magnets if needed. This step is where patience shines; I once spent an evening adjusting magnets in fractions of an inch, but the result was a seamless look that stunned even my skeptical friends. Remember, the magnets act as a reference point, not a permanent fix—if the door needs to move, shift the magnet accordingly to maintain alignment over time.
Secure Hinges and Confirm Alignment
After satisfactory magnet placement, tighten all hinge screws fully. Re-close the door to double-check flushness. If the alignment has shifted, re-adjust the magnets for another round. This ensures that the hinges fit perfectly and the door maintains its position long-term. I always recommend inspecting the hinges after magnet adjustments; the two work best in tandem. This practice is similar to tuning a guitar string after adjusting the bridge—the goal is harmony and precision. For further tips on cabinet hardware, visit our detailed hardware guide.
Test the Operation and Make Final Adjustments
Open and close the door multiple times to observe its movement. Confirm that it opens smoothly and remains aligned. If you notice any sagging or sticking, revisit magnet placement and hinge adjustment. My own experience involved a stubborn door that required iterative magnet repositioning—a process that ultimately saved me hours of sanding and shimming. Mimic this process by calibrating your magnets and hinges until the movement feels perfect, mirroring professional cabinetry work. Remember, patience is key; investing time here achieves a professional finish that adds value to your remodel.
By incorporating these steps, you transform a tricky inset door alignment into a manageable DIY task. The magnetic latch trick acts like a guiding hand, ensuring your cabinet doors sit flush and operate flawlessly—a detail that elevates your entire kitchen’s look and feel. For more techniques that refine your cabinetry projects, explore our comprehensive guide.Many homeowners believe that choosing standard cabinetry and off-the-shelf storage options is sufficient for a functional and stylish kitchen. However, this oversimplification often leads to overlooked nuances that can impact the entire remodel. One common myth is that all custom cabinets automatically guarantee optimal storage and space utilization. In reality, without careful planning and understanding of the specific nuances—such as drawer depth, hinge clearance, and alignments—custom solutions can fall short of expectations. Advanced homeowners and designers pay close attention to these details, ensuring every inch is maximized, as described in our ultimate guide to custom cabinets. Moreover, many assume that built-ins are merely aesthetic additions rather than strategic space-savers. The truth is, integrated built-in features like pull-out spice racks or hidden charging stations transform the kitchen into a powerhouse of productivity and efficiency. Falling into the trap of neglecting these details can result in wasted space and frustration during daily use.
How Can Hidden Nuances Elevate Your Kitchen Remodel? This question guides seasoned designers to consider factors like cabinet clearances, door swing radius, and accessibility—elements that, if ignored, can cause persistent problems. Experts like industry architects emphasize that understanding these subtle parameters can prevent costly adjustments post-installation. A study by the National Kitchen and Bath Association underscores that precise measurements and tailored solutions contribute significantly to homeowner satisfaction and product longevity. Always remember, the devil is in the details. Have you ever fallen into this trap? Let me know in the comments. For strategic planning, exploring custom cabinets as a game-changer for your kitchen, is a smart move. Paying attention to these nuanced details ensures your remodel isn’t just beautiful but also perfectly functional and future-proof.
Investing in quality tools and establishing a solid maintenance routine are essential for ensuring your custom kitchen installations, built-ins, and storage solutions stand the test of time. Personally, I rely on precision woodworking tools like a high-grade orbital sander and a quality chamfer bit for touch-ups. These are indispensable for maintaining the flawless finish of your cabinetry, especially when dealing with intricate inset doors or delicate millwork. Regularly inspecting hinges and sliding mechanisms is also crucial; I recommend using a hinge alignment gauge to quickly identify and fix misalignments before they become major issues. For cleaning, a gentle, pH-balanced cleaner combined with soft microfiber cloths helps preserve the finish without scratching or dulling the surface.
How do I maintain my kitchen storage solutions over time?
Creating a maintenance schedule that includes lubricating hardware with silicone spray every six months minimizes squeaks and ensures smooth operation. Periodic adjustments of hinges and drawer slides—using a torque screwdriver or a spline driver—keep everything aligned and functional. Additionally, applying a light coat of wood conditioner or furniture wax to wooden surfaces can prevent cracking or warping, especially in environments with fluctuating humidity. I personally find that establishing a routine—checking and cleaning your cabinetry quarterly—saves money and stress in the long run, and keeps your remodel looking pristine. As trends evolve, I predict an increased interest in smart maintenance tools with IoT integration, which will alert homeowners to hardware issues before they become visible. For enhanced storage longevity, consider adopting maintenance protocols recommended by industry experts, like those detailed in our comprehensive guide.
Try giving your sliding pantry doors a quick lubricating session with a silicone-based spray today—small steps make big differences in preserving your investment. Remember, the key to long-lasting storage is proactive upkeep combined with using quality tools designed for precision and care.What I Wish I Knew Before Perfecting My Cabinets
One of the most valuable lessons I learned was that patience and attention to detail trump rushed fixes. Rushing through hinge adjustments or magnet placements often led to uneven gaps and unnecessary rework. Taking my time to understand how small tweaks affect the overall look made a substantial difference. Additionally, I discovered that incorporating simple tools like a level and magnetic latches can transform complex alignment challenges into manageable steps, saving time and frustration. Embracing these nuances early on helped me achieve a professional finish I once only dreamed of, proving that mastering the little details truly pays off in cabinetry projects.
My Top Picks for Elevating Your Kitchen Remodel
For those eager to refine their kitchen built-ins and storage solutions, I highly recommend exploring resources that combine expert insights with practical tools. The seamless kitchen remaster guide offers outstanding strategies for integrating design and functionality. I also trust the storage solutions tips to ensure your cabinets maximize space. For innovative ideas, the modern kitchen remodels showcase inspiring examples of how custom cabinets and built-ins can elevate your home’s aesthetic and efficiency. These curated resources have been instrumental in guiding my success, and I believe they’ll do the same for you.
Your Next Step Toward Perfect Cabinets Starts Now
Transforming your kitchen with inset cabinets and flawless alignment isn’t just a dream—it’s an achievable goal with patience, the right techniques, and a dash of creativity. The magnetic latch trick I shared is just one example of how small innovations can make a big difference. Remember, every project is an opportunity to learn and improve, so don’t hesitate to take that first step today. Your dream kitchen, with perfectly aligned inset cabinets, is within reach. Embrace the process, celebrate your progress, and enjoy the stunning results that come from attention to detail. Now, I’d love to hear—what’s been your biggest challenge with cabinet alignment or storage solutions? Share your experience below.