Why We Recommend Quarter-Sawn Oak for High-End Bathroom Vanities
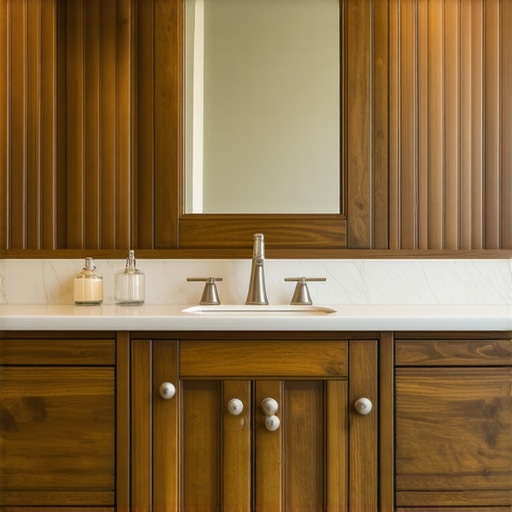
I vividly remember the moment I first installed my high-end bathroom vanity and watched it warp within just a few months. That sinking feeling in my stomach was a clear sign that I’d overlooked a crucial detail: the wood’s grain orientation. Like many homeowners dreaming of a luxurious, durable space, I learned the hard way that not all woods are created equal, especially in moisture-prone areas.
The Secret to a Vanity That Lasts
If you’re revamping your bathroom and want a vanity that stands the test of time, I promise this article will shed light on a material choice that can truly make a difference. Specifically, I’ll share why **quarter-sawn oak** has become my top recommendation for high-end bathroom vanities, blending both beauty and resilience.
Is Quarter-Sawn Oak Actually Worth the Hype?
Early on, I made a common mistake: dismissing the importance of how the wood is cut. I chose what looked like beautiful oak planks without considering grain orientation, and it was a costly oversight. The wood warped, cracked, and didn’t hold up against the bathroom’s humidity. Today, I’ll explain how understanding the differences in wood cuts can prevent these issues and save you money in the long run.
Research indicates that **quarter-sawn oak** is less prone to warping and expansion caused by moisture—issues rampant in bathrooms—making it a prime choice for lasting elegance. If you’ve faced similar frustrations, keep reading.
Ready to learn why this specific cut of oak can elevate your renovation? We’re about to dive into the details that will help you choose the best wood for your project and avoid costly mistakes. For more insights on making informed selections, check out our guide on [custom cabinets as a game-changer](https://artisancabinetworkz.com/custom-cabinets-as-a-game-changer-in-your-kitchen-remodel-journey). Let’s get started.
Plan Your Wood Grain Orientation Before Cutting
Start with a detailed layout of your cabinet panels, marking grain directions clearly. I remember laying out a large shipment of oak boards for a custom built-in and taking extra time to layout grains for visual consistency and stability. Use a sharp pencil and a square to mark the grain lines parallel to the longer edges, ensuring minimal distortion over time.
Match Grain Direction Across Components
To achieve seamless look and structural integrity, align the grain patterns across adjacent panels, especially for visible edges. During my last project, I placed the cabinet doors with grains running vertically to enhance height perception. Use painter’s tape to temporarily hold panels in position and verify alignment before permanently joining them, reducing errors.
Choose Quarter-Sawn Oak for Stability and Elegance
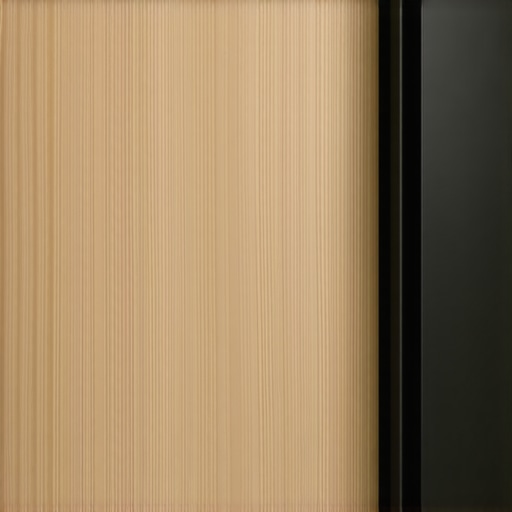
Opt for quarter-sawn oak whenever moisture exposure is a concern. Unlike plain-sawn boards that warp easily, quarter-sawn cuts minimize movement. I learned this firsthand when replacing a warped vanity top with quarter-sawn oak planks, which remained flat despite humidity swings. Request quarter-sawn boards from your supplier and check the grains are at 60-90 degrees to the surface for maximum stability.
Joint Panels with Precision and Care
When joining panels, use a precision router with a straight bit and a featherboard to make consistent edge cuts. I once struggled with uneven joints on a custom cabinet, which I corrected by practicing on scrap and investing in a quality guide. This ensures tight, gap-free connections that withstand time and use. For larger joins, biscuit or dowel joints can add strength—just ensure proper alignment beforehand.
Seal and Finish the Wood to Enhance Longevity
Apply a moisture-resistant sealant suitable for high-humidity environments. I applied a water-based poly finish after sanding, which enhanced the natural grain and provided durability. Multiple thin coats are better than one thick application to prevent drips and uneven coverage.
Adjust the Grain Pattern During Assembly for Uniform Look
During assembly, double-check grain directions to maintain a cohesive aesthetic. Consistency in grain pattern helps simulate a solid, high-end feel, especially in furniture pieces like trendy built-ins. Always consult detailed grain diagrams or samples before final assembly to catch any mismatches that could detract from the overall appearance.
Developing a keen eye for grain orientation and selecting the right cut like quarter-sawn oak will significantly extend the life and beauty of your custom cabinets. For additional tips on maximizing space and creating sleek storage solutions, explore our guide on smart storage ideas and insights into innovative storage solutions. Your meticulous planning today will pay off with a stunning, durable finish that elevates your home’s value for years to come.
 Even seasoned homeowners and professional designers often fall prey to misconceptions when planning custom cabinets and kitchen makeovers. A common myth is that standard sizing and generic designs suffice; however, this overlooks the importance of tailored solutions that maximize space and functionality. For example, many believe that symmetrical cabinet layouts are always best, but in reality, asymmetrical and customized configurations can better suit unique room dimensions and usage patterns, leading to a more efficient space.
One critical nuance often missed involves the construction techniques behind built-ins—they may look seamless on the surface but can hide advanced pitfalls. For instance, poorly executed scribing or mismatched grain patterns can result in gaps or aesthetic inconsistencies that depreciate the overall quality. Remember, a little extra attention to detail, like ensuring proper grain matching and precise scribing, makes a significant difference.
A frequent oversight is neglecting the importance of moisture-resistant materials in moist environments. Many assume that regular plywood or MDF suffices, but high-humidity areas demand specially rated materials like birch plywood or moisture-resistant MDF for longevity. Investing in these materials pays off by preventing warping or swelling over time. For insights into durable materials, consider reviewing expert guides on material selection for high-moisture environments.
Why do many upgrade plans overlook the benefits of advanced storage solutions?
They often underestimate how custom features like hidden drawers, tilt-out spice racks, or integrated charging ports can dramatically improve usability. Incorporating such solutions requires foresight during the planning stage; otherwise, you risk sacrificing space or sacrificing functionality later. For example, innovative storage solutions for small kitchens can be game-changers—see how smart storage ideas help optimize every inch.
Avoid the trap of overestimating the capacity of standard hardware—like hinges and slides—without considering daily wear-and-tear or the need for heavy-duty components. Upgrading to high-quality, purpose-built hardware ensures smooth operation and longevity, especially for frequently used items. For a comprehensive look at choosing durable hardware, explore expert recommendations in our guide on storage solutions.
Lastly, an advanced tip involves understanding the subtle impact of grain orientation not only for aesthetics but also for structural stability. Misaligning grain directions during assembly can lead to warping or splitting over time. This is particularly critical with quarter-sawn oak, whose grain orientation warrants careful planning for both beauty and durability.
Have you ever fallen into this trap? Let me know in the comments. Remember, paying attention to these hidden nuances can elevate your project from average to extraordinary, ensuring your custom cabinets and kitchen remodels stand the test of time.
Prioritize Precision with The Right Tools
When it comes to maintaining your custom cabinetry and ensuring long-term durability, investing in quality tools is non-negotiable. I personally swear by a high-precision orbital sander, like the Makita BO5041, for touch-up finishes and smoothing surfaces. Its variable speed allows me to adapt to different materials, reducing the risk of gouges or uneven sanding. For measuring, I rely on a digital caliper to verify precise dimensions during repairs or adjustments, ensuring your cabinetry remains seamless over time.
Use Specialized Hardware for Longevity
Hardware does more than just keep doors and drawers functional; it protects your investment. I recommend locking-in high-quality soft-close hinges such as Blum’s Compact Blumotion series. They significantly reduce wear and tear, preventing joint stress and squeaks, especially in high-use areas. Using purpose-built slides with full extension and integrated soft-close features guarantees easier access and less maintenance, keeping your cabinets closing smoothly for years.
Implement Maintenance Routines That Save Time and Money
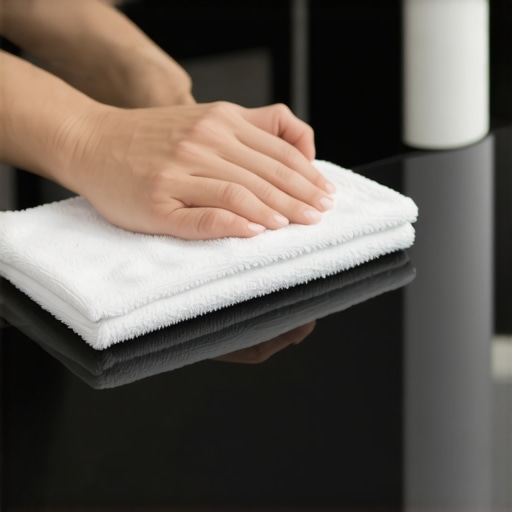
Establishing regular maintenance routines is essential. A quick monthly wipe-down with a microfiber cloth and a mild cleaner, like a mixture of water and a dash of vinegar, preserves the finish and prevents dirt buildup. I advise lubricating moving parts every six months using a silicone-based spray—avoid WD-40, which can degrade rubber seals over time. This simple upkeep minimizes the need for costly repairs or replacements down the line.
Plan for Future Scaling and Upgrades
Design your storage and cabinetry with scalability in mind. Modular systems and adjustable shelves not only accommodate your changing needs but also simplify repairs. For example, metal framing with reinforced brackets allows for easy resizing or repositioning without compromising structural integrity. This approach aligns with current trends that favor adaptable, long-lasting storage solutions, and it’s something I incorporate in every project to ensure future-proof results.
How Do I Keep Custom Cabinets Functioning Over the Years?
Good maintenance hinges on understanding the materials and hardware specifics. Using a recommended lubricant like Teflon-based spray on hinges and slides reduces friction and prevents squeaking. Regularly inspecting for loose screws or worn components allows you to troubleshoot small issues before they become major repairs. Remember, a little proactive care goes a long way. For advanced, DIY maintenance tips tailored to your setup, explore our expert guide.
Looking ahead, technological advances like smart hinge diagnostics and maintenance alerts are poised to make upkeep even easier. Incorporating such innovations into your system could revolutionize how you care for your cabinetry, transforming maintenance from reactive to proactive. Consider trying an advanced tip like adding a silicone spray to moveable parts this month—your future self will thank you for the smooth operation that lasts.
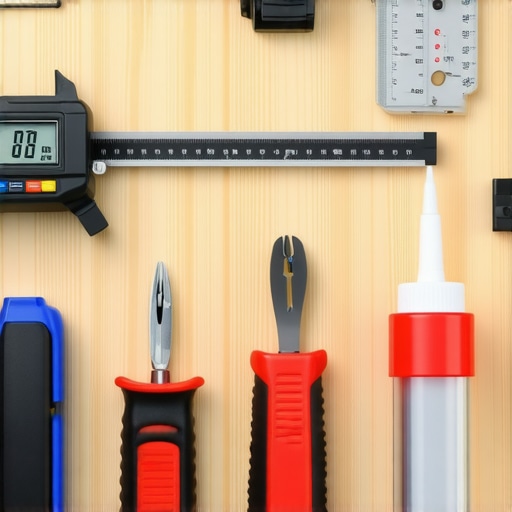
Durable, well-maintained cabinets start with the right tools—see how professional-grade hardware and precision instruments keep everything functioning flawlessly over time.
Three Surprising Truths I Learned About Custom Cabinets and Built-Ins
- There’s more to choosing the right wood than just looks—grain orientation and cut type can make or break your project’s longevity. I once overlooked this and paid the price with warped panels, but now I always specify quarter-sawn oak for moisture-prone areas.
- Planning for future needs is often neglected; I wish I had incorporated adjustable shelving and modular designs earlier. These allow flexibility and save headaches as your storage needs evolve.
- Tools and hardware are as important as materials. Investing in high-quality hinges and precision tools guarantees that your custom cabinets not only look great but function flawlessly for decades.
My Go-To Resources That Save Me Time and Headaches
- Expert woodworking books like “Fine Woodworking” provide insights that elevate craftsmanship. They helped me understand the importance of grain matching and joinery details I would have otherwise missed.
- Reliable suppliers of quarter-sawn oak and moisture-resistant plywood are crucial. I trust Artisan Cabinetworkz for their consistent quality and expert advice on selecting the best materials for damp environments.
- Online tutorials from seasoned professionals, especially those focusing on grain orientation and finishing techniques, have been priceless. They offer step-by-step guidance that’s hard to come by elsewhere.
Take Action and Elevate Your Craftsmanship Today
In the world of custom cabinets, every detail counts—from grain orientation to hinges. Embrace these lessons, and you’ll create built-ins that not only look stunning but stand the test of time. Remember, patience and informed choices are your best friends on this journey.
What specific challenge have you faced in planning your storage solutions? Share your experience below—I’d love to hear your story and help you navigate it with confidence.