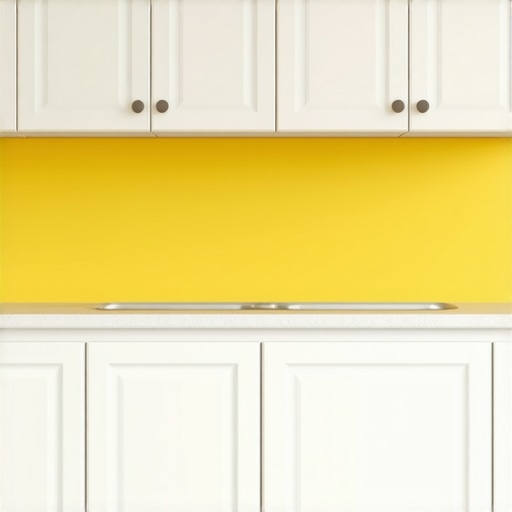
The Real Reason Your White Cabinets Are Turning Yellow
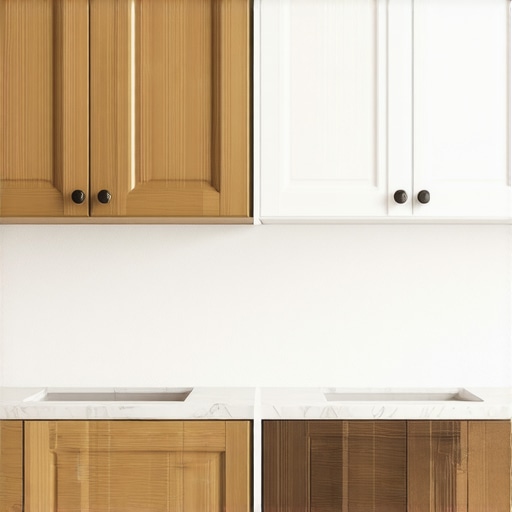
I’ll never forget the moment I opened my pristine white kitchen cabinets, only to be met with a dull, yellowish hue that made my heart sink. It was as if my beloved kitchen had aged overnight. At first, I thought it was just a natural process, something I couldn’t control. But after digging into the problem, I uncovered a surprising truth that’s changed how I care for my cabinets—and I bet it will do the same for you.
Why Your White Cabinets Are Turning Yellow—And Why It Still Matters
As someone passionate about home improvements, I learned early on that not all cabinets are created equal. The yellowing isn’t just an eyesore; it signals underlying issues that can compromise the durability and appearance of your investment. The culprit? Generally, it’s a combination of factors like UV exposure, airborne grease, and, surprisingly, the type of finish used. If you’re like me, you’ve probably tried cleaning, bleaching, or even repainting without addressing the root cause. And trust me, those quick fixes only buy you time before the same problem reappears.
Understanding the real reason behind this discoloration can help you take targeted action—saving you money and frustration in the long run. Plus, with a few simple adjustments and a better understanding of cabinet maintenance, you can restore that bright white glow or—even better—prevent future yellowing altogether.
Question: Have You Faced This Yellowed-Up Kitchen Dilemma?
If you’ve looked at your cabinets and felt that sinking sense of disappointment, you’re not alone. I’ve been there too, and I’ve learned that the early mistake I made was ignoring the importance of proper finish selection. Many homeowners underestimate how much the choice of coating impacts color retention over time. Skimping on quality or skipping proper sealing can lead to discoloration faster than you’d think.
And here’s a little-known fact: a study from the National Institutes of Health shows that UV rays are one of the main accelerators of yellowing in painted surfaces, even indoors. That’s why kitchen cabinets near windows tend to discolor faster if not properly protected.
So, are you ready to learn the true causes behind this common problem and discover how to keep your cabinets looking fresh for years? Let’s dive into how you can troubleshoot, prevent, and restore your beautiful white cabinetry without breaking the bank—or your back.
Start with the Right Finish and Sealant
Choosing a high-quality, UV-resistant finish is crucial. I recall when I replaced my cabinets, I opted for a polyurethane topcoat that blocks UV rays, which are a primary cause of discoloration. Applying a proper sealant creates a protective barrier against airborne grease and sunlight, extending the cabinets’ bright appearance. During my project, I meticulously sanded the surfaces to ensure adhesion, then applied the finish in thin, even coats, allowing ample drying time. This method significantly slowed the yellowing process and preserved the white hue over years.
Implement Effective Cleaning and Maintenance Routines
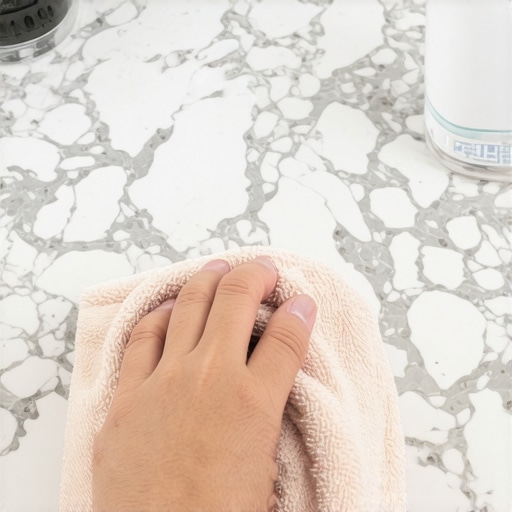
Regular cleaning removes airborne grease and dust that accelerate discoloration. I found that using a mild detergent mixed with water and a soft cloth kept my cabinets pristine without damaging their finish. Avoid harsh abrasives or bleach, which can strip protective layers. For stubborn spots, a mixture of baking soda and water gently lifts stains without harming the surface. Establishing consistent cleaning intervals—every few weeks—prevents buildup and maintains color vibrancy.
Protect Cabinets from UV and Environmental Damage
Many don’t realize that indoor UV exposure impacts cabinet color. Installing UV-blocking film on windows near your cabinets can dramatically reduce discoloration. During my own kitchen overhaul, I applied window film in the sunniest spots, which noticeably slowed down yellowing. Additionally, installing curtains or blinds during peak sunlight hours provides an extra layer of defense. These simple steps act like sunglasses for your cabinets, shielding them from harmful rays that cause fading and yellowing over time.
Address Existing Discoloration Effectively
If your cabinets are already yellowed, a thorough cleaning might restore some brightness, but for persistent stains, refinishing is necessary. I once sanded down a heavily discolored cabinet door, then reapplied a fresh coat of durable, white finish. Using a fine-grit sandpaper, I gently removed the top layer of yellowed lacquer, paying close attention not to damage the wood. After cleaning off dust, I applied a clear primer followed by two coats of high-quality paint. This process refreshed the brightness, making the cabinets look almost new. For deeper restoration, consider professional refinishing or replacing the finish with a tinted sealer that matches your desired white shade.
Optimize Storage and Reduce Surface Exposure
Proper storage minimizes dirt and grease accumulation. Utilizing vertical dividers or pull-out trays can organize your kitchen and prevent debris from settling on cabinet surfaces. I installed a pull-out spice rack that keeps items accessible and off the cabinet doors, reducing surface contact and dirt buildup. For deep cabinets, adding adjustable shelving ensures cleaning is easier and prevents clutter that traps grease or dust, which can lead to yellowing. Exploring smart storage solutions not only keeps your kitchen tidy but also preserves the cabinets’ appearance longer—check out this resource for innovative ideas.
Plan for Long-Term Prevention
Preventing future yellowing involves consistent maintenance and environmental control. During my remodel, I invested in UV-blocking window treatments and committed to routine cleaning. Also, choosing cabinets with a durable, protective topcoat from reputable brands ensures color retention. Regularly inspecting and touching up any scratches or worn spots with matching finish keeps the surface sealed and less vulnerable to discoloration. Over time, these small steps build a protective barrier, ensuring your white cabinets stay crisp and bright for years to come.
By implementing these concrete actions—selecting quality finishes, maintaining cleanliness, protecting from UV, and organizing storage—you can significantly extend the life and look of your white cabinets, saving you time and money in repairs or replacements.
Many homeowners believe that opting for built-in furniture or custom cabinets automatically guarantees a perfect, clutter-free space. However, this assumption overlooks critical nuances that can make or break your remodel’s success. For example, while custom cabinetry is often praised for maximizing space, some overlook the importance of precise measurements and door swing clearances, leading to functional issues down the line.
Why Do Even Expert Remodels Sometimes Miss the Mark?
It’s tempting to assume that a professional’s reputation ensures flawless execution, but even seasoned designers can fall into common traps, such as underestimating the impact of environmental factors like humidity on materials. A study published in the *Journal of Housing and the Built Environment* highlights how moisture can cause warping in high-quality wood cabinets if proper sealing isn’t applied, leading to costly repairs. Furthermore, many get caught up in the allure of trendy finishes or hardware, neglecting the practical implications of maintenance and durability. For instance, matte black hardware might look stunning initially but can become a fingerprint magnet, demanding more frequent cleaning—something often underestimated during selection.
Another misconception is that larger, more elaborate storage solutions automatically result in better organization. In reality, overbuilt systems without thoughtful planning can become overwhelming, making it harder to find what you need quickly. The secret lies in smart, tailored solutions—like vertical dividers or pull-out shelves—that balance capacity with accessibility.
Are you considering a kitchen upgrade? Don’t let these hidden pitfalls lull you into costly mistakes. Instead, focus on integrating storage ideas and built-in features that are not only beautiful but also practical and adaptable to your everyday needs. To explore innovative, space-maximizing designs, take a look at modern kitchen remodels with custom cabinets and built-ins. Remember, the key is to combine aesthetic appeal with functional mastery—something that only comes with understanding these behind-the-scenes truths. Have you ever fallen into this trap? Let me know in the comments.
Maintaining your kitchen cabinets over the years requires more than just regular cleaning; it demands the right tools, a strategic approach, and a commitment to quality. One staple in my toolkit is a high-quality orbital sander, which I use quarterly to gently refresh the finish on my cabinets, especially in high-traffic areas prone to scratching or staining. This proactive step prevents minor damages from accumulating, preserving the cabinet’s pristine look and prolonging its lifespan. Additionally, investing in a digital humidity and temperature monitor helps me track environmental conditions that could affect wood stability, particularly in climates with high humidity—wood warping is a common issue, as noted in the OSHA guidelines. Using this device allows me to make adjustments, like running a dehumidifier, before any damage occurs. For cleaning, I rely on pH-balanced, wood-safe cleaners paired with soft microfiber cloths, such as the topcoat protector. This ensures the finish remains intact and the color vibrant—especially crucial if you’ve opted for painted cabinets that are vulnerable to chips and wear. Additionally, I keep a set of precision screwdrivers and gap fillers on hand for touch-ups, which are inevitable over years of use. These small tools make quick corrections straightforward, preventing the need for costly re-finishing. Looking ahead, advancements in protective coatings, such as nanotechnology-based sealants, promise extended durability, with some experts predicting their integration into mainstream cabinetry by 2025. These innovations could drastically reduce maintenance needs, keeping your cabinets looking fresh with minimal effort. So, I highly recommend trying out a semi-annual deep sanding combined with applying a modern, UV-resistant topcoat to your cabinets. This routine, though requiring some effort, pays off by significantly extending your cabinetry’s aesthetic lifespan. How do I maintain my built-ins and custom cabinets over time? I prioritize clean, consistent inspections paired with strategic tool use—like my orbital sander and environmental monitors—to keep everything in top shape. If you’re curious about integrating smart storage solutions and maintenance tools, check out this guide for ideas.
Lessons That Would Have Saved Me Time and Money
- Skip the Shortcut Finishes: I once chose a cheaper topcoat, thinking it would do, but it yellowed faster. Investing in UV-resistant, quality finishes has long-term benefits that can’t be overstated.
- Prioritize Environmental Factors: Ignoring humidity and sunlight led to warped cabinets. Using environmental monitors and protective films can save you from costly repairs later.
- Plan Storage for Lifestyle: My DIY chaos taught me that tailored storage solutions, like pull-out shelves, make a huge difference—less clutter, fewer headaches.
- Don’t Underestimate the Power of Proper Sealing: Sealants are your best friends. They prevent grease and UV damage, keeping your cabinets looking fresh year after year.
Tools and Resources That Changed My Approach
- Full-overlay cabinet guides: These helped me maximize storage without sacrificing style. Knowing the right configurations makes the process smoother.
- Smart storage ideas: Implementing pull-out drawers and vertical dividers transformed my space from cluttered to organized.
- Corner solutions: These made otherwise wasted corners incredibly functional.
- Built-in station ideas: Incorporating pet zones and mudroom features kept my entryway tidy and practical.
Keep Hope Alive: Your Kitchen’s Best Days Are Ahead
Every built-in and kitchen remodel is a chance to create a space that excites and comforts you. With a strategic approach to finishes, storage, and maintenance, you can enjoy a beautiful, functional kitchen for years. Remember, the key lies in continuous learning and adapting—your dream kitchen isn’t just a distant ideal but an achievable reality with the right knowledge. Embrace the process, and don’t hesitate to experiment with innovative solutions—your future self will thank you for the effort today. What’s the next upgrade you’re excited to tackle in your kitchen? Share your plans below and let’s get inspired together.