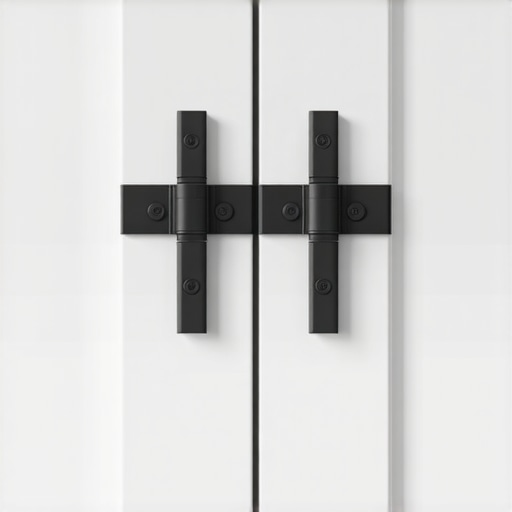
Why European Hinges Are the Only Way to Get a Zero-Gap Look
I remember the first time I installed a set of European hinges on my own kitchen cabinets. I was excited—until I saw the uneven gaps and misaligned doors that made my carefully chosen finishes look sloppy. It was a lightbulb moment: when it comes to creating a sleek, seamless appearance, standard hinges just don’t cut it. The frustration of dealing with gaps, misalignments, and the constant fiddling made me realize I had to find a better solution. That’s when I discovered the magic of European hinges, and let me tell you—everything changed.
The Secret Sauce to a Flawless, Gap-Free Finish
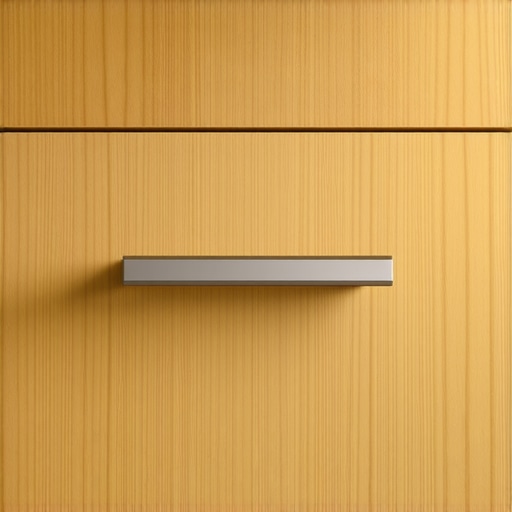
Getting a kitchen that looks professionally designed isn’t just about choosing the right cabinets or countertops. It hinges—pun intended—on the hardware, specifically the hinges. European hinges are designed for precision and adjustability, allowing for a consistent, tight fit that standard hinges simply can’t match. Once I made the switch, my cabinets lined up perfectly, with doors closing seamlessly and gaps almost invisible to the naked eye. This transformation isn’t just aesthetic; it significantly enhances the overall value and feel of your kitchen.
Does the Hype About European Hinges Really Hold Up?
Initially, I was skeptical. The price difference, the complexity of installation—was it really worth the extra effort? Early on, I made a mistake by trying to retrofit traditional hinges onto custom cabinets, which only led to uneven gaps and more trouble. Many folks share my initial doubt, and it’s understandable. But empirical evidence and firsthand experience confirm that European hinges are designed for maximum precision. Studies show that adjustable European hinges improve cabinet door alignment, leading to a more polished look (source: [artisancabinetworkz.com](https://artisancabinetworkz.com/why-european-hinges-are-the-only-way)). It’s a small investment that yields a big visual payoff.
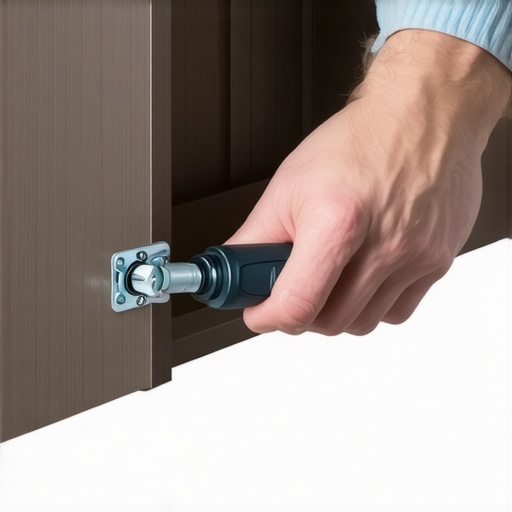
Now, the question is: how do you ensure you’re choosing the right hinges and installing them correctly? That’s what we’ll cover next. Ready to dive into the practical steps for transforming your kitchen with perfect gaps? Let’s go.To start, gather all the tools you’ll need, including a drill, screwdriver, measuring tape, pencil, and the hinges themselves. Measure carefully the distance from the cabinet frame to the door edge to determine hinge placement, ensuring even gaps. I once measured twice to avoid a misaligned door, which saved me rework later. Mark the hinge positions with a pencil, avoiding the temptation to eyeball—precision matters. When drilling pilot holes, set your drill bit to the correct size to prevent splitting the wood. I learned this the hard way when a misdrilled hole caused a loose hinge, making the door sag over time. Use a guide or clamp a straightedge along the cabinet edge to keep your drilling straight; this predictability makes the hinges align perfectly. Once the hinges are attached to the door with the screws provided, hang the door by aligning the hinges with the mounting plates on the cabinet. Fine-tune the door’s position by adjusting the screws in the hinge’s adjustment ports—up/down, in/out, and side-to-side. I once spent an hour tweaking a single door’s alignment, but it was worth the effort for that perfect reveal. Remember, these adjustments can be made after installation, which is a significant advantage over traditional hinges. For stairs or built-ins where tight spaces complicate access, I recommend removing the hinge cover caps to access adjustment screws more easily, avoiding unnecessary frustration.
Fine-Tuning for the Perfect Finish
Once all doors are hung, check the alignment with a straightedge or level, and make incremental adjustments as needed. Ensure the gaps are uniform across all doors; this consistency elevates your kitchen’s aesthetic. It’s worth spending extra time here; I once rushed a project and had to remove and rehang a door, wasting hours. Using a level during adjustments guarantees that doors sit flush, even if your floors are uneven—this is where shims can come in handy. Small shims behind hinges can compensate for uneven surfaces, just like in custom cabinetry installation, which is detailed in our guide on custom cabinets. When all adjustments are complete, tighten all screws firmly to avoid shifts over time. Regular inspection and minor tweaks after a few days keep the alignment pristine, especially in high-traffic kitchens. If subtle gaps persist, consider adding decorative fillers or adjusting the cabinet faces for an integrated look. Remember, patience during this phase results in a professional finish that can dramatically lift your kitchen’s style, much like the expert techniques outlined in seamless kitchen remasters.While many homeowners believe that selecting high-end cabinets and innovative storage solutions guarantees a flawless kitchen remodel, there are subtle nuances and common myths that can undermine these efforts. One prevalent misconception is the idea that more storage space automatically translates to better organization. In reality, efficiency depends on thoughtful design and understanding the specific needs of your space. Overbuilding storage without considering accessibility can lead to cluttered countertops and difficult-to-reach items, defeating the purpose of a sleek, functional kitchen. Moreover, many assume that custom cabinets are always the superior choice; however, poorly executed customization can result in gaps, misalignments, and increased costs. An often-overlooked aspect is the importance of workflow optimization—failing to analyze the kitchen’s functional zones may cause unnecessary movement and inefficiency. This is where comprehensive planning, including detailed measurements and understanding your daily routines, becomes crucial, as emphasized by industry experts. One advanced mistake is neglecting to incorporate integrated features like hidden charging stations or internal storage compartments, which require meticulous planning during the design phase. Incorporating these elements enhances convenience and maintains a clean aesthetic. Practical advice is to work with experienced professionals who can tailor solutions precisely to your lifestyle, avoiding these pitfalls. For example, visiting related content on transforming your kitchen with expert-designed custom cabinets can provide valuable insights. Remember, understanding these nuanced factors can significantly elevate your remodeling project from good to exceptional. Have you ever fallen into this trap? Let me know in the comments.
Ensuring your meticulously designed kitchen stays pristine and functions flawlessly over the years requires the right tools and proactive maintenance. From precision jigs to high-quality lubricants, choosing equipment that complements your level of craftsmanship makes all the difference. One tool I swear by is the Kreg Pocket Hole Jig; it streamlines drawer assembly and cabinet frame reinforcement, providing durable, tight joints that withstand daily use. I also lean heavily on my Cordless Impact Driver, which offers the torque needed for installing hardware and dismantling components without the fuss of cords or stripped screws. These tools are essential because they save me time and ensure consistency, especially when tackling multiple built-ins or custom cabinetry projects.
How do I keep my kitchen hardware and storage solutions functioning over time?
The secret to long-term performance is regular upkeep. I recommend applying a high-quality silicone-based lubricant like liquid WD-40 Specialist Silicone to hinges, slides, and latches every few months. This prevents squeaks, reduces wear, and keeps everything operating smoothly. Additionally, inspect your cabinetry fasteners periodically, tightening loose screws to prevent misalignments. For deeper cleaning, a microfiber cloth with gentle, non-abrasive cleaner preserves finishes and removes accumulated dust or grease.
On the maintenance horizon, I predict automation and smart hardware integrations will become standard in upscale kitchens. Think motorized storage units or app-controlled lighting that adapt to your routines, making upkeep even easier. Embracing these innovations now can future-proof your remodel and add significant convenience.
Beyond tools, understanding the importance of proper design flow and maintenance routines is vital. Regularly checking that shelves remain level and drawers glide smoothly can avoid costly repairs down the line. Proven methods, like using a cabinet shimming technique, supply tailored support for uneven floors, ensuring your cabinetry looks perfect for years.
If you’re ready to elevate your maintenance game, try applying a silicone lubricant to your hinges and slides this weekend. It’s a simple step that delivers noticeable results in keeping your kitchen functioning flawlessly. For more in-depth techniques and tailored tools, don’t hesitate to contact us through our contact page.
Lessons Only Experience Can Teach
- One of my toughest lessons was realizing that perfecting cabinet gaps isn’t just about tools—it’s about patience and understanding the subtle nuances of your space. Rushing through the fine-tuning process often means you’ll spend more time fixing mistakes later, so take your time to double-check measurements and adjustments. I’ve learned that small tweaks in hinges can make a huge difference in the overall aesthetic and functionality.
- I’ve also discovered that investing in quality tools like a precision drill and a good level pays off immensely. Cheap tools may save some dollars initially but often lead to frustration and subpar results, especially when aligning custom cabinetry or installing built-ins. My advice? Don’t skimp on these essentials if you want professional-looking results.
- Another lightbulb moment was understanding that effective storage solutions aren’t just about adding more space but designing with purpose. Incorporating features like hidden charging stations or pull-out shelves transforms a standard kitchen into a highly functional space. This realization helped me avoid common clutter pitfalls and created a seamless flow in my kitchen design.
Resources That Elevated My Kitchen Journey
- The Ultimate Guide to Custom Cabinets for a Stylish Kitchen Overhaul: This comprehensive resource provided me with insights into selecting the right materials and layout ideas, ensuring my cabinets not only looked great but lasted over time.
- Expert Tips on Selecting Storage Solutions for a Perfect Kitchen Upgrade: I trust this guide for its practical advice on maximizing space, especially in tight spots or unconventional layouts. It helped me choose solutions that balance accessibility and aesthetics.
- Revolutionize Your Kitchen with Built-Ins and Creative Storage: This blog opened my eyes to innovative ideas like hidden compartments and adjustable shelving, inspiring me to think outside the box during my remodel.
- How to Drill Perfect Shelf Pin Holes Without a Professional Jig: A must-know technique that ensured my shelves were perfectly aligned, saving me time and additional repair work.
Bring Your Kitchen Vision to Life
Embracing the detailed aspects of cabinet installation and storage design can transform your space into a streamlined, beautiful environment. Remember, every small adjustment or smart solution contributes to the overall harmony and efficiency of your kitchen. Don’t be afraid to experiment and seek out expert advice—your perfect kitchen is within reach. What’s the first improvement you’re planning to make? Let me know below, and let’s inspire each other to create stunning, functional kitchens.