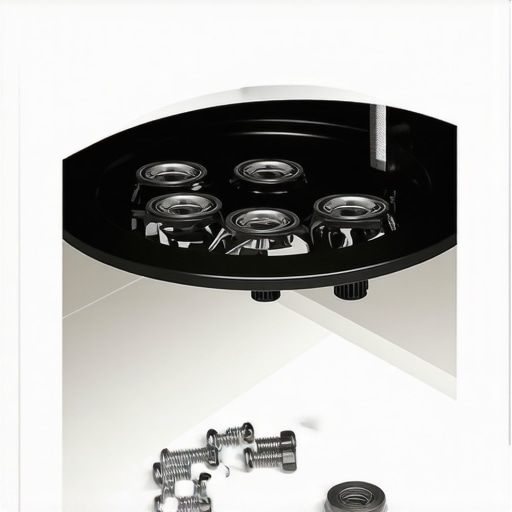
Why Your Lazy Susan Keeps Jamming and the Replacement Hardware You Need
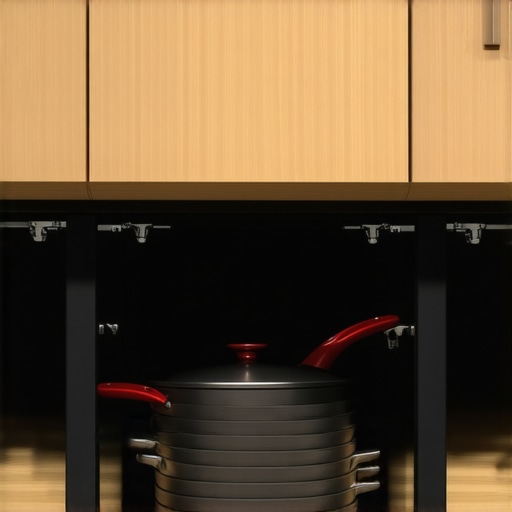
Ever opened my kitchen cabinet and watched my lazy Susan grind to a halt, causing a mini avalanche of lids and jars? That frustrating moment where your turntable suddenly refuses to spin — I’ve been there, and honestly, it’s enough to make you want to toss the whole cabinet out the window! But here’s the thing: I realized early on that the root cause wasn’t just wear and tear; it was faulty or worn-out hardware that desperately needed replacing. If you’re tired of battling your lazy Susan every time you grab a spice jar, then stick around. Today, I’ll walk you through how to diagnose the hardware issues and the exact replacement parts that will make your lazy Susan spin as smoothly as new.
Why Your Lazy Susan Keeps Jamming and How Hardware Can Save the Day
The first time my lazy Susan jammed, I thought it was just a fluke. Maybe I overloaded it? Nope. It turned out that the old, worn-out swivel hardware was the culprit. Over time, the bearings, screws, and pivot plates lose their integrity—especially if you frequently spin it or overload it with heavy items. The surprising fact is that many home improvement enthusiasts overlook the importance of high-quality hardware when it comes to cabinet accessories. According to expert tips, upgrading your lazy Susan hardware can virtually eliminate jamming and extend the life of your storage solution.
In early days, I made a mistake I see many others do — I bought generic replacement parts that didn’t fit properly or weren’t durable enough for regular use. This only led to more jamming and frustration. So, I learned the hard way that selecting the right hardware isn’t just about compatibility but also about quality. If you’re curious about how to choose the best hardware to keep your kitchen cabinets organized and functional, check out [this resource](https://artisancabinetworkz.com/expert-tips-on-selecting-storage-solutions-for-a-perfect-kitchen-upgrade). It’s packed with practical insights that can help you avoid common pitfalls.
Have you faced a jammed lazy Susan that just wouldn’t turn? Or maybe your cabinet feels like it’s about to disassemble every time you try to access that one stubborn corner? You’re not alone, and the good news is that a simple hardware upgrade can make a world of difference. In the next sections, I’ll guide you through how to identify the faulty parts, what replacement hardware to look for, and how to install them yourself without calling in a pro. Ready to get your cabinet spinning smoothly again? Let’s dive into the nuts and bolts of the fix — and trust me, it’s easier than you think.
Remove the Old Hardware Carefully
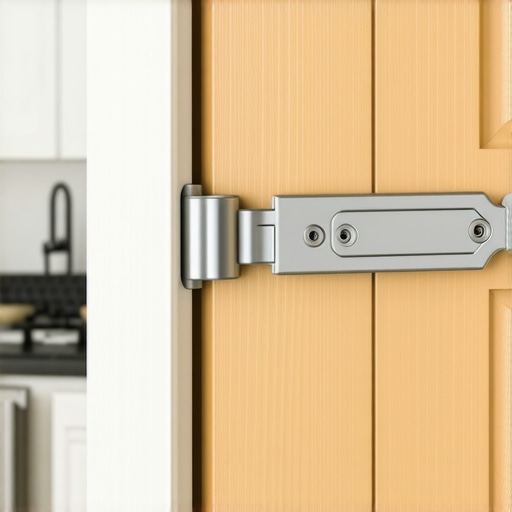
Start by emptying your lazy Susan to avoid spills. Use a screwdriver to detach the swivel plates and bearings—think of it like unscrewing the hinges on a door. Keep track of all screws and parts, placing them in a labeled container. During my project, I used painter’s tape and a sharpie to label each screw, which saved me time during reassembly. Once removed, inspect the hardware for rust, warping, or excessive wear—these signs indicate parts need replacing.
Measure for Precise Replacement Parts
Next, measure the diameter of the swivel plates and the height of the bearings. Use a caliper or a ruler for accuracy, just like measuring for that perfect fitting cabinet hinge. When I replaced my hardware, I found that matching the exact dimensions prevented wobbling and ensured smooth rotation. Don’t forget to check the maximum weight capacity of the new hardware—heavy spice jars demand durable components. For detailed guidance on selecting high-quality hardware, visit expert tips on selecting storage solutions.
Select the Right Replacement Hardware
Choose hardware made from rust-resistant metals like stainless steel or zinc alloy for longevity. Opt for ball-bearing swivel plates if you often overload your lazy Susan; they provide a smoother spin and handle weight better. When I upgraded mine, I opted for a heavy-duty set that supported up to 50 pounds, which eliminated previous jamming issues. Cross-reference your measurements with product specifications online—sites like innovative storage solutions can help you find compatible hardware.
Install the New Hardware Methodically
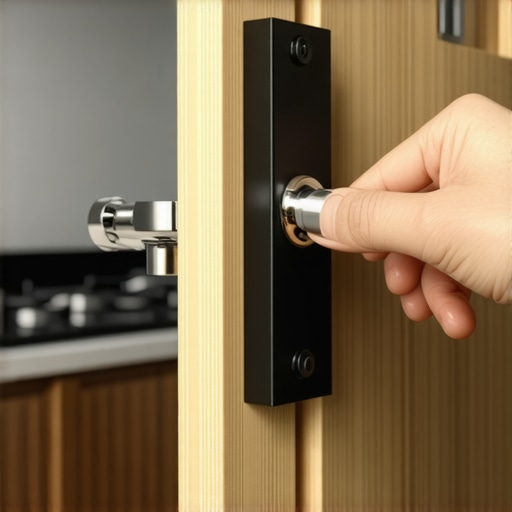
Align the swivel plates on the cabinet base first, ensuring that the screw holes match. Use a drill or screwdriver to secure the plates tightly—think of it as giving your lazy Susan a firm handshake. Then, attach the bearings and the top plate, ensuring smooth movement without wobble. During my installation, I tightened all screws incrementally, testing the spin after each adjustment. This approach prevented overtightening, which can restrict movement. For optimal results, verify that everything spins freely before finishing up. Want extra detail? Check out support heavy overhangs for more hardware insights.
When it comes to kitchen remodels and built-in storage solutions, many homeowners cling to the myth that standard, off-the-shelf options are always sufficient. However, this oversimplification often leads to missed opportunities for truly optimized spaces. For example, a common misconception is that more cabinets automatically equate to better storage. In reality, strategic integration and understanding the nuanced differences between custom and semi-custom options can dramatically enhance functionality and aesthetic appeal. One overlooked nuance is the importance of tailored depth and clearance — standard measurements don’t always fit larger cookware or appliances, causing clutter and frustration. Additionally, many assume that built-ins should follow a uniform style, but mixing textured finishes or unconventional shapes can add personality and depth to your design. Be cautious of the trap where homeowners prioritize looks over practicality; a beautiful cabinet that doesn’t accommodate everyday use diminishes its value. For instance, a study from the National Kitchen & Bath Association highlights that 75% of successful remodels involve customized solutions that consider the household’s unique habits and storage needs. If you want to truly elevate your kitchen, understanding these advanced nuances is crucial. Want expert insights on choosing the right built-ins? Check out [this resource](https://artisancabinetworkz.com/expert-tips-on-selecting-storage-solutions-for-a-perfect-kitchen-upgrade) to avoid common pitfalls and unlock the full potential of your space. Remember, investing in thoughtfully designed built-ins and custom cabinetry adds not just style but real functionality that lasts. Have you ever fallen into this trap? Let me know in the comments.Maintaining your built-in storage and custom cabinets over time requires the right tools and a mindful approach. One essential instrument I swear by is a high-quality cordless drill with variable speed settings. Its versatility allows me to tighten or loosen screws precisely without overdriving or damaging delicate materials. For measuring, I rely on a digital caliper; its precision ensures that hardware replacements fit perfectly, preventing wobbling or misalignment. Additionally, I always keep a set of cabinet-safe lubricants on hand, like lithium grease, to keep hinges and sliding mechanisms operating smoothly—this simple step can significantly extend their lifespan.
For cleaning and minor adjustments, a soft microfiber cloth and a set of precision screwdrivers are indispensable. The microfiber prevents scratches, while the screwdrivers allow discreet fixes without removing entire panels. When planning a remodel or upgrade, I use CAD software like SketchUp to visualize changes, ensuring that newly added storage solutions integrate seamlessly with existing layouts. This planning minimizes costly errors and rework, saving time and money in the long run.
Looking ahead, I predict that the integration of smart tools—such as Bluetooth-enabled measuring devices and app-controlled lubricants—will become industry standard, making maintenance even more straightforward. Staying ahead of these trends ensures your kitchen remains functional and stylish without frequent costly repairs.
How do I keep my built-ins working seamlessly over the years?
Regularly inspect hinges, sliders, and hardware for wear or looseness, and perform lubrication as needed. Avoid using harsh chemicals that can degrade finishes; instead, opt for gentle cleaners and lubricants designed for cabinetry. Implementing routine checks every six months can prevent small problems from escalating into major repairs, thus preserving your investment.For comprehensive insights into innovative storage solutions, check out this article. Don’t forget to try using a digital caliper next time you’re replacing hardware—precision is everything. It’s a small change that can dramatically improve the longevity of your built-in storage. Remember, consistency in maintenance and leveraging the right tools are your best strategies for keeping your kitchen functioning beautifully for years.
The Hardest Lesson I Learned About Built-ins, Kitchen Remodel, Storage Solutions, Custom Cabinets
One of the most eye-opening moments in my remodeling journey was realizing that appearance isn’t everything—functionality must come first. I initially focused on flashy hardware and trendy finishes, only to discover that poorly planned storage and overlooked hardware details turned my dream kitchen into a daily frustration.
3 Myths About Built-ins, Kitchen Remodel, Storage Solutions, Custom Cabinets That Held Me Back
I used to believe that all built-in solutions are expensive and complicated, but I learned that smart design and proper hardware simplify installation and long-term use. Another misconception was that standard sizes fit all; customization is key to making your space truly work for you. Lastly, I thought upgrading hardware wasn’t worth the effort—until jamming and wobbling became part of my daily routine.
What Experts Won’t Tell You About Built-ins, Kitchen Remodel, Storage Solutions, Custom Cabinets
Real professionals know that the magic is in precise measurements and choosing high-quality hardware. The tiny details—like matching swivel plate diameters and bearing heights—make a huge difference in smooth operation. Expert resources, such as this guide, helped me avoid costly mistakes and get maximum durability. Learning to properly measure, select, and install hardware transformed my project from a stressful trial into a rewarding experience.
Curated Recommendations for Your Built-in and Storage Adventures
My Essential Toolkit for Built-ins includes a precision digital caliper and a high-quality cordless drill, both trusted for their reliability and ease of use. I also recommend books like Interior Design Mastery—which changed how I see space planning—and websites like this resource that offers practical tips to optimize your storage solutions. These tools and sources have been crucial in making informed decisions and achieving professional results with confidence.
Your Turn to Make It Happen
Remember, the journey to a beautifully functional built-in, kitchen remodel, or custom cabinet setup is one of continuous learning. Embrace the process, pay attention to detail, and don’t shy away from upgrading hardware—your future self will thank you for it. With the right knowledge and tools, you can turn a chaotic cabinet into a well-oiled storage masterpiece and enjoy a kitchen that not only looks stunning but functions flawlessly. Ready to start your own transformation? Share your thoughts or questions below, and let’s get inspired together!