Why Painted Maple Beats Oak for a Smooth Cabinet Finish
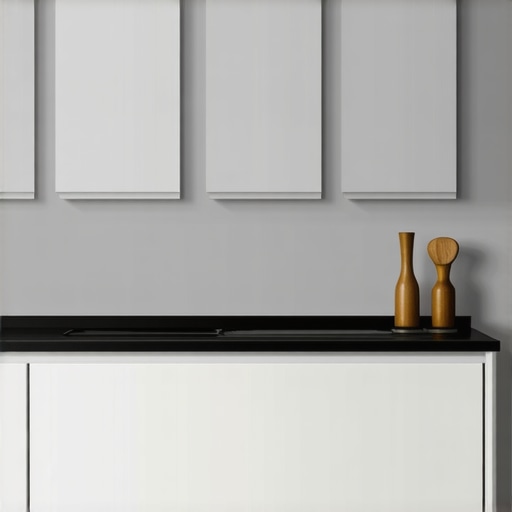
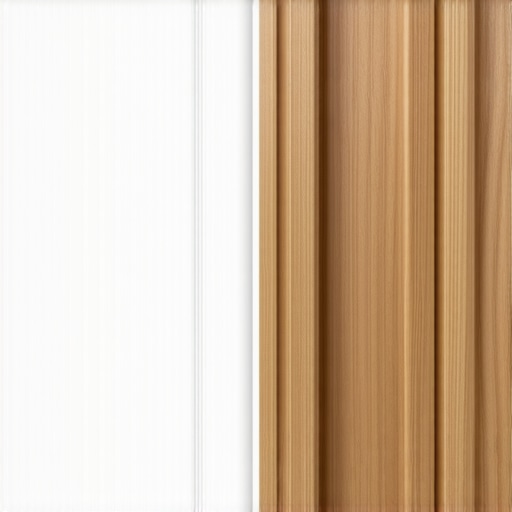
It hit me one afternoon while I was staring at a stubbornly uneven oak cabinet door that refused to align perfectly. The grain was beautiful, sure, but the finish felt rough, almost textured, making the entire kitchen look less polished and more rustic than sleek. I realized that my quest for a classic oak look was undermining my goal of a smooth, modern finish. That’s when I discovered that *painted maple* might just be the secret weapon I was missing.
Transforming Cabinets: A Personal Journey from Frustration to Satisfaction
Over the years, I’ve tried many approaches to achieve that silky-smooth cabinet surface. And let me tell you, my early attempts with oak often ended in disappointment—uneven patches, visible grain, and an almost porous feel that caught every fingerprint. It was a wake-up call that the type of wood alone doesn’t dictate the smoothness of the finish. Instead, the combination of wood type and surface preparation really makes a difference—especially with maple. Painted maple allowed me to get that uniform, sleek appearance I craved, without sacrificing durability or elegance. If you’re struggling with rough textures or uneven finishes, I promise you, switching to painted maple can transform your kitchen’s look and feel. Today, we’ll explore precisely why this is the case and how you can embrace this approach for your remodel.
Wondering if Painted Maple Really Outperforms Oak? Let’s Clear That Up
When I first considered upgrading my cabinets, I was skeptical. I’d seen countless articles praising oak’s timeless appeal and durability. But in my hands, the finish left much to be desired—grain patterns that distracted from the sleek design I envisioned. An early mistake I made was rushing through the surface prep, thinking that the natural grain was more important than the finish’s smoothness. Turns out, proper preparation and choosing the right wood matters more than most realize. According to experts, maple’s fine and uniform grain makes it an excellent candidate for painted finishes, creating that flawless look many homeowners desire (source: Creating Seamless Kitchen Remasters). If you’re ready to elevate your cabinets from rustic to refined, understanding these differences is a good place to start. We’ll dive deeper into how to choose maple, prepare it properly, and achieve that smooth, stunning surface you’ve been dreaming of.
Prep the Surface Properly
Start by removing all hardware and thoroughly cleaning the cabinets with a degreaser. Sand the surface lightly with 220-grit sandpaper to create a matte finish, ensuring the paint adheres well. I remember when I tackled my cabinets, I used a handheld orbital sander, which made the process quicker and more consistent, though I kept a close eye to prevent gouging the wood.
Fill and Sand Imperfections
Any dents or holes should be filled with a suitable wood filler, then sanded smooth once dry. This step is crucial for achieving an ultra-smooth surface that mimics the sleek look of modern kitchens. During my project, I used a fine-grit sanding sponge to evenly smooth out the filler, avoiding any ridges that could telegraph through the paint.
Choose the Right Primer and Paint
Applying a high-quality primer designed for maple and painted finishes helps seal the wood and prevent bleed-through. I opted for a shellac-based primer, which seals the grain effectively and dries quickly. For the paint, use a durable, semi-gloss or satin finish acrylic enamel formulated for cabinets. I found that brushing in long, even strokes reduces brush marks and creates a more uniform finish.
Consistency Is Key in Application
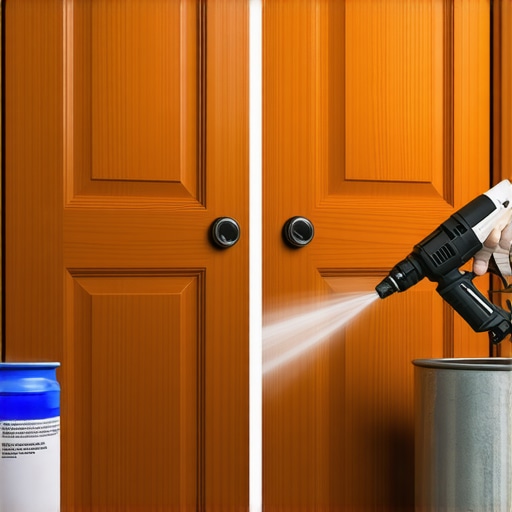
Apply two thin coats of paint instead of one thick layer. I used a high-quality synthetic brush and a foam roller for the second coat, which minimized brush strokes and enhanced smoothness. During my first attempt, I rushed the process and ended up with uneven patches, but taking my time with each coat made a noticeable difference.
Sand Between Coats
After each coat dries, lightly sand with 400-grit sandpaper to remove any imperfections. This step refines the surface and prepares it for the next coat. I remember when I sanded the second coat, I used a fine sanding sponge, which left a velvet-like finish, ensuring the final result was flawless.
Seal with a Clear Topcoat
Finish with a durable polyurethane or water-based topcoat for protection against moisture and scratches. A satin or semi-gloss topcoat works well to maintain that sleek appearance. When I applied my topcoat, I followed up with a light sanding and a final coat, which made my cabinets look professionally finished and easy to clean.
Final Tips for Success
Patience is vital; allow sufficient drying time between coats. Use painter’s tape to protect edges and hardware openings for clean lines. Remember, I learned from my messy first try—don’t rush through the process. Proper surface preparation, quality materials, and meticulous application ensure a smooth, modern finish that elevates your entire kitchen aesthetic. For more insights on optimizing your space, check out our smart storage solutions or consider integrating built-in storage options to complement your revamped cabinets.Many homeowners and even seasoned designers fall prey to common misconceptions about built-in cabinetry and kitchen renovations. A prevalent myth is that custom cabinets alone guarantee a perfect, clutter-free space, but the truth is that *layout and integration* matter just as much—sometimes more. For instance, many believe that more storage equals better organization, yet without strategic planning, added cabinets can turn into hidden clutter traps that frustrate more than they help.
What Are the Pitfalls of Overlooking Functional Nuance in Storage Solutions?
Overlooking the nuances of functionality can lead to mistakes that diminish your kitchen’s efficiency. For example, installing deep pantry shelves might seem like a smart move, but they can cause easy-to-forget items to become lost deep in the back, increasing frustration and reducing usability. Studies, such as those highlighted by professional organizers, emphasize that well-planned, thoughtful layouts with accessible, varied storage types boost usability and satisfaction—so it’s crucial to understand *how* storage solutions are used daily, not just how they look (source: Expert storage advice). Avoid the “more is better” trap by focusing on *quality over quantity*, integrating features like pull-out drawers or adjustable shelves that adapt to your needs. A common mistake is to prioritize aesthetics over practicality—think built-in wine racks or niche niches that look stunning but offer little real-world utility. Instead, *personalize your storage* so every inch enhances your workflow. Another overlooked aspect is *alignment with your kitchen’s workflow*. For instance, placing baking sheets or pots near the stove saves time, yet many overlook such essentials, forcing unnecessary movement. This is where analyzing your routines, perhaps via a simple kitchen flow mapping, can dramatically improve layout efficiency. For the advanced remodeler, paying attention to *cabinet depth, handle placement, and lighting* can make a subtle but powerful difference, creating a seamless, inviting environment. Simultaneously, beware of the trap of overly complex designs—simplicity often leads to better long-term satisfaction. Want to ensure your built-ins truly serve your lifestyle? Consider consulting with experts or leveraging resources like Creating Seamless Kitchen Remasters to avoid costly mistakes. Remember, every element should work harmoniously, supporting your daily routines and aesthetic goals. Do you often find yourself overwhelmed by storage options? Let me know in the comments. Ultimately, the key lies in balancing beauty with brains—design that’s smart, not just stylish.
Keep Your Built-Ins in Prime Condition
Ensuring your custom cabinetry and integrated storage solutions stay functional and beautiful over years requires a combination of the right tools and consistent maintenance. Personally, I rely on a few specific items that make upkeep efficient and effective, saving me time and preventing costly repairs down the line.
Invest in Quality Hand Tools for Routine Care
My go-to is a precision screwdriver set with magnetic tips, which simplifies adjusting soft-close hinges or replacing worn-out drawer slides without damaging delicate finishes. I also keep a high-quality silicone scraper, perfect for removing stubborn residue without scratching surfaces, especially on painted or veneered cabinets. Regular tightening of handles and hardware with these tools prevents components from loosening and causing misalignments, maintaining both aesthetics and usability.
Use Specialized Cleaning Equipment
I recommend a microfiber dusting cloth combined with a gentle wood or laminate cleaner, depending on your cabinetry material. For deeper cleaning, an ultrasonic cleaner can be invaluable for hardware like hinges and drawer runners—removing accumulated grease and debris that compromise smooth operation. These tools, although more of an investment, extend the life of your storage components and keep everything operating seamlessly.
Regular Checks and Adjustments Make a Difference
Scheduling quarterly inspections helps identify issues early. I check for uneven door alignments, squeaky hinges, or sticking drawers. Sometimes, a simple adjustment with my screwdriver can restore perfect operation. For instance, fine-tuning the soft-close dampers or adjusting magnetic catches prevents wear and tear, extending the lifespan of your custom cabinetry. Techniques like this are detailed in expert guides (source: Why Your Kitchen Feels Messy Even When the Counters Are Clean), emphasizing proactive upkeeping.
Embrace Modern Maintenance Tools
In the future, smart diagnostics embedded within hardware—such as hinges that alert you to misalignment or wear—will become commonplace. Until then, a digital caliper and a small torque wrench are excellent for precise adjustments, ensuring hardware remains within manufacturer specifications. These tools help avoid over-tightening, which can damage your cabinets, resulting in a sleek appearance and optimal functionality over time. Regular use of these devices aligns with the ongoing trend towards smart, connected home solutions, as discussed in experts’ forecasting (source: Creating Seamless Kitchen Remasters).
How Do I Maintain Built-ins Over Time
The biggest secret to long-term performance is consistent checkups and immediate small repairs. Don’t wait until hardware failure or misaligned doors become major issues. Instead, adopt these maintenance habits: schedule monthly inspections, clean hardware with specialized tools, and adjust hinges or slides as needed. For a more comprehensive approach, consider investing in tools like a multi-bit screwdriver with interchangeable heads, which enables quick fixes without cluttering your toolbox. By doing this, you’ll preserve your investment and enjoy a beautiful, functional kitchen for years to come.
If you’re ready to upgrade your routine, try out a precision torque wrench for cabinet hinges. This small upgrade can make noticeable improvements in alignment and smoothness, helping your cabinetry stay pristine and functional longer.
Throughout my remodeling journey, I uncovered that true success lies in blending aesthetic appeal with practical function; simply choosing beautiful cabinetry isn’t enough, as thoughtful layout and tailored storage often yield more satisfying results; never underestimate the power of detailed planning—spending extra time mapping routines and storage needs upfront saves headaches later; investing in quality hardware and tools for maintenance pays off— routine care with the right supplies prolongs your cabinets’ lifespan and keeps them looking pristine; embracing innovative solutions like adjustable shelves, pull-out drawers, and integrated charging stations transforms not just your space but your daily life—making everything more accessible and efficient.