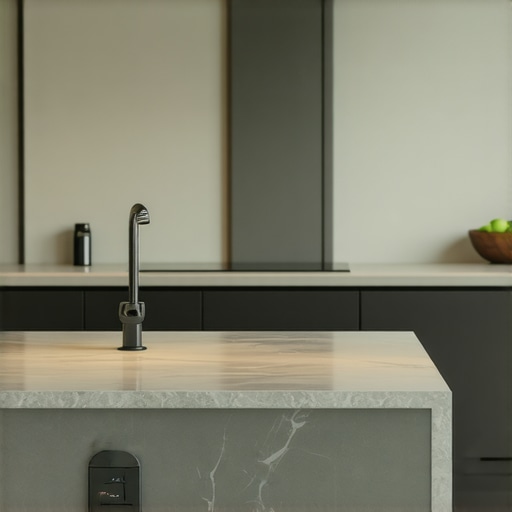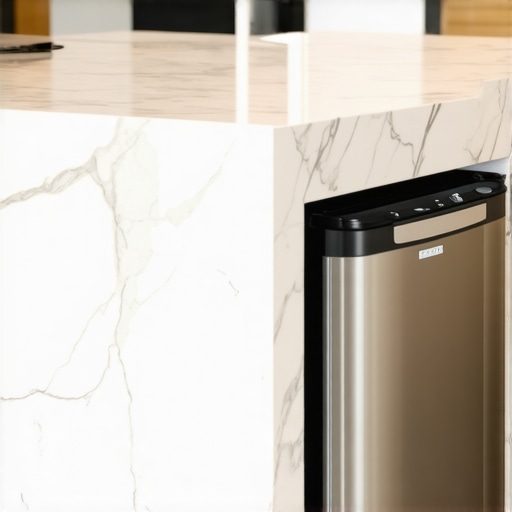
Why Your Kitchen Island Needs an Integrated Trash Compactor
Imagine the scene: it is Saturday night, you have just finished a beautiful roast chicken dinner on your brand-new quartz island, and then the smell hits you. The trash can is already overflowing. You try to push the waste down with your foot, but a piece of greasy parchment paper slides out onto the floor. This was me three years ago. I had spent a small fortune on custom cabinets but completely ignored the reality of how much waste a family of four actually produces. It was a visceral failure that left my dream kitchen feeling like a cluttered mess within a week of moving back in.
Stop the Endless Trips to the Outdoor Bin
When I first started planning my renovation, I was obsessed with aesthetics. I wanted clean lines and a minimalist feel. I made the classic mistake of thinking a standard double-bin pull-out would be enough for our needs. It was not. Within months, I was trekking to the garage three times a day just to keep the kitchen from smelling like a landfill. If you are currently looking at innovative storage solutions for modern kitchen remodels, you need to consider the volume of your waste, not just where to hide the bin. An integrated compactor in the island changes the game by reducing trash volume by up to 75%, which means fewer bags and much less physical labor for you. According to the EPA, the average American generates about 4.9 pounds of municipal solid waste per day, a number that quickly overwhelms a standard cabinet without some mechanical help. Integrating this tool directly into your island keeps the workflow tight and the floor clear.
Is a compactor actually worth the cabinet space?
I know what you are thinking because I thought it too: why would I give up a whole cabinet for a machine? In a small layout, every inch of storage solutions matters. But here is the secret I learned the hard way. A compactor actually saves space elsewhere. Because you aren’t storing five bags of loose recycling or trash in various corners, you can actually optimize your kitchen floor plan more effectively. Have you ever found yourself doing the ‘trash dance’—that awkward stomp to make one more pizza box fit—only to have the bag tear? It is frustrating, messy, and entirely avoidable. Today, we are going to look at why this specific appliance is the missing piece in your island design and how it interacts with your other smart storage ideas to create a truly functional home.
Measure Twice to Avoid Butchering Your Island
Getting a compactor into your island isn’t as simple as sliding a dishwasher into a hole. You have to think about the ‘bones’ of the cabinetry from day one. Most compactors are 12 to 15 inches wide, which is a narrow footprint that can throw off the symmetry of your base cabinets if you haven’t planned for it. If you’ve already committed to custom cabinets as a game changer in your kitchen remodel journey, you need to provide the exact technical specifications to your builder before the first sheet of plywood is cut. I learned this the hard way during a project for a client who decided to add a compactor after the island was already framed. We had to modify a finished unit on-site, and a slight slip of the chisel meant I spent the next four hours figuring out how to fix a cracked cabinet panel without replacing the door. Precision is your best friend; treat the rough opening like a glove that needs to fit the appliance perfectly, allowing for a 1/8-inch clearance on either side for vibration.
Why 15 Inches is the Magic Number
While 12-inch models exist, 15-inch units are the industry standard for a reason. They align better with the standard proportions of other appliances. When you are looking at why we recommend 36-inch base cabinets for every modern remodel, remember that a 15-inch compactor leaves you exactly 21 inches of remaining space in a standard 36-inch section, which is perfect for a stack of drawers for linens or cutlery. 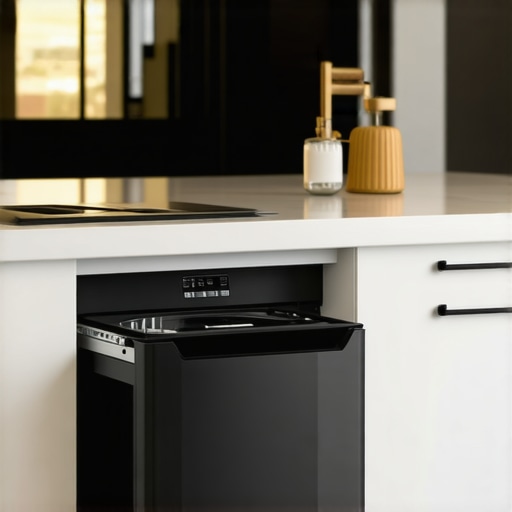
Power the Beast Without Tripping a Breaker
A compactor is a mechanical beast. It isn’t just a motor; it is a heavy-duty press that requires a dedicated 15-amp, 120-volt grounded circuit. If you are deep into modern kitchen remodels featuring custom cabinets and built-ins, don’t assume your existing island wiring can handle a microwave, a dishwasher, and a compactor simultaneously. This is exactly why your kitchen remodel budget needs a contingency fund. Running a new electrical line to an island after the flooring is installed and the cabinets are anchored is a logistical nightmare that can cost three times more than doing it during the ‘open stud’ phase. Make sure the outlet is recessed into the back wall of the cabinet so the plug doesn’t prevent the unit from sitting flush with your drawer fronts.
Make the Machine Disappear with Custom Face Frames
The biggest fear people have is that a compactor looks like a clunky industrial machine. The solution is simple: choose a panel-ready model. This allows your cabinet maker to create a door front that matches your custom cabinets ideas that transform your homes style. When you are selecting storage solutions for a perfect kitchen upgrade, always check if the manufacturer provides a door-mounting kit. I once saw a DIY attempt where someone tried to glue a panel onto the metal front; the first time the machine cycled, the vibration shook the panel right off onto their toes. You need a mechanical connection. By using built-ins and storage hacks for a sleek functional kitchen, you can ensure the handle on the compactor matches your drawer pulls exactly, making the most hardworking appliance in the room completely invisible to the naked eye.
Most designers will tell you to start your layout with the ‘work triangle’—the sink, stove, and fridge. I am here to tell you they are wrong. In a modern, high-traffic home, the most frequently used ‘station’ is actually the waste center. If you do not build your expert guide for 2025 around where the scraps and recycling actually go, the entire flow of the room breaks down before the first meal is served. According to a study by the Research Institute for Cooking & Kitchen Intelligence (RICKI), homeowners consistently rank ‘trash and recycling’ as a top three functional pain point after a renovation. The mistake is not just ignoring the bin; it is ignoring the physics of the compactor and how it interacts with the surrounding wood.
Can your island’s structure handle the mechanical torque?
A common myth is that any sturdy island can house a compactor. But think about the sheer force involved: a high-end compactor exerts roughly 3,000 pounds of pressure per cycle. Over time, that repetitive vibration can wreak havoc on adjacent units if they are not perfectly isolated. If you did not follow the proper way to shim cabinets on a high spot in the floor, your island might actually shift over time, eventually leading you to search for how to fix a cabinet door that is rubbing the frame. I once saw a gorgeous walnut island where the mitered joints literally separated because the compactor was bolted too tightly to the custom face frame instead of being allowed to vibrate independently on its feet.
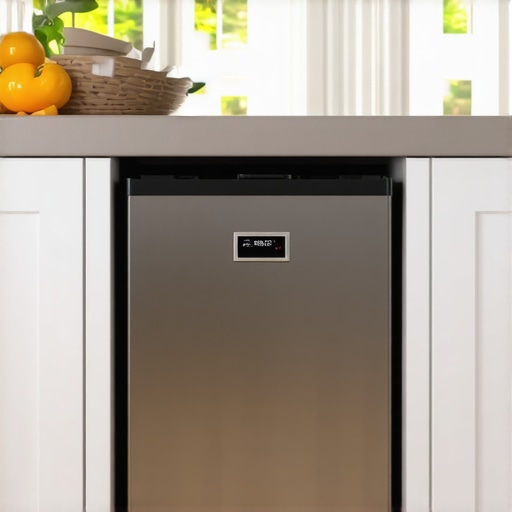
Stop the vibration from killing your finish
This is where the ‘Oops’ factor hits most homeowners: the death of the paint. Even if you are using the best wood species for painted cabinets that will not crack at the joints, the micro-vibrations from a compactor can cause hair-line fractures in a brittle finish within six months if the unit is touching the side panels. The secret is mechanical isolation. We often recommend a 1/4-inch high-density rubber mat beneath the compactor feet and ensuring a clear air gap between the machine and the cabinet walls. Furthermore, this is exactly why you should install your base cabinets before your flooring; you need to ensure the compactor is sitting on a solid, level subfloor to prevent it from ‘walking’ during a heavy cycle. Have you ever fallen into this trap where a single appliance caused a massive cabinet headache? Let me know in the comments.
Protect your investment from the inside out
Maintaining the structural integrity of your island goes beyond just wiping down the countertops with a damp cloth. If you have integrated heavy-duty appliances like a compactor or a professional-grade mixer lift, you are dealing with constant mechanical stress. I personally swear by the Stabila 80 AS-2 digital level for my quarterly checks. Why? Because houses settle, and even the most expensive custom cabinets as a game changer in your kitchen remodel journey can lose their alignment over a few seasons of humidity changes. If you notice a drawer starting to catch, don’t wait. A simple turn of a screwdriver can prevent a minor rub from becoming a permanent scar on your finish. By looking at smart storage solutions for small kitchens in 2025, it is clear that the trend is moving toward heavier, more complex hardware that demands this level of precision.
How do I stop my heavy pull-outs from failing over time?
The secret to longevity isn’t just the wood; it is the lubrication of the moving parts. According to technical documentation from Rev-A-Shelf, high-capacity mechanical waste systems are rated for over 50,000 cycles, but only if the telescoping rails are kept free of debris and occasionally treated with a dry silicone spray. Never use WD-40 on your cabinet slides; it attracts dust like a magnet and will eventually turn into a gritty paste that grinds down the ball bearings. If you have invested in a high-end setup, you likely have why your custom cabinets should feature dovetail drawers, which provide the lateral strength needed to handle these heavy loads without racking. 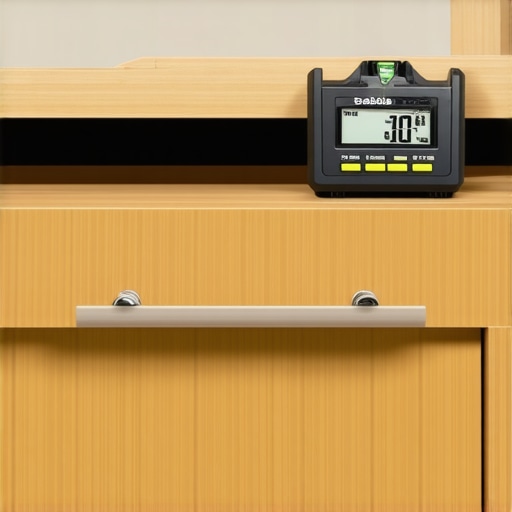
The precision tools that separate pros from amateurs
When I am working on modern kitchen remodels featuring custom cabinets and built-ins, my most valuable tool isn’t a saw—it’s a torque-limiting driver. Over-tightening a screw in a hardwood face frame is a recipe for a split that you can’t easily hide. This is a common culprit when people are trying to figure out how to fix a loose cabinet knob that keeps spinning. If the internal wood fibers are stripped, the hardware will never sit flush. I predict that in the next five years, we will see ‘smart’ cabinetry hinges that alert your phone when they’ve fallen out of plumb or when the soft-close mechanism is losing tension. Until then, you are the sensor. Listen for the ‘click’ or the ‘thud’ that shouldn’t be there. Using the secret to a quiet kitchen dampening your cabinet doors is a great start, but you must ensure the dampeners themselves haven’t shifted. I also strongly recommend that why your sink cabinet needs a drip tray right now becomes your new mantra for the island sink too; even a minor leak from a compactor’s liquid waste can rot your subfloor before you even smell it. CTA: Take ten minutes this weekend to open every drawer in your island, pull them to their full extension, and vacuum out the tracks—you’ll be shocked at how much smoother your kitchen feels on Monday morning.
Hard-Won Secrets from the Cabinet Front Lines
After years of installing custom cabinets, I have learned that the “hidden” costs of high-capacity appliances are often physical. Remember that a compacted bag of trash can easily weigh 30 to 50 pounds. When planning your layout, ensure you have a clear, wide path to the exit so you aren’t wrestling a heavy bag against your delicate island corners. Furthermore, moisture is a silent killer for wood. Even though a compactor is a sealed unit, organic waste produces liquid. Applying the logic of why your sink cabinet needs a drip tray right now to your compactor base can save your subfloor from unseen leaks. Finally, never assume your panel-ready kit includes the handle; always sync your hardware orders to match your overall storage solutions for a perfect kitchen upgrade so the aesthetic remains seamless.
#IMAGE_PLACEHOLDER_E#
Gear That Guarantees a Flawless Island Install
To achieve the precision of a professional kitchen remodel, you need more than just a hammer. I personally rely on Rev-A-Shelf mechanical systems for their unparalleled durability under high-vibration loads. For the structure, I exclusively use Titebond III Ultimate wood glue, especially since why you should never use silicone for cabinet joinery is a rule that prevents joint failure in high-torque environments. For leveling the island to prevent that dreaded compactor ‘walk,’ the Stabila 80 AS-2 is the only tool I trust to keep the frame perfectly square against the floor.
Step Into Your New Stress-Free Kitchen
Building a kitchen that truly serves your family is about more than just picking a cabinet door style; it is about mastering the invisible flow of your daily life. By choosing to integrate smart built-ins and storage hacks for a sleek functional kitchen, you are reclaiming your time and eliminating the daily frustration of an overflowing bin. Your investment in custom cabinets is an investment in your peace of mind. Don’t let the small details like waste management be an afterthought—make them the foundation of your design. What is the one chore in your current kitchen that drives you the most crazy? Let me know in the comments below!