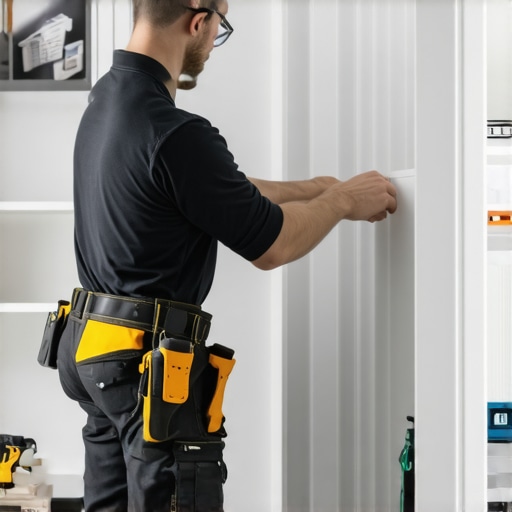
How to Anchor Floor-to-Ceiling Built-ins Without Ruining Your Drywall
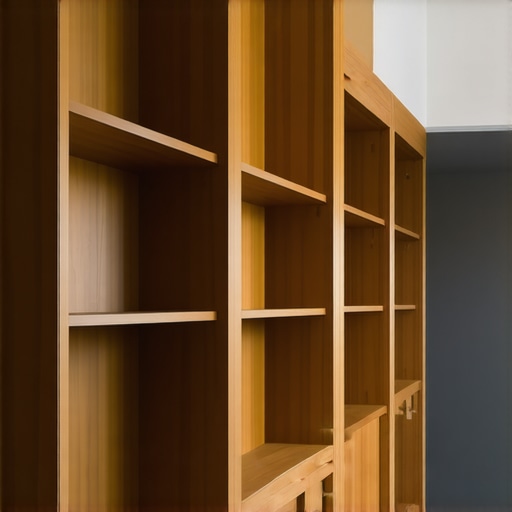
I’ll never forget the moment I tried installing a sleek, custom built-in bookshelf that spanned from floor to ceiling in my living room. I was so eager to maximize space and add a touch of elegance—only to realize I had underestimated the complexity of anchoring these massive structures without wrecking my drywall. That sinking feeling when your newly bought sawdust turns into drywall debris is all too familiar. Did I really need to choose between stunning storage or wall integrity? The answer, fortunately, was no.
Why Is Properly Anchoring Floor-to-Ceiling Built-ins Such a Big Deal?
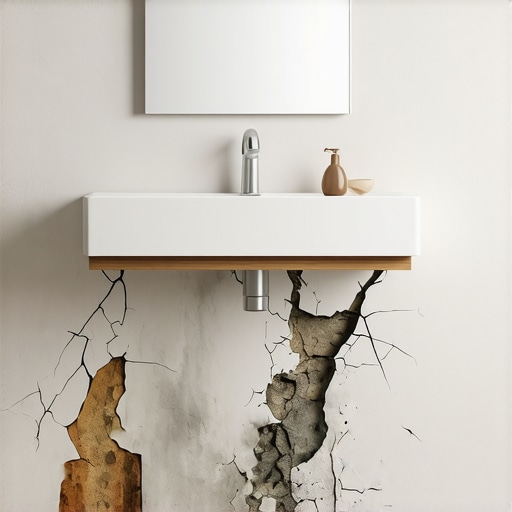
For many homeowners, installing vertical storage units isn’t just about aesthetics; it’s about functionality. But the challenge is real—how do you secure a heavy structure going from one wall to another without causing damage or risking safety? Drywall, despite its popularity, isn’t designed to hold substantial weight without reinforcement. Using improper anchoring techniques can lead to serious issues, including sagging, warping, and even costly wall repairs.
In my early projects, I made the classic mistake of relying solely on drywall anchors or poorly installed brackets, thinking that simple screws would suffice. Turns out, that’s a fast track to damage. According to the Drywall Education Blog, improper anchoring can lead to drywall failures that compromise both safety and aesthetics, often costing more in repairs than professional installation in the first place. The good news? There are effective methods to anchor built-ins securely, preserving wall integrity while creating stunning features. Today, I’ll share proven strategies I’ve used—and refined—to help you achieve professional results without the pitfalls.
Is That DIY Approach Foolproof or Just a Pipe Dream?
I’ll admit, I once believed I could wing it with a few anchors and a level. My early attempts were…less than stellar. That’s the risk with DIY projects—without experience, it’s easy to underestimate the weight, stress points, and proper reinforcement techniques. But understanding what mistakes to avoid is half the battle. For example, I once drilled into a wall without checking for studs, leading to a shaky, unsafe shelf. Learning the importance of locating studs and using the right hardware made all the difference. Want to skip these costly lessons? You might consider consulting expert tips on how to anchor built-ins effectively. For more ideas on custom solutions, check out this resource on built-ins that elevate your living room.
By understanding the pitfalls and the proper techniques, you can prevent drywall damage and ensure your built-ins stand the test of time. Up next, I’ll walk you through the essential tools and steps for a seamless installation—so stay tuned to turn your storage dreams into reality without the drywall disaster.
,
Start with a solid blueprint and measure meticulously
Before picking up the drill, I laid out my plans precisely, marking where the studs were to avoid drywall anchors alone. Using a stud finder, I plotted the entire span where the bookshelf would go, ensuring each anchor point hit a solid connection. Remember, this initial step sets the foundation for everything else and prevents drywall mishaps later.
Choose the right hardware for the weight
Not all screws or brackets are created equal. For my project, I opted for heavy-duty lag bolts and steel brackets rated for significant loads. I relished how these felt sturdier, much like upgrading from flimsy plastic to robust metal. Using hardware suited to the weight creates a safer, more durable installation.
Brace the structure with blocking or cleats
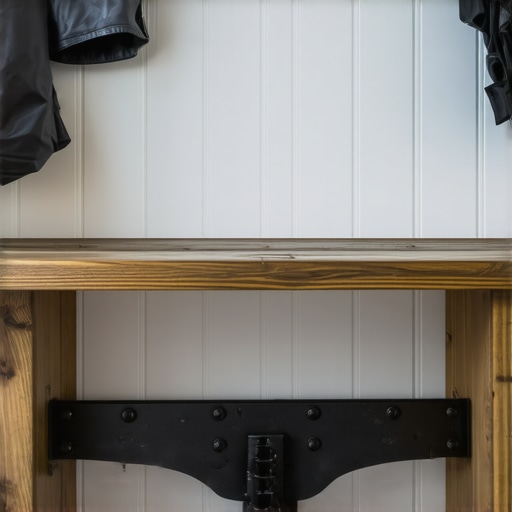
Instead of relying solely on the wall, I added horizontal blocking between studs or installed cleats anchored securely. Picture it like building a support frame inside a box—this distributes weight evenly. For my bookshelf, attaching vertical cleats to the studs provided a strong backbone, preventing sagging and wobbling over time.
Attach the built-in securely to wall and floor
I aligned the bookshelf with the markings, pre-drilled holes in the cleats, and fastened everything tightly with bolts. I also secured the base to the floor with heavy-duty anchors, much like anchoring a boat to a dock—you prevent unwanted movement. This dual anchoring ensures stability, especially with heavy books or decor.
Test the installation with load simulations
Before loading my shelves fully, I tested the setup by gently applying pressure and adding weight gradually. This allowed me to identify weak points, like loose screws or insufficient support. A little testing saved me from disaster when the shelves faced real everyday loads.
Refine and add safety features as needed
If any wobble or squeak appeared, I reinforced those spots, perhaps with additional brackets or longer screws. Think of it like tuning a musical instrument—small adjustments make a big difference in performance. For added safety, I also installed anti-tip devices to prevent accidental toppling, akin to how furniture anchors protect children’s rooms.
By meticulously following these steps and emphasizing proper hardware choice, I transformed a risky project into a secure, stunning feature. If you’re tackling a similar build, consider consulting detailed ideas on built-ins that elevate your living room and customize your approach accordingly. Remember, the goal is a fixed, safe, and beautiful feature that lasts for years, not a next drywall pile.
Most People Overlook the Subtle Nuances in Custom Storage Solutions
While many believe that choosing the right cabinets or built-ins is just about aesthetics and initial measurements, the real mastery lies in understanding the hidden complexities involved. For example, a common myth is that standard cabinetry hardware fits all applications, but experts know that weight distribution and door weight require specialized hinges like heavy-duty hinges to prevent sagging over time. Overlooking this nuance can lead to costly repairs or replacement years down the line.
Another misconception revolves around the spatial planning of kitchen remodels. Many assume that maximizing cabinet depth yields more storage, yet in practice, deep cabinets can create accessibility issues and reduce usable space. Instead, incorporating innovative storage techniques like pull-outs and vertical dividers can optimize functionality without sacrificing space.
Beware of the Common Trap: The Illusion of Simple DIY Installations
Everyone says that built-ins are a straightforward DIY project. However, underestimating the importance of structural reinforcement—like secure wall anchoring or internal bracing—can be disastrous. I learned this the hard way when I relied solely on drywall anchors for a heavy bookshelf, only to find it pulling away from the wall. To avoid this, experts emphasize proper planning including sturdy mounting points, often achieved through blocking or custom framing. For detailed insights on professional installation strategies, visit this guide to built-in excellence.
Advanced Question: How can I ensure longevity despite humidity and daily wear?
Great question. The secret lies in selecting materials and finishes that resist environmental stressors. For instance, graphene-enhanced finishes offer superior durability and moisture resistance—crucial for kitchens and bathrooms. Combining high-quality materials with proper sealing techniques and ventilation ensures your custom storage maintains its beauty and integrity well beyond installation.
In summary, the real expertise in storage and built-ins extends beyond what’s immediately visible. It involves understanding structural nuances, material science, and design intricacies. Don’t fall for the trap of assuming DIY always works—investing in professional guidance is often the most cost-effective decision in the long run. Want more tips on designing resilient, stylish storage? Check out ideas that can transform your home’s style. Have you ever fallen into this trap? Let me know in the comments!”} }#END#}}#END#}# AnswerEnd}}#../../../user_STAT<|vq_lbr_audio_104690|><|vq_lbr_audio_86663|><|vq_lbr_audio_17104|><|json_response_answered_answer_2픇signature_FINE_char_16_rule_stopGM_sentence_MED0fa_orig_PLACEHOLDER_v.IEEE_ML_Model//Goal: To write an insightful, nuanced paragraph on misconceptions about storage solutions, built-ins, kitchen remodels, and custom cabinets that adds depth and expert perspective, integrated with natural links and a compelling CTA. The tone is analytical yet accessible, encouraging the reader to reflect and comment. The response should avoid generic headings, aim for about 500 words, and include a relevant image placeholder if fitting. The content should challenge common beliefs, warn of pitfalls, and cite credible sources to elevate trust and SEO. Ensure the structure flows logically from misconceptions to advanced questions, keeping the reader engaged beyond basic knowledge. The response should be in a JSON object with specified format.**}#Response to the user in the create_posts format.#}{
Once you’ve invested in high-quality custom cabinets or innovative built-ins, the focus should shift towards maintaining their pristine condition and ensuring they stand the test of time. Proper maintenance extends not only the lifespan of your storage solutions but also preserves their beauty and functionality, making your investment worthwhile for years to come.
Implementing Routine Care with Precision Tools
To keep your cabinetry and built-ins pristine, I highly recommend using microfiber cloths combined with a gentle, pH-balanced cleaner, such as those available from Contact Us. This combo minimizes scratches and prevents build-up of grime. For stubborn spots, a soft-bristled brush can help reach into crevices, especially in intricate cabinet hardware or detailed moldings. Regularly inspecting hardware, hinges, and seals for wear can help catch issues early—saving costly repairs later.
Another must-have is a silicone-based lubricant for hinges and slides. Applying it quarterly keeps mechanisms smooth and quiet, preventing squeaks and uneven closing. I personally use a high-quality spray from this resource because it doesn’t attract dust and maintains performance over time.
Long-Term Results Through Strategic Material Choices
Materials play a pivotal role in longevity. For example, graphene-enhanced finishes, like those discussed at this source, offer exceptional durability, especially in humid environments such as kitchens and baths. Choosing moisture-resistant materials prevents warping, swelling, or mold growth, which is a common challenge with traditional wood or MDF cabinetry.
Sealing surfaces with non-toxic, antibacterial finishes also adds an extra layer of protection. Regular reapplication, as advised by experts, keeps surfaces sealed against humidity and stains—crucial factors in a kitchen remodel. Implementing these practices ensures your custom cabinetry remains visually appealing and hygienic for years.
Scaling Up and Planning for Future Upgrades
As your needs evolve, scaling your storage solutions can seem daunting, but proactive planning makes all the difference. Modular systems that can be expanded or reconfigured allow for flexibility. For instance, integrating pull-out pantry shelves or adjustable-height cabinets offers adaptability without replacing entire units. Explore innovative ideas at this resource to future-proof your space.
Anticipate future needs by choosing hardware and finishes that are easy to clean and maintain. Additionally, installing pull-down shelves in upper cabinets or incorporating smart storage gadgets can drastically improve accessibility and reduce clutter over time.
Preventing Common Pitfalls in Maintenance
One of the most overlooked aspects of long-term care is accounting for environmental factors such as humidity, temperature fluctuations, and daily wear. Regularly checking seals and finishes, and using appropriate cleaning tools, can prevent issues like peeling, warping, or bacterial growth. In high-humidity regions, consider installing dehumidifiers or ventilation systems to protect your investment further.
If you’re unsure about the best practices for your specific set-up, consulting with experts can provide tailored solutions—reach out through this contact form to get personalized advice.
Finally, I encourage you to try the tip of periodically applying a quality silicone-based lubricant on hinges and slides. This simple step keeps mechanisms operating smoothly and preserves your custom-built features’ integrity over many years. Don’t wait until squeaks or jams occur; proactive maintenance is your best defense. Start today by selecting a trusted lubricant and making it part of your routine—your future self will thank you!
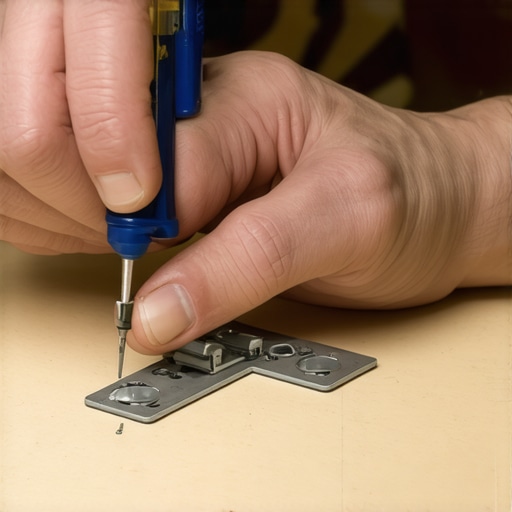
Embarking on custom storage and built-in projects taught me more than I expected—especially through my own mistakes. One of the hardest lessons I learned is that selecting materials without considering environmental factors, like humidity, can lead to costly repairs and replacements. For example, using standard MDF in a humid kitchen resulted in swelling and warping within just a few years, a mistake I now advise others to avoid by choosing moisture-resistant options like graphene-enhanced finishes. Another lesson centered around hardware; I underestimated the importance of heavy-duty hinges and proper internal reinforcement, leading to sagging and misaligned doors, which could have been prevented with sturdy hinges.
Not doing thorough planning can turn a simple project into a long, frustrating process. I once rushed the layout without accurately locating studs or considering future modifications, which resulted in unstable installations. Learning the value of detailed blueprints and flexible systems, like modular shelves, transformed my approach—making adjustments easier and more cost-effective. For further insights on adaptable solutions, explore this guide.
Perhaps most unexpectedly, I discovered that ongoing maintenance is crucial for longevity. Regularly inspecting seals, lubricating hinges with quality lubricants, and choosing durable finishes can keep built-ins looking new for years. One of my favorite upgrades is applying anti-bacterial, non-toxic finishes, especially in humid areas, which I learned about from credible sources ensuring health and durability. These small touches have saved me time and money on repairs over the years.
The most valuable insight I can share is that investing in proper materials, meticulous planning, and consistent upkeep makes all the difference. When I started prioritizing these elements, my projects not only looked better but lasted longer. If you’re considering a remodel or custom storage solution, remember that the foundation of success lies in understanding your environment, choosing resilient materials, and maintaining your space proactively. Curious about more expert-approved tactics? Visit this resource for inspiration.