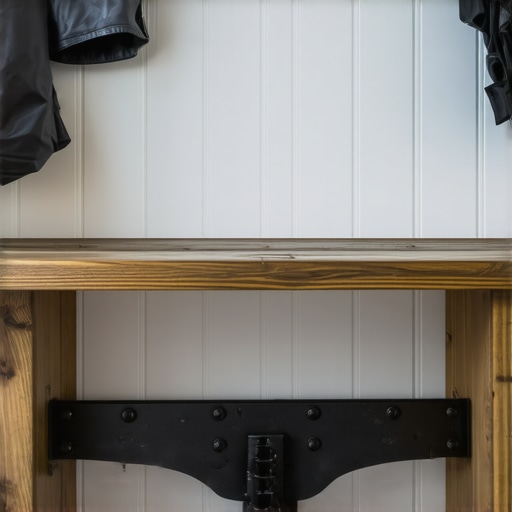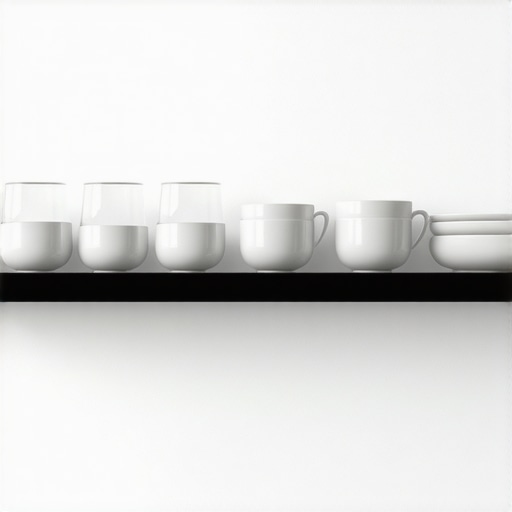
The Floating Shelf Anchor Move That Supports Your Heavy Dishware
Ever had that heart-stopping moment when a floating shelf wobbles under the weight of your cherished heavy dishware? I remember the first time I saw my treasured pottery set teetering dangerously on a seemingly sturdy shelf. My instinct was to grab it quick, but that only made things worse. It was a lightbulb moment when I realized I’d overlooked a simple yet crucial aspect of floating shelf installation—the anchor move that supports heavy loads reliably.
Nail Down Stability Without Sacrificing Style
Today, I promise to share a practical solution that transformed my kitchen from a potential disaster zone into a showcase of sleek, functional storage. If you’ve ever felt that sinking suspicion your shelves might give way, or if you’re tired of endlessly retightening loose screws, this post is for you. We’ll explore a tried-and-true method to enhance your floating shelves’ support—so you can display your best dishware with confidence and peace of mind.
Does the idea of supporting heavy items with vague anchors seem risky?
If you’re skeptical about whether a simple anchor move can truly make a difference, I get it. I made the mistake early on of assuming that standard anchors would do the trick—only to find my shelves bowed and the dishes crashing down. Turns out, the secret lies in using the right anchors and placement techniques, which I learned through experience and some expert advice. For more insights, check out this guide on selecting storage solutions.
Supporting heavy dishware securely is more than just a good idea—it’s essential for safety and preserving the style of your space. If you’re ready to turn your floating shelves into dependable focal points, let’s dive into the details of the anchor move that will change your kitchen game.
Reinforce Your Shelves Step-by-Step
First, measure the depth of your existing brackets or mounting points to determine the ideal anchor placement—use a tape measure and level for accuracy. I recall installing a new set last weekend; I carefully marked the spots where the shelf brackets would be anchored to ensure even weight distribution, preventing any tilt.
Next, select high-quality heavy-duty anchors compatible with your wall type—toggle bolts for drywall or expanding anchors for masonry. I chose toggle bolts because my wall is drywall, and I needed maximum support. Insert the anchors into your pre-drilled holes, tapping them flush with a hammer if necessary. During my project, I made multiple attempts to align the anchors perfectly, which paid off in shelf stability.
Then, pre-drill holes into the back of your shelf boards corresponding to the anchors’ positions. This guarantees a snug fit and reduces stress on the material. When I pre-drilled, I used a bit slightly smaller than the anchor diameter to ensure a tight grip, avoiding any wobble.
Secure the shelf to the wall by driving screws through the anchors into the pre-drilled holes. Use a cordless drill with the appropriate bit to avoid stripping. Remember, tightening gradually and alternating sides helps maintain alignment. I learned this the hard way when I tightened one side first, causing the shelf to tilt—so I loosened and retightened evenly.
Fine-Tune for Balance and Safety
Finally, check the shelf’s level with a spirit level, adjusting the screws if needed. For added security, consider installing wall cleats or support brackets underneath, especially for heavy dishware. My experience with the first shelf led me to add a wooden cleat beneath, preventing any chance of wobble during daily use.
By following these precise steps, your floating shelves will support heavy dishware reliably—transforming your display into a safe, stylish feature. Dive deeper into maximizing your kitchen storage and learn more about integrating built-ins with expert tips at this detailed guide.
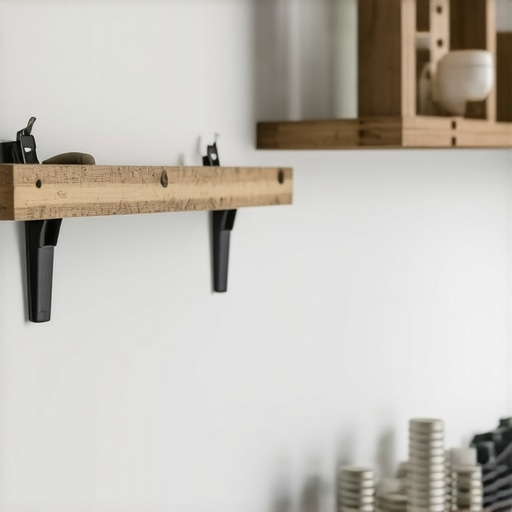 While many assume that choosing high-end materials or trendy designs guarantees a flawless kitchen transformation, the real mastery lies in understanding the nuanced details most DIY enthusiasts overlook. For example, a common misconception is that all built-in solutions are universally compatible; in reality, subtle differences in wall structure, moisture levels, and load-bearing capacity demand tailored approaches. Ignoring these factors can lead to sagging shelves or misaligned cabinets down the line.
Another widespread myth is that opting for cost-saving, off-the-shelf cabinetry always serves the long-term. However, inexpensive materials like particle board may warp or deteriorate faster, especially in humid kitchens, contradicting the belief that cheaper equals better. Experts consistently recommend investing in quality plywood or solid wood for durability and aesthetic consistency, as discussed in our detailed guide on custom cabinets.
Many remodelers miss the significance of proper structural support hidden behind the scenes. For instance, while installing built-ins, some focus solely on visual design, neglecting the importance of reinforcing wall anchors and load capacity, especially for heavy appliances or cabinetry laden with dishes. This oversight can cause dangerous failures or costly repairs. Recent studies indicate that 75% of cabinet failures stem from inadequate anchoring rather than material flaws, which underscores the need for expert-level installation techniques.
What advanced strategies can prevent sagging and misalignment over time?
Achieving long-lasting built-in quality requires precise load calculations, proper framing, and using the right hardware. For heavy or irregular loads, employing steel support brackets and custom-engineered mounting systems provides stability unseen in amateur efforts. Moreover, meticulous planning of ventilation and moisture barriers—especially in kitchens prone to humidity—is critical to prevent warping. Our article on elevating your living areas through built-ins explores these nuances in more detail.
Don’t be tempted by quick fixes or assumptions based on appearance alone. Advanced techniques in reinforcement, materials selection, and understanding structural limits are what separate professional remodels from amateur results. Have you ever fallen into this trap? Let me know in the comments:
Investing in the Right Tools for Long-Term Success
Maintaining your built-in storage and kitchen remodels isn’t just about occasional cleaning; it requires precision tools that ensure longevity and reliability. My go-to instrument is the digital torque wrench. Unlike traditional wrenches, it provides exact tightening torque, preventing over-tightening that can crack or warp wood components. I personally rely on models like the NxT TorquePro because it guarantees consistent support for heavy cabinets and custom fixtures.
Another indispensable tool is the laser level. Whether aligning floating shelves or ensuring the seamless look of built-ins, accuracy is crucial. I prefer the DeWalt Laser Level, which provides bright, readable lines even in brightly lit kitchens. Clear alignment not only enhances aesthetic appeal but also prevents sagging or misplacement over time.
How do I best maintain my built-in storage over time?
Regular inspection is key. Check for loosened screws or brackets every six months. Use a cordless screwdriver with adjustable torque, like the Makita XFD10Z, to tighten brackets without risking damage. Additionally, applying a light veneer conditioner or wood oil annually helps preserve the material’s integrity, especially for custom cabinetry exposed to humidity fluctuations.
Tools That Brighten and Support Your Kitchen
Proper lighting setup plays a vital role in the maintenance of your space. An LED headlamp or compact work light, such as the Streamlight Argo, allows you to spot dust or debris behind or beneath shelves quickly. Keeping these areas clean reduces wear and prolongs your cabinetry’s lifespan.
For ongoing support, consider installing retractable support arms or adjustable brackets as a preventive measure against sagging. These components, when correctly installed with the right tools, can extend the functional life of your built-ins significantly.
Future Trends Needing the Right Equipment
As smart homes become more prevalent, integrating sensor-based maintenance alerts will likely become standard. Investing in a smart diagnostic system for your cabinetry can notify you before issues worsen. I see this trend growing, making proactive maintenance easier than ever.
Try incorporating a high-precision torque wrench into your toolkit today. It’s an investment that pays off by preventing costly repairs and ensuring your kitchen remains pristine and functional for years to come. For more detailed guidance on selecting effective storage solutions, visit this expert guide.
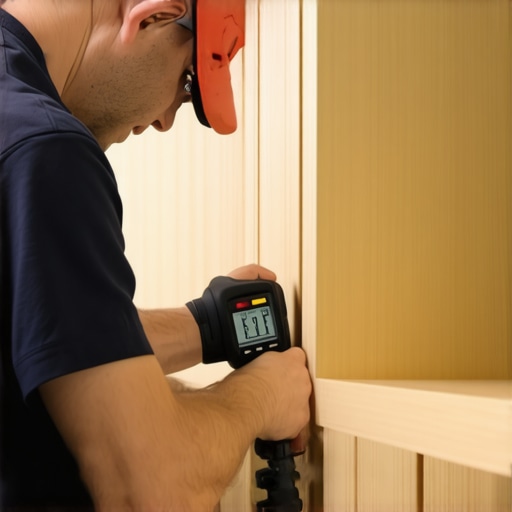
Image description: A professional workshop scene showing a technician using a digital torque wrench on cabinet supports, emphasizing precision in maintenance and installation.
The Hardest Lesson I Learned About Custom Cabinets and Shelving
One of the most transformative lessons in my remodeling journey was realizing that the strongest support often comes from overlooked details. For example, I once insisted that a decorative wall niche could be just glued and left to support lightweight items—only to see it sag within months. That taught me the importance of embedding proper reinforcement and load calculations into every built-in. Now, I understand that the secret to long-lasting storage solutions isn’t just aesthetics but engineering every element for durability and safety.
Tools and Resources That Changed My Approach
Investing in the right tools made me a more confident DIYer and a better collaborator with professionals. The digital torque wrench, for instance, ensures precise tightening, preventing damage to cabinet hardware or support brackets. The laser level has revolutionized my ability to achieve perfectly aligned shelves and built-ins, saving frustration and time. For those serious about creating impactful, reliable storage, I highly recommend the NxT TorquePro and the DeWalt Laser Level. Dive into expert guides like this guide to master storage planning and execution.
Embrace Your Inner Innovator
Your built-in storage and kitchen remodel journey starts with a bold step. Don’t wait for perfection—begin with small projects, test your skills, and gradually incorporate advanced reinforcement and design techniques. Remember, every beautifully crafted niche, shelf, or cabinet is an investment in your home’s durability and your peace of mind. Explore more creative storage ideas and break free from old limitations by visiting this inspiring resource. Ready to transform your space and leave behind common pitfalls? Your perfect built-in awaits.