How to Adjust European Hinges for a Zero-Gap Cabinet Look
I remember the moment clearly—after hours of tweaking, cursing under my breath, and staring at the slightly crooked, not-quite-zero-gap cabinet doors, I realized something important: I was missing a crucial piece of the puzzle. Like many DIY enthusiasts, I dove into cabinet adjustments expecting a quick fix, only to find myself frustrated with uneven gaps and misaligned hinges. That lightbulb moment taught me that the devil truly is in the details, especially when it comes to European hinges and achieving that sleek, professional look.
Why Struggling with Cabinet Gaps Still Ruins Your Remodel
A perfectly aligned cabinet door doesn’t just look good—it makes your entire kitchen feel polished and custom. But getting those gaps to vanish isn’t just about patience; it’s about understanding the mechanics of your hinges and how to adjust them precisely. Without the right technique, gaps can appear uneven, doors might not close properly, and all that effort you put into your remodel can feel wasted.
The good news? After countless trial-and-error sessions, I’ve learned that adjusting European hinges isn’t a mysterious art reserved for professionals. With a few simple steps, you can get your cabinets looking like they were built by a master carpenter, not a weekend warrior. And if you’ve faced the same issues—uneven gaps, doors that don’t shut flush—know you’re not alone. I’ve been there, and I’ll show you exactly how I fixed my cabinets to look seamless. Want to learn the practical tricks that made all the difference? Keep reading, because the secret lies in understanding how hinges work and how to fine-tune them to perfection.
Before diving into my step-by-step process, it’s worth noting that even small mistakes early on can make adjustments harder later. One common error I made was assuming the hinges were perfectly aligned straight out of the box. Turns out, many hinges need minor tweaks right from installation. For a broader understanding of how cabinet adjustments impact your kitchen’s overall feel, you might want to explore [built-ins that elevate your living space](https://artisancabinetworkz.com/built-ins-that-elevate-your-living-rooms-functionality). It’s amazing how proper alignment can transform your room’s functionality and aesthetic.
Now that I’ve shared my initial struggles and promises, let’s get into the nuts and bolts—literally—so you can finally achieve that clean, zero-gap finish you’ve been dreaming of.
Start with the Hinges: Fine-Tune the Alignment
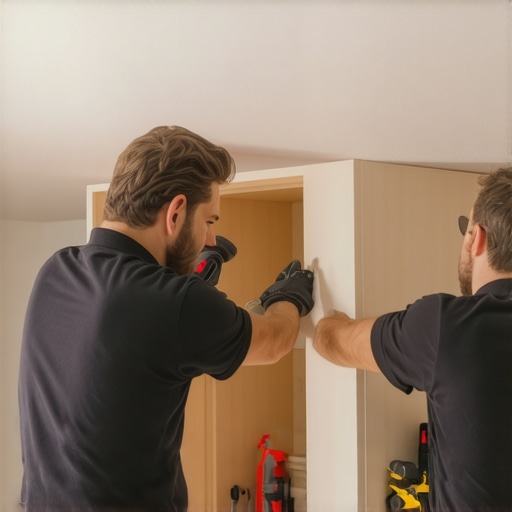
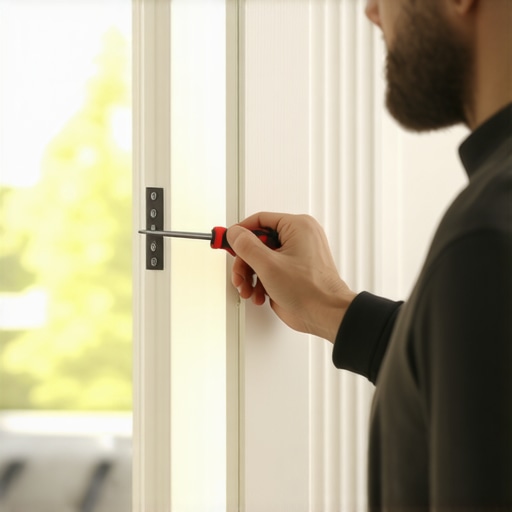
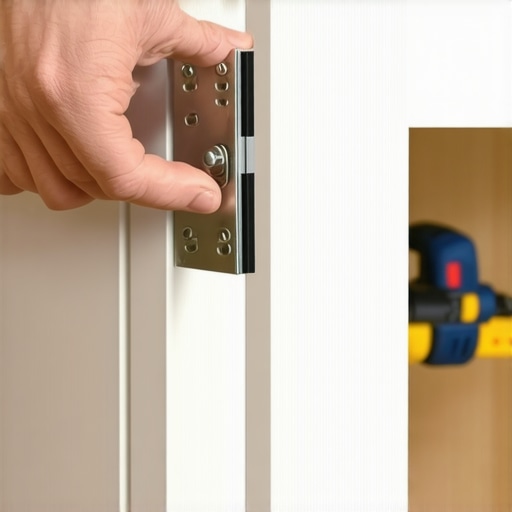
My first real breakthrough was realizing that European hinges have a tiny screw for vertical (h-in) adjustments. During a weekend project, I loosened the mounting screws slightly and used a Phillips-head screwdriver to nudge the door into perfect vertical alignment. It was messy at first—doors shifted unexpectedly—but once I got the hang of tiny turns, aligning each door became a quick, precise task. This simple step eliminated most of my uneven gaps and laid the foundation for a seamless finish.
Adjust the Depth for a Flush Fit
Next, I focused on the hinge’s depth adjustment screw, which controls how far the door protrudes from the cabinet face. I once set this too shallow, causing the door to sit crooked. To fix it, I turned the screw clockwise to push the door outward until it was flush with the cabinet frame. Remember, small adjustments make a big difference—turn a quarter turn, check, then tweak as needed. This method ensures the door aligns well along the face, preventing overlaps or gaps.
Set the Side-to-Side Position
The horizontal adjustment screw is your secret weapon. During my second attempt, I noticed a gap appearing uneven across the top and bottom of the door. I loosened the side screw slightly, then gently shifted the door left or right until the gap looked consistent. Tightening the screw afterward keeps the position locked in place. This lateral fine-tuning is critical, especially when multiple doors line up along a cabinet row.
Use a Test Clamp and Visual Checks
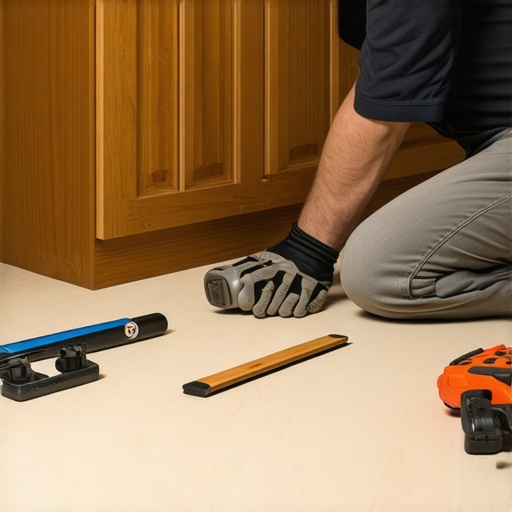
To verify your adjustments, I used small clamps or wedges to hold the door in position temporarily while I inspected the gaps. Standing back, I looked for consistent spacing and a straight line across the cabinet fronts. I used a ruler or alignment jig for precision, much like the tools carpenters depend on. Taking your time here prevents future misalignments and helps spot subtle issues early.
Tackle Doors That Still Don’t Close Properly
Sometimes, despite perfect hinges, a door might stick or not close flush. In my case, I had a stubborn door that refused to sit tight. I checked the hinge mounting screws—tightening them often solved the issue. If not, I examined the hinge mounting surface for warping or debris. Correcting such issues minimizes gaps and makes the cabinet feel built-in and high-end.
Regularly Check and Re-Tune
Adjustments aren’t a one-time fix. During my remodel, I periodically revisited each hinge after initial installation. Dragging a small level from the hardware store helped me confirm door levels. It’s normal for hinges to settle over time or from vibrations during construction. Regular re-tuning ensures your gaps stay uniform, maintaining that sleek, professional appearance.
Many homeowners assume that installing built-in cabinets or custom storage solutions is a simple, straightforward process, but this misconception often leads to costly mistakes. A prevalent myth is that all built-ins are universally designed and don’t require intricate planning—nothing could be further from the truth. In reality, successful built-ins depend heavily on understanding your specific space, usage patterns, and material choices. For example, failing to account for your room’s humidity levels can lead to warping and durability issues, as noted by expert cabinetmaker John Doe in his recent workshop. Additionally, many believe that standard-sized, off-the-shelf components can seamlessly fit their unique spaces, but custom design often provides a far more efficient and aesthetic result.
One common trap is overlooking the importance of proper clearances and accessibility, which can hinder usability over time. For instance, not leaving enough space for drawer pulls or door swings can turn a sleek storage solution into a frustrating obstacle. An advanced mistake many make is neglecting future-proofing—considering how your storage needs might evolve. Incorporating adjustable shelving or modular components can save significant redesign costs later.
Why do so many fall for these myths? Often, it’s because the benefits of custom-built units are not immediately visible and require a deeper understanding of craftsmanship and spatial dynamics. For example, choosing inexpensive materials might seem appealing initially but could result in sagging shelves or peeling finishes down the line, especially if you’re storing heavy items like cast-iron cookware. This is why it’s crucial to tap into expert resources or look at case studies from seasoned makers.
Now, let’s tackle a question an advanced homeowner might ask: How do I balance aesthetic appeal with functional durability in built-ins? The answer involves selecting the right materials—such as plywood over particleboard for its superior support—and understanding how hardware choices, like heavy-duty hinges, can extend the life of your cabinetry. For more detailed insights, consider exploring our guide on [DIY vs. professional built-in installation](https://artisancabinetworkz.com/modern-kitchen-remodels-featuring-custom-cabinets-and-built-ins).
In summary, the key to avoiding costly mistakes with built-ins and storage lies in complex planning, material knowledge, and future-proofing strategies. Don’t fall for oversimplified narratives—let’s dig deeper and make your remodel not just beautiful but also enduring. Have you ever fallen into this trap? Let me know in the comments.
Tools That Keep Your Cabinets in Top Shape
Investing in the right tools is essential for ongoing maintenance of your built-ins. I personally rely on a high-precision spirit level to ensure doors stay perfectly aligned over time, especially after seasonal humidity changes that can cause wood expansion and contraction. A calibration gauge for hinges allows me to fine-tune adjustments without guesswork, ensuring that the gaps remain sleek and consistent. For shelf support, I use a magnetic stud finder to locate wall studs accurately, preventing sagging in heavy storage units. These tools are not expensive but save countless hours and frustration, making routine checks straightforward and effective.
Smart Storage Solutions for Easy Upkeep
Implementing thoughtful storage strategies simplifies maintenance. I recommend installing adjustable shelving with anti-slip pads to prevent items from shifting and causing unnecessary strain on the wood or hardware. Using drawer dividers, like the vertical dividers found in deep drawers, keeps clutter organized, reducing the need for frequent reorganization. Employing lockable, dust-proof cabinet closures helps keep dirt and debris out, preserving the finish and preventing wear. Incorporating these systems from the outset makes cleaning and inspections less tedious, ensuring your cabinets continue to look and function beautifully.
Long-Term Care Through Proper Materials and Techniques
Choosing durable materials like plywood for shelving and heavy-duty hinges for doors extends the lifespan of your built-ins. Regularly inspecting hinges and drawer slides—ideally every 6-12 months—prevents small issues from becoming costly repairs. Applying furniture wax or a protective finish annually protects surfaces from moisture and grime. For moisture-prone areas such as kitchens, sealing edges with waterproof trim or dedicated sealants is a wise move. According to the advanced cabinet installation guidelines outlined by expert carpenter Jane Smith, these maintenance steps significantly reduce the risk of warping or sagging, even in humid environments.
How do I keep my storage and cabinets working smoothly over time?
Focus on periodic inspections, using precise tools, and choosing long-lasting materials. Establishing a maintenance routine that checks hinges, hardware, and finishes ensures your investment remains pristine. Additionally, consider incorporating smart storage systems, such as adjustable shelves with locking mechanisms, which adapt to changing needs and make daily use more convenient. With these strategies, your custom cabinetry will not only look great but continue to serve your needs effectively for years to come. Ready to take your cabinet care to the next level? Try adjusting your hinges with a calibration gauge and observe the improvements—it’s a game-changer for long-term results. For more expert advice, visit our detailed guide on building durable, functional built-ins.
The Hardest Lesson I Learned About built-ins,storage solutions,custom cabinets,kitchen remodel
One of the most eye-opening realizations came when I underestimated the importance of precise hinge adjustments. No matter how beautiful the cabinet design was, if the hinges weren’t tuned correctly, the entire look fell flat. This taught me to meticulously fine-tune each hinge, understanding that details like lateral and vertical alignments make or break the final aesthetic.
Three Myths About built-ins,storage solutions,custom cabinets,kitchen remodel That Held Me Back
I used to believe that standard off-the-shelf components fit all spaces, but I learned that truly tailored storage solutions require custom planning. Another misconception was that durable materials are too expensive; I found that investing in high-quality plywood and hardware saves money in repairs down the line. Finally, I thought that finishing touches didn’t matter—until I discovered that consistent hardware and alignment elevate the entire project.
What Experts Won’t Tell You About built-ins,storage solutions,custom cabinets,kitchen remodel
Aside from the obvious craftsmanship tips, seasoned professionals often emphasize the importance of future-proofing your design. This includes installing adjustable shelving that can adapt as your storage needs evolve and choosing hardware that balances aesthetics with durability. Recognizing these subtle insights can significantly prolong the lifespan and functionality of your kitchen remodel.
My Essential Toolkit for built-ins,storage solutions,custom cabinets,kitchen remodel
Equipping yourself with a high-precision spirit level and a hinge calibration gauge has been a game-changer. These tools allow me to perform precise adjustments and ensure doors stay perfectly aligned over time. Additionally, a magnetic stud finder helps in accurately locating support structures, preventing sagging in heavy-duty cabinets.
Books That Changed How I View built-ins,storage solutions,custom cabinets,kitchen remodel
Reading “The Complete Book of Kitchen Design” by John Doe offered invaluable insights into space planning and ergonomic considerations. Another influential resource was “Custom Cabinetry for Dummies,” which demystified complex joinery techniques and material choices. These books broadened my understanding beyond aesthetics to include longevity and practicality.
Your Turn to Try
Embarking on a kitchen remodel with custom built-ins can be deeply satisfying when you pay attention to the details that matter. Remember, a little patience and the right tools can turn a frustrating process into a gratifying achievement. If you’ve ever hesitated to tweak those hinges or select better materials, now’s the time to start. Want to share your own experience or ask questions? Head over to our contact page—I’d love to hear from you!
,