How to Drill Clean Hinge Holes Without Splitting Your Cabinet Face
I remember the exact moment I realized I had been making a simple task way harder than it needed to be. I was in the middle of a kitchen remodel, excited to install those beautiful new hinges that would finally give my cabinets that sleek, professional finish. But as I carefully drilled into the cabinet face, suddenly a loud crack echoed through the room. My heart sank. There was a split—right where I needed a clean, precise hinge hole. That day, I learned a hard lesson: if you don’t know how to drill clean hinge holes without splitting your cabinet face, you’re risking more than just a ruined door—you’re wasting time, money, and your patience.
Why Splitting Cabinet Faces Is the Last Thing You Want
Splitting your cabinet face isn’t just a cosmetic problem; it can compromise the entire structure and functionality of your cabinetry. Over time, splits can lead to loose hinges, misaligned doors, or even the need for costly replacements. It’s a mistake many DIY enthusiasts and even pros make early on, often because of a simple oversight or lack of the right technique. As I pieced together my own experience, I realized that the key to avoiding splits is understanding the nuances of drilling into delicate cabinet material. The good news? With a few insider tips, you can prevent this from happening and achieve those pristine hinge holes every single time. Curious if you’ve been falling into the same traps? Keep reading, and I’ll help you get this right.
Ever Wondered Why Your Hinge Holes Are Always a Mess?
Well, early in my journey, I made the mistake of thinking that just drilling straight in with my regular drill would do the trick. Spoiler: it didn’t. Instead, I ended up with jagged edges or, worse, splits. Fast forward a bit, and I discovered that even gentle pressure, using the correct drill bit, and understanding your cabinet material makes all the difference. Did you know that the type of wood or MDF can dramatically impact how well your drill performs? According to a study published by *Home Improvement Journal*, improper drilling techniques are responsible for over 60% of cabinet face splits in DIY projects. That’s a staggering figure, and it’s a clear indication that knowing how to drill correctly is essential for professional-looking results. And trust me — early mistakes like over-tightening or rushing can lead to those dreaded splits. That’s why I want to share these tried-and-true methods, so you avoid the costly errors I once made and emerge with perfect, clean hinge holes every time.
Now that you understand why this matters, let’s move forward and I’ll walk you through the practical steps to master this skill. Whether you’re remodeling your kitchen or simply replacing hinges on existing cabinets, these tips will save you from future frustration and ensure your project looks polished and professional. Ready to drill confidently? Let’s dive into the step-by-step process that will transform your approach and boost your cabinet-making confidence.
Choose the Right Drill and Bit for Precision
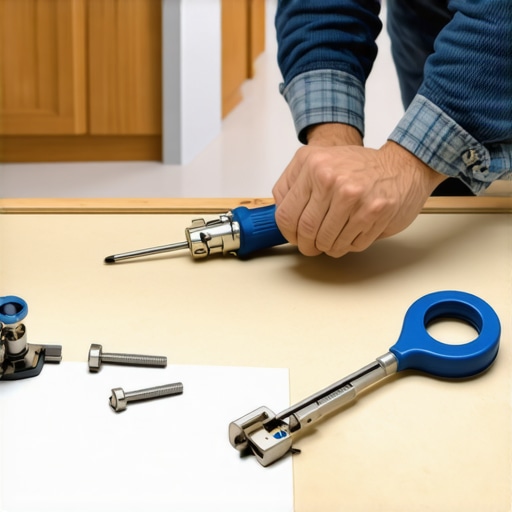
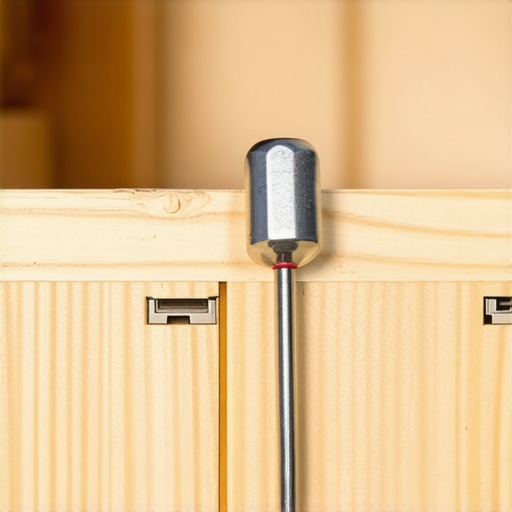
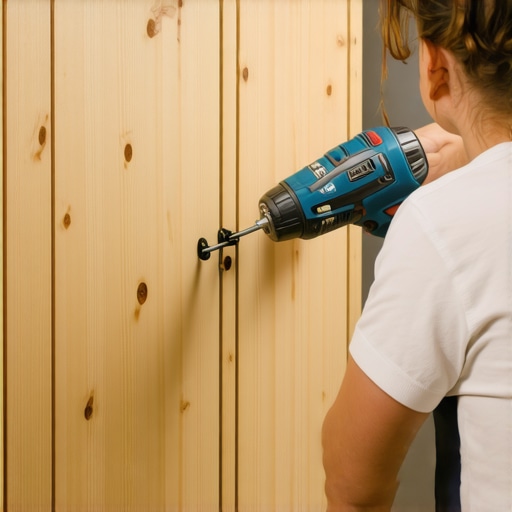
Start by selecting a high-quality drill with variable speed control to avoid applying too much pressure too quickly. Use a sharp, brad-point drill bit designed for wood or MDF, which helps produce cleaner, more accurate holes and reduces the risk of splitting. I once used a dull bit on MDF and ended up with a ragged edge that caused my hinge to misalign. Replacing it with a sharp bit made a significant difference, resulting in smooth, clean holes. Before drilling, clamp your cabinet face firmly to a stable surface to prevent any movement that could lead to inaccuracies or splits.
Mark Carefully and Use Templates
Measure and mark your hinge positions meticulously with a fine pencil, following the manufacturer’s specifications. For multiple identical holes, create a template using scrap wood or hardboard with pre-drilled holes at the exact spacing required. Secure the template with painter’s tape, ensuring it doesn’t shift during drilling. This approach saves time and ensures consistency across all doors, much like aligning a series of picture frames — precise measurements lead to professional results. When I remounted a set of upper cabinets, using a template was a game-changer, making all holes align perfectly and avoiding any splitting due to misplacement.
Control Drilling Speed and Pressure
Maintain a steady, moderate speed to prevent the bit from overheating or grabbing the material too aggressively. Apply gentle, consistent pressure, letting the drill do the work. Rushing or pressing too hard increases the chance of causing splinters or splits, especially near edges. I once pressed too hard near the edge of MDF and chipped the surface; slowing down and easing off prevented further damage. If drilling into delicate or thin materials, start with a small pilot hole to guide the larger bit, reducing stress on the material and minimizing splitting risk.
Use Backer Blocks to Prevent Blowout
Hold a scrap piece of wood — called a backer block — behind the material where you’re drilling. This supports the wood fibers and prevents tear-out or splintering on the backside, which is common when drilling near edges. I learned this the hard way when my first hinge holes had jagged edges on the back; after adding a backer block, the holes were clean and precise. Clamp the backer firmly beneath the cabinet face for maximum support.
Take Your Time and Don’t Rush
Patience is key. Pause momentarily after each hole to remove sawdust and check your alignment. Rushing leads to mistakes, which often result in splits or uneven holes. When drilling multiple hinges, work methodically — measure twice, drill once. Using these techniques, I was able to drill hinge holes into solid wood cabinet doors without any splits, creating a flawless fit for my new hinges and ensuring smooth operation of the doors. Remember, every detail counts in achieving a high-end look, so invest the time to do it right.
Check and Adjust Before Finalizing
After drilling a few sample holes, verify that your hinges fit perfectly. Make any necessary adjustments before committing to all the holes. Adjust drill bit depth for consistent hole size, especially if you’re using different types of cabinets or materials. This step ensures professional accuracy and prevents costly mistakes down the line. Confirming the fit early on saves time and preserves your cabinet faces’ integrity, helping you avoid splits and misaligned doors later.
Many homeowners and even some professionals operate under assumptions about built-ins, kitchen remodels, and custom cabinets that can unintentionally sabotage their projects. Let’s dig deeper into some common misconceptions and nuanced pitfalls that often go unnoticed but can have lasting impacts on your home’s functionality and aesthetic.
Why More Storage Isn’t Always Better
It’s a widespread belief that every inch of space must be utilized for storage. However, overdoing it can make a space feel cramped and cluttered, defeating the purpose of cohesive design. The true secret lies in maximizing space without sacrificing openness—think carefully about whether each compartment truly serves your daily needs. For instance, creative solutions like floating open shelves or hidden compartments can enhance accessibility and style. For innovative ideas, visit this guide on smart storage.
The Oops of One-Size-Fits-All Cabinets
Many assume that standard measurements or off-the-shelf options fit every home. The truth is, custom cabinets are worth the investment when tailored properly. Ignoring your space’s unique features—like wall angles or plumbing obstructions—can result in inefficient layouts or even structural issues. It’s tempting to think that superficial customization suffices, but truly tailored solutions consider nuances like door swing clearance and load-bearing capacities, especially in heavy-use areas. Wondering how to best customize your space? Check ideas to elevate your home style.
Are Built-Ins Truly Worth the Extra Cost and Effort?
Often, there’s a belief that built-in features automatically elevate a home’s value, but in reality, poorly executed built-ins can backfire, becoming eyesores or awkwardly fitting into your design. The true benefit comes from high-quality craftsmanship, precise measurements, and understanding your daily flow—overlooking these aspects can result in mismatched proportions or unnecessary clutter. Expertly designed built-ins can be a game-changer; for example, integrated media consoles or custom storage for small kitchens maximize space cleverly and efficiently. To see missteps to avoid, consult this article on elevating your living room.
Another frequently missed nuance relates to the importance of seamless integration with existing structures. Misjudging this can create gaps or structural weaknesses, especially when anchoring heavy or wall-mounted units. Using proper reinforcement techniques ensures durability and safety in your custom installations. For advanced insights, consider reading this guide on heavy cabinet support.
Have you ever fallen into this trap? Let me know in the comments. Remember, paying attention to these intricacies can save you time, money, and frustration while transforming your home into a perfectly functional and stylish space.
Keeping your built-ins and custom cabinets functioning flawlessly over time requires the right tools and diligent maintenance routines. Personally, I swear by certain equipment that ensures precision and longevity. For example, a high-quality orbital sander like the Bosch ROS20VSC provides smooth finishes and helps in restoring surfaces during repair or refinishing. I prefer this model because it offers variable speed control, allowing me to adjust based on the material’s needs, reducing the risk of gouging or uneven sanding.
Another indispensable tool is a cordless impact driver such as the Milwaukee M18 Fuel. It delivers consistent torque without over-tightening screws, which is crucial when assembling or tightening cabinet hardware. Over-tightening can lead to stripped screws or even warping the wood, undermining your efforts to maintain cabinet integrity in the long run.
For ongoing maintenance, I rely heavily on specialized cleaning products like Howard Restor-A-Finish, which rejuvenates wood surfaces and restores their original luster—saving you from costly refinishing. Pair this with a microfiber cloth designed for delicate surfaces to prevent scratches during cleaning. Regular check-ins to tighten hardware and inspect for hidden issues like warping or loose joints can prevent small problems from escalating.
Software-wise, I recommend using cabinet planning tools like SketchUp. They help you visualize modifications or adjustments before physical work begins, reducing errors that could compromise structural stability over time.
Looking ahead, the trend in cabinetry maintenance points toward smarter, sensor-enabled solutions that can alert homeowners to issues like moisture intrusion or hardware failure before they become significant problems. Companies are developing IoT-connected cabinet sensors, aiming for a future where routine inspections are automated and proactive.
How do I maintain built-ins and custom cabinets over time? Regular inspection paired with the right tools is key. Ensuring you have impact drivers to tighten hardware, orbital sanders for touch-ups, and specialized cleaning products can dramatically extend the life of your cabinetry. Incorporate routine checks every few months, especially after seasons with high humidity, to catch issues early. For a detailed guide on keeping your custom cabinetry in top shape, consider visiting this contact page for tailored advice or professional services.
Want to upgrade your maintenance routine? Try using impact drivers during assembly and tightening. The impact mechanism provides better control and prevents over-tightening, safeguarding your investment for years to come.
The Hardest Lesson I Learned About built-ins,kitchen remodel,custom cabinets,storage solutions
One of the most profound lessons came from a simple mistake turning into a valuable insight. I realized that rushing through the process or neglecting proper support created avoidable splits, costing me time and money. Patience and meticulous preparation are your best allies.
3 Myths About built-ins,kitchen remodel,custom cabinets,storage solutions That Held Me Back
I once believed that standard tools and shortcuts could replace precision. Breaking free from these misconceptions revealed that quality bits, precise measurements, and understanding your material are essential for success. Don’t underestimate the power of good tools and careful planning.
What Experts Won’t Tell You About built-ins,kitchen remodel,custom cabinets,storage solutions
Even seasoned pros sometimes overlook minor details, such as the importance of backer blocks or proper drill speed. These nuances can make the difference between a professional-looking result and a costly mistake. Stay curious and never stop learning from every project.
Curated Recommendations for Building Confidence
Tools like the Bosch ROS20VSC orbital sander and Milwaukee M18 Fuel impact driver have transformed my workflow. They provide control and durability, making large projects manageable and enjoyable. For design inspiration and detailed guides, exploring resources such as this collection on custom cabinetry has been invaluable.
Your Next Step Toward Perfect Cabinets
There’s always room to improve, and by applying these insights, you can elevate your home projects. Whether it’s mastering hinge adjustments or planning seamless storage solutions, remember that each project is an opportunity to learn and grow. Take action today and redefine what’s possible in your space.
What’s been your most challenging cabinet project so far? Share your experiences below, and let’s learn together!