How to Drill Perfect Shelf Pin Holes Without a Professional Jig
I vividly remember my first attempt at upgrading my kitchen shelves—it was a messy affair. Clunky drills, uneven holes, and a growing sense of frustration made me wonder if I needed to call in a professional. But after numerous trials and a lingering question—could I really do this myself without investing in a pricey jig?—I realized I wasn’t alone in this dilemma. Many DIY enthusiasts face the same obstacle: how to drill precise shelf pin holes without the specialized equipment that pros swear by.
Why Precise Shelf Pin Holes Matter More Than You Think
Having well-placed, perfectly aligned shelf pin holes isn’t just about aesthetics; it’s about functionality and stability. When holes are uneven or misplaced, shelves can wobble, crack, or even fall—turning a simple upgrade into a potential disaster. The good news? You can achieve professional-looking results with simple tools and a bit of know-how. This guide will walk you through effective, DIY-friendly methods to drill perfect shelf pin holes, even if you don’t own a dedicated jig.
But first, let’s tackle the skepticism that often surrounds this task.
Is Drilling Shelf Pin Holes Without a Jig Really Possible?
I used to think only high-end jigs could deliver the accuracy I craved. My early mistake? Underestimating the power of carefully prepared marking and the right tools. Early in my projects, I tried to wing it with a regular drill—bad idea. I learned that with proper measurements, masking tape, and a steady hand, you can get results rivaling those from professional equipment. According to some woodworking experts, precise measurements and patience are more critical than having the latest gadget. Want to find out how exactly I did it? Let’s dive in.
If you’ve faced similar struggles—trying to align multiple holes, or just plain fearing you’ll mess up your beautiful new cabinets—you’re in good company. Let’s explore the practical, step-by-step techniques to nail this task right the first time, saving you money and frustration along the way.
Marking Accurate Positions
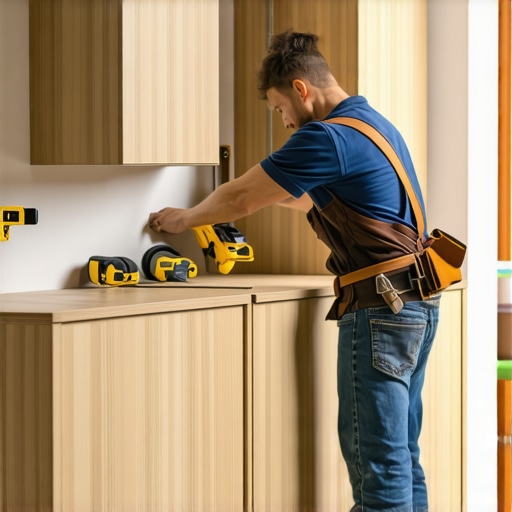
Start by measuring the desired height and spacing for your shelves. Use a combination square or a tape measure and pencil to mark the positions on the side panel. To ensure consistency, draw a straight line across both panels at the same height, which will serve as your reference. I once used painter’s tape to create a guide line—I pressed it firmly to avoid slipping and marked along the tape to keep lines straight, resulting in perfect alignment.
Drilling the Holes with Precision
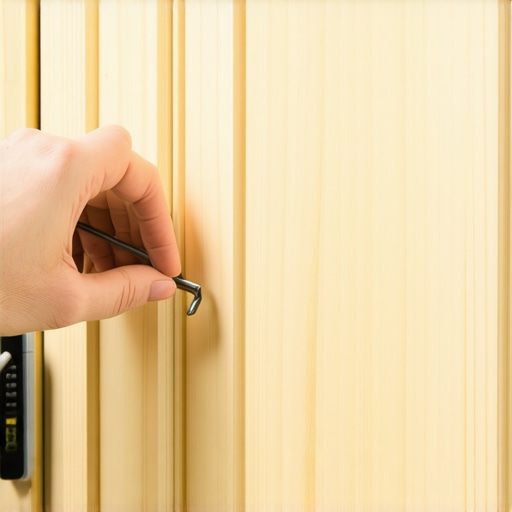
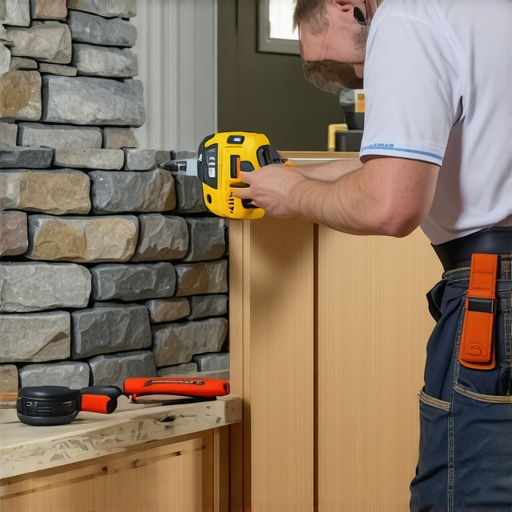
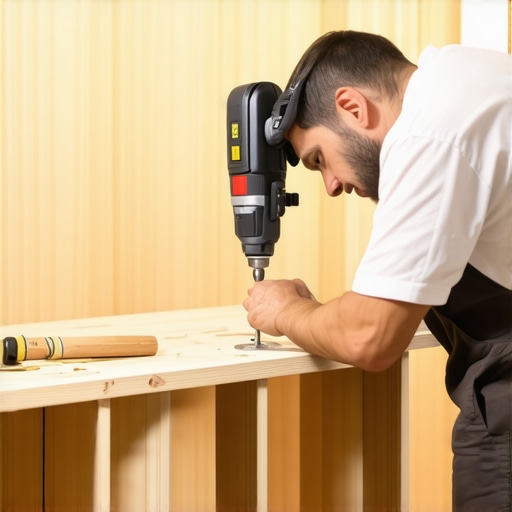
Next, select a drill bit that matches your shelf pins—typically ¼ inch (6.35 mm). Wrap masking tape around the bit at the desired depth to prevent over-drilling. Secure the panel with clamps or work on a stable surface. For stability, I clamped the panel to my workbench and used a scrap piece underneath to prevent blowout. Carefully drill through the marked points, applying steady pressure. Using a drill guide or a makeshift jig—like a piece of scrap wood with pre-drilled holes—can help keep the drill perpendicular. This simple setup transforms a regular drill into a reliable hole-cutter.
The Importance of Measuring Twice
Always double-check your measurements before drilling. Misalignment can ruin the entire project. I once mismeasured by just a millimeter, causing the shelves to wobble and requiring me to redo the holes. To avoid this, I recommend marking each hole and verifying distances repeatedly—precision is key to professional-looking shelves.
Using Guides and Templates for Repetition
If drilling multiple panels, create a template. Cut a piece of rigid cardboard or plywood with pre-drilled holes at your standard spacing. Secure it against each panel and drill through the template’s holes—this guarantees uniformity. I once made a cardboard jig for a client project, which took only about 15 minutes to produce and saved hours of adjustment later.
Final Touches for Clean, Professional Results
After drilling, insert your shelf pins and test for fit before installing shelves fully. Sand any rough edges around the holes to prevent splinters. For a clean look, finish with matching paint or stain. Remember, patience and preparation make all the difference in DIY projects. If you want to optimize your entire kitchen storage, check out smart storage solutions for a flawless upgrade.While many homeowners focus on choosing beautiful materials or trendy styles for their kitchen upgrades, there’s a less obvious but equally critical aspect often misunderstood: the nuances that separate a well-executed remodel from a costly mistake. Contrary to popular belief, simply opting for high-end custom cabinets or the latest built-in storage solutions doesn’t automatically guarantee longevity or functionality. A common myth is that more elaborate designs inherently lead to better usability—yet, in practice, complexity can introduce unforeseen issues that diminish your kitchen’s efficiency. For instance, intricate shelving or overly specialized storage might look impressive but can cause accessibility problems or clutter over time. It’s essential to recognize that the devil is in the details, and overlooking these can result in frustration or the need for expensive corrections later.
One often underestimated factor is the precision in execution, particularly when it comes to measurements and installation. Even minor misalignments can cause uneven gaps, hinder door closures, or create an unbalanced aesthetic. According to expert cabinetry maker Michael Anurd, “Precision in measurement and installation is the backbone of durable, professional-looking built-ins.” Skipping the meticulous planning phase or rushing installations can turn your dream kitchen into a maintenance nightmare.
Another common mistake involves misunderstanding the structural requirements of certain storage solutions. For example, failings to account for weight distribution in heavy-duty pantry drawers or overestimating available space can lead to sagging shelves or damaged cabinetry. It’s vital to engage with experienced designers who understand these physical nuances. For an in-depth look at designing resilient custom solutions, visit this guide on transforming your kitchen with custom cabinets.
Now, facing a sophisticated question: how do you balance design innovation with practical durability in your cabinetry choices? The key lies in integrating smart engineering principles—such as reinforcement of load points and selection of suitable materials—that align with your aesthetic goals and longevity expectations. For example, choosing HDF for painted doors, as recommended by interior specialists, can significantly extend the life of your cabinetry under high humidity or frequent use conditions. For more insights, explore why HDF is preferred for painted cabinet doors.
Don’t let these subtleties catch you off guard; understanding and planning for them ensures your remodel stands the test of time. Think of it as investing in a sturdy foundation—it might require more effort upfront but pays dividends in durability and satisfaction down the line. Have you ever fallen into this trap? Let me know in the comments and share your experiences to help others avoid common pitfalls.
Maintaining Your Custom Cabinets and Storage Magic
Long-term success with custom cabinetry and built-in storage hinges on using the right tools and adopting effective maintenance routines. Personally, I rely on a few specialized instruments to ensure everything stays in top condition, which I recommend to anyone serious about their remodel investments. One indispensable tool is a digital angle finder—like the Stabila Digital Protractor. It helps me verify that cabinet doors and drawers are perfectly aligned after installation and during routine check-ups. Regularly checking these angles prevents uneven wear and keeps your kitchen looking pristine.
Another tool I swear by is a high-quality, fine-grit polishing machine, like the carnauba buffing wheel. It allows me to quickly restore shine to painted cabinet surfaces, maintaining that new look for years. Keep in mind, pairing this with gentle, cabinet-safe polish ensures you won’t damage the finish over time.
How do I keep my storage solutions functioning like new?
For ongoing durability of built-ins and especially pull-out mechanisms, I recommend regularly inspecting and lubricating moving parts with a silicone-based spray. This simple step prevents squeaks and gear deterioration. I often select a product called 303 Aerospace Protectant—trust me, its UV protection and weather resistance extend the life of finishes and hardware, especially in busy kitchens. Also, creating a maintenance schedule is vital: set a quarterly reminder to tighten screws, check alignments, and clean tracks and hinges. This habit minimizes unexpected failures and maximizes your investment.
Embracing Modern Solutions for Longevity and Ease
Looking into the future, automation and smart maintenance systems could become as common as hand tools. Imagine installing sensors that monitor humidity, temperature, or even hardware wear, alerting you before issues escalate. Companies are already developing smart cabinetry that can report anomalies via apps, promising a hands-off approach to maintenance. To prepare, familiarize yourself with emerging tech and start integrating proactive systems into your remodel plans.
What’s the best way to keep your custom cabinetry looking sharp over time?
Invest in high-quality tools, adhere to routine inspections, and don’t shy away from exploring new smart technology options. Try applying silicone spray to your hinges once a quarter and see how it prolongs smooth operation. For a deeper dive into innovative storage ideas that complement modern kitchen maintenance, check out these innovative storage strategies. Implementing even a few of these tips can dramatically extend the life of your cabinets and keep your space looking fresh year after year.
What I Wish I Knew About Perfectly Aligning Cabinets from the Start
One of the most valuable lessons I learned is that patience and meticulous measurement are your best friends. Rushing the process can lead to misaligned doors and uneven gaps, which are a nightmare to fix later. Taking the time to create precise templates and double-check measurements saved me countless headaches and $$$. Remember, small details like ensuring your hinges are installed square can make a huge difference in the overall look and functionality.
The Power of a Good Setup—My Secret Weapon for Smooth Installations
Investing in a simple makeshift jig or using a reliable guide helps secure consistent drill holes for shelf pins or cabinet hardware. I found that a scrap piece of wood with pre-drilled holes can serve as an effective template, turning an ordinary drill into a precision tool. The comfort of knowing each hole will line up perfectly gave me confidence, especially on larger projects.
Why DIY Storage Solutions Are More Than Just Space-Savers
Custom-built storage options not only optimize space but also enhance the everyday convenience of your kitchen. From vertical dividers for baking sheets to hidden pull-out spice racks, these solutions improve workflow and reduce clutter, making your kitchen both beautiful and practical. Plus, designing these features yourself allows flexibility that store-bought options simply can’t match, fostering a true sense of craftsmanship and personalization.
Key Tools That Made My Remodel Easier and Why I Trust Them
– High-quality clamps kept everything aligned and secure, ensuring a professional finish.
– A digital angle finder helped me verify perfect door alignments post-installation.
– Shelf pin drilling guides simplified repetitive tasks and improved consistency.
– And of course, a trusty set of quality drill bits saved me from frustrating blowouts and uneven holes.
Feeling Inspired to Take Your Kitchen to the Next Level
Embarking on a custom cabinetry or built-in storage project can seem daunting, but with the right mindset and tools, it’s incredibly rewarding. Every mistake is a lesson, and every precise cut brings a new level of satisfaction. Remember, you don’t need to be a professional carpenter to transform your space—just patience, good measurements, and a willingness to learn. Your dream kitchen is within reach, and the skills you develop now will serve you for countless future projects.
Have you ever struggled with aligning cabinet doors or drilling perfect shelf holes? Share your experiences below—I’d love to hear how you tackled those challenges or if you’re inspired to start your own DIY kitchen upgrade.