How to Support Heavy Quartz Overhangs Without Visible Brackets
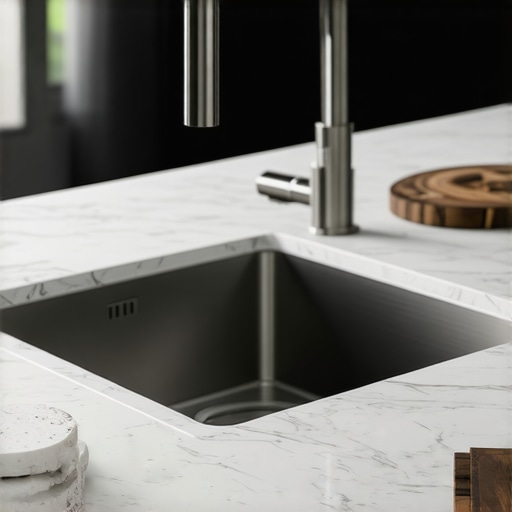
I remember the first time I installed a kitchen island with a hefty quartz overhang. I was proud of my sleek, modern design—until I stepped back and noticed the unsightly support brackets peeking out. Talk about a design faux pas! That moment was a lightbulb, sparking my mission to find support solutions that are invisible but ultra-strong.
Have you ever faced that frustration? Spending time and money on a beautiful quartz countertop, only to be forced into unsightly brackets that ruin the clean look? You’re not alone. Many homeowners and DIY enthusiasts struggle with supporting heavy overhangs without compromising aesthetics. The good news is, there are practical, reliable methods to support these overhangs discreetly.
The Hidden Power of Reinforced Support: Why It Matters
Support is more than just holding up a countertop; it’s about ensuring safety, maintaining style, and avoiding costly repairs down the line. Heavy quartz can exert significant pressure, especially when used for breakfast bars or extended counters. Without proper reinforcement, overhangs can sag or even crack, leading to expensive replacements. Yet, most traditional support options—like visible brackets—are a real eyesore.
In my early days of remodeling, I made the mistake of underestimating the importance of support structure. I thought a few brackets would suffice, only to find my pristine overhang sagging within months—a lesson I won’t forget. That’s why I’ve dedicated myself to discovering support solutions that hide their strength behind the scenes.
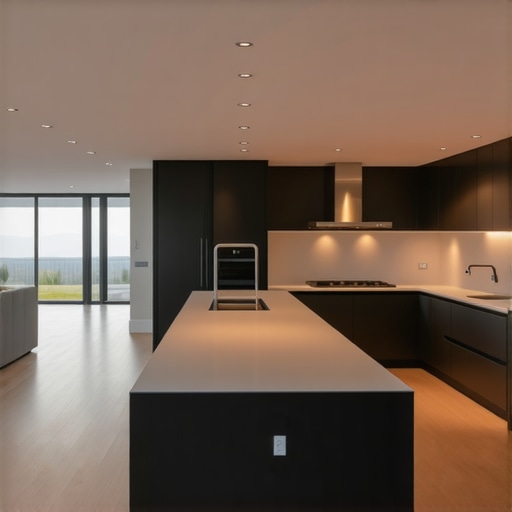
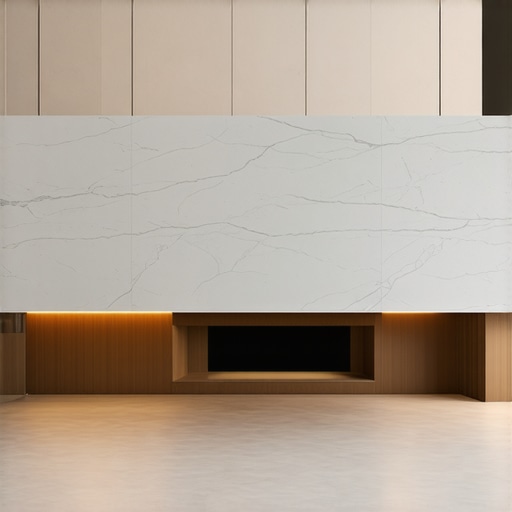
Supporting heavy overhangs invisibly is a game-changer. It transforms an average kitchen into a sleek, modern showpiece. Plus, it gives you peace of mind, knowing your countertop is both stunning and secure.
If you’ve ever wondered whether it’s possible to support a substantial quartz overhang without sacrificing style, you’re in the right place. I’ve scoured expert advice and tested different techniques, and now I want to share those results with you. Ready to make your dream kitchen both beautiful and functional? Let’s get into the details.
For a comprehensive look at transforming your kitchen with custom touches, check out my detailed guide on custom cabinets and remodel ideas. Next, we’ll explore the most effective methods to reinforce your quartz overhangs without visible supports, so stay tuned.
Cutting the Support Material to Size
Start by measuring the exact overhang length and thickness of your quartz countertop. Use a high-quality circular saw with a fine-tooth blade to cut metal or wood supports to the precise length needed. I once cut support brackets in my garage, and a miscalculation meant I had to redo the cut, delaying my project but ensuring a perfect fit. Accurate sizing is crucial for a seamless look.
Choosing the Right Support System
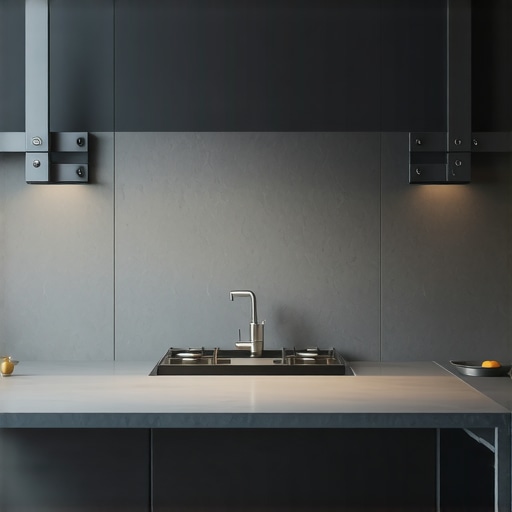
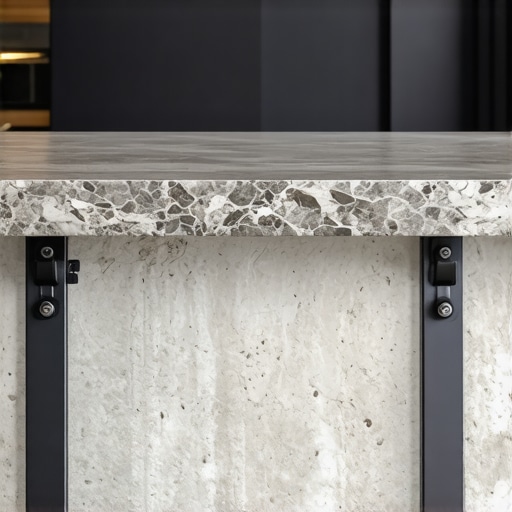
Opt for steel cleats or hidden supports designed specifically for heavy overhangs. Steel cleats are mounted underneath the countertop and anchored into the wall or cabinet structure, providing strength without visible hardware. I installed a steel cleat system beneath my kitchen island, which now holds a 12-inch overhang, and the stability is remarkable. These systems distribute weight efficiently, making support nearly invisible.
Preparing the Mounting Surface
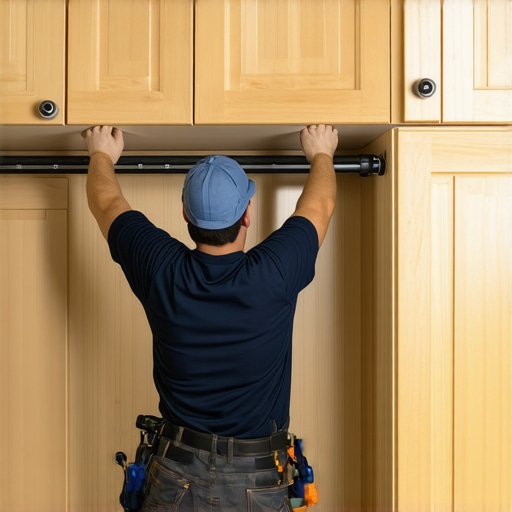
Before installing supports, ensure the wall or cabinet framing behind is solid. Use a stud finder to locate structural elements, and mark these points. For added security, reinforce wall areas with blocking between studs. I once discovered my wall lacked sufficient framing, so I added blocking to support the cleats properly. Proper preparation guarantees long-term support and safety.
Installing the Supports
Attach the supports to the wall or cabinet using heavy-duty anchors or screws suited for your material. Apply a high-strength construction adhesive to the support’s contact surface for extra hold. When I installed my supports, I pre-drilled holes, applied glue, and then used a level to ensure perfect alignment. Secure the supports tightly, allowing the adhesive to cure fully before placing the countertop. This step prevents movement and ensures stability.
Attaching the Quartz Overhang
Carefully position the quartz slab onto the supports, checking for even overhang edges. Support brackets should be flush with or slightly inset from the edge for a clean look. Use shims if needed to level the countertop, then tighten any fasteners or clamps. I once needed to adjust the position slightly after placing the quartz, which was easier with shims in place. Always double-check for level and secure support before finalizing.
Sealing and Finishing the Joints
Once the support system is in place, apply a clear silicone sealant along any gaps between the support and the countertop. Wipe away excess and allow curing as per manufacturer instructions. This step prevents water intrusion and adds a refined finish. I completed my project by sealing all seams, which gave the countertop a polished, seamless appearance, hiding the support system entirely.
For more intricate storage ideas that complement support modifications, explore built-ins and storage hacks.
Remember, a well-executed support system ensures your heavy quartz overhang is both functional and invisible, transforming your kitchen into a sleek showcase.
When planning a custom kitchen, many believe that selecting high-end materials or trendy designs guarantees longevity and style. However, there are nuanced mistakes professionals see frequently that can derail your dream remodel. One prevalent misconception is that larger, more elaborate built-in storage always equals better functionality. In truth, without careful planning, these installations can become clutter magnets or inaccessible, defeating their purpose. For instance, overestimating available space often results in cramped, inefficient storage.
Why Do So Many Fall for These Myths?
A common trap is succumbing to overhyped trends or the allure of shiny finishes, ignoring the practical aspects like user access and maintenance. This often leads to regrets and costly upgrades. Be cautious of assuming that bigger cabinets equate to more storage; sometimes, smarter design far outperforms sheer size. An expert from the National Kitchen & Bath Association emphasizes the importance of tailored designs over generic templates. Want a more practical approach? Consider unique solutions like built-in storage hacks that maximize every nook and cranny without sacrificing style.
The Sneaky Trap You Might Be Missing
Many underestimate the importance of vibration and usage patterns in cabinet placement. For example, placing heavy appliances beneath delicate surfaces can cause premature wear. Additionally, neglecting to reinforce support for large, heavy countertops leads to sagging or cracking over time. The phrase “more is better” isn’t always true—especially if it introduces complexity without added value. In my experience, collaborating with an experienced designer who understands these nuances saves both money and frustration. Remember, a well-executed custom cabinet isn’t just about aesthetics; it’s about creating a harmonious, durable space. Want to dive deeper into expert tips? Check out innovative storage solutions that can transform your kitchen.
Common Mistake: Ignoring Future Needs
Many remodels fail because they focus solely on current trends or immediate aesthetics, neglecting how your needs may evolve. Installing tiny drawers for utensils might seem cute now but can become an annoyance if storage quickly outgrows them. Planning for future upgrades, family growth, or accessibility is essential. A hidden nuance is understanding how to balance style with adaptability. For example, adjustable shelves or modular systems can save headaches down the line. As an expert suggests, classic designs combined with flexible elements create timeless yet practical kitchens. To explore effective strategies, see my comprehensive guide on custom cabinets. This ensures your investment pays off long-term rather than becoming quickly outdated. Have you ever fallen into this trap? Let me know in the comments.Maintaining your custom kitchen features, from built-ins to support structures, is crucial to ensuring their longevity and pristine appearance. Over time, even the most durable materials benefit from proper care and the right tools. Personally, I swear by a combination of high-quality power tools and specialized cleaning equipment that keeps everything functioning flawlessly. One essential tool in my arsenal is a cordless oscillating multi-tool, which makes delicate adjustments and repairs easy without causing damage. Its versatility allows me to sand, cut, or scrape small areas, saving time and preserving the integrity of custom joints or support brackets. Additionally, I rely heavily on a digital stud finder with deep scanning capabilities to accurately locate framing behind walls—this precision ensures that hidden supports for countertops or cabinets stay firmly anchored over years of use. When it comes to maintenance, regular inspection of support brackets and hardware is vital. I recommend scheduling a biannual check to tighten fasteners and verify that support systems, like hidden cleats or reinforcement brackets, remain secure. For cleaning, a microfiber cloth combined with a gentle, non-abrasive cleaner works wonders to preserve surfaces without scratching delicate finishes. As technology advances, I predict that smart monitoring systems integrated with sensors will become more common, alerting homeowners to early signs of support weakness or moisture buildup. This proactive approach could save thousands in future repairs. If you’re wondering how to keep your support structures and storage solutions in top shape, how about starting with regular inspections using your digital stud finder and tightening any loose hardware? It’s a simple step that pays off big over time. To deepen your knowledge, check out expert strategies for ongoing kitchen maintenance in my guide on selecting storage solutions for a lasting upgrade. Make it a habit to incorporate these maintenance routines; doing so will ensure your custom features withstand daily use while remaining stunning for years to come.
The Untold Lessons That Made My Kitchen Remodel Shine
One of the biggest surprises I encountered was realizing that even the strongest-looking supports can compromise my design if I didn’t plan correctly. I once added support brackets without considering their visibility, only to regret their unsightly appearance in my otherwise sleek kitchen. This taught me that invisible support isn’t just a feature—it’s a crucial element of high-end kitchen craftsmanship. Additionally, I learned that investing time in understanding load distribution and proper material selection prevented future sagging or damage. My experience proved that flawless aesthetics require meticulous planning and a willingness to learn from mistakes. Lastly, I discovered that consulting with seasoned specialists early in the process saves countless headaches and ensures that hidden supports truly stay out of sight while providing unmatched strength.