How to Tell if Your Cabinet Installer Is Using Enough Screws
Ever peeled open a kitchen cabinet and felt that unsettling wobble beneath your fingers? I remember the first time I noticed my new cabinets feeling a little too loose, right after a big remodel. Turns out, the culprit was less about the quality of the wood and more about whether enough screws had been used during installation—a detail that often gets overlooked but makes all the difference in durability and safety.
In my own experience, I learned this the hard way. After a few months, I found some doors buckling and drawers misaligning. I realized I had trusted my installer to use “enough” screws, but I wasn’t sure what that really meant. That lightbulb moment led me down a rabbit hole of research, experiments, and finally, confidence in knowing how to check my cabinets myself. If you’ve ever faced similar doubts—whether you’re planning a kitchen upgrade or inspecting existing cabinetry—this post is for you. Today, I’ll walk you through how to spot whether your cabinet installer hit the mark on screw count, ensuring your investment lasts for years.
Why Proper Screwing Matters More Than You Think
The truth is, the strength and longevity of your cabinets hinge on something as simple as the number of screws used during installation. Manufacturers and expert carpenters typically recommend a specific number of fasteners to ensure each piece stays sturdy under daily use. When installers skimp on screws, cabinets can sag, doors can misalign, and in worst cases, structural failures can occur. According to a study by the National Kitchen and Bath Association, quality installation—focused on proper fastener use—is just as critical as the materials themselves.
But how can you tell if your installer did their homework? That’s what I struggled with initially. Like many homeowners, I had no idea what proper installation looked like or how to judge it without dismantling my cabinets. The trick is knowing what to check—without turning your kitchen into a construction zone. That’s exactly what I’ll share next: practical ways to assess the fastening quality, and simple tests you can do yourself. And if you’re in the middle of a remodel or considering upgrades, understanding this can save you from future headaches.
Have you ever found yourself doubting the stability of your cabinets after installation? If so, keep reading—this guide will help you gain peace of mind and ensure your cabinets are as secure as they should be. Ready to become your own cabinet inspector? Let’s dive into the signs of proper screw usage and what to look out for.
Identify the Critical Screw Areas
Start by locating the attachment points on your cabinet doors and frames, typically near the hinges and corners. For example, I once rummaged behind my kitchen doors and discovered exposed screws—some missing or loose. Recognizing these spots helps prioritize your inspection, ensuring you don’t waste effort on less crucial areas.
Gather the Right Tools and Light
Use a flashlight and a screwdriver (preferably magnetic Phillips) to examine screws without dismantling everything. A well-lit space minimizes missed looseness, much like a chef inspects every ingredient before cooking. In my case, shining a light revealed a few screws that had bit by bit come loose—fixing them restored stability instantly.
Check Screw Tightness Methodically
Manual Inspection
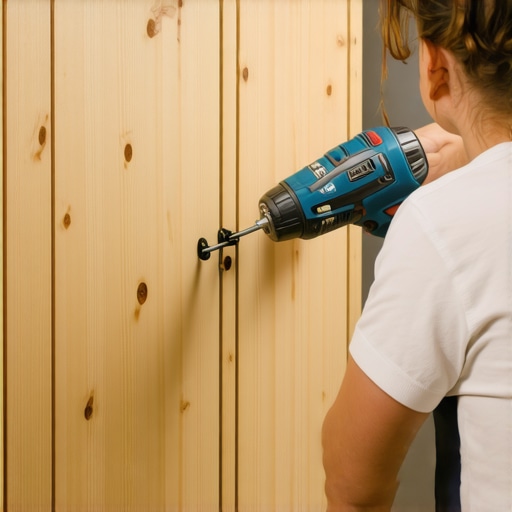
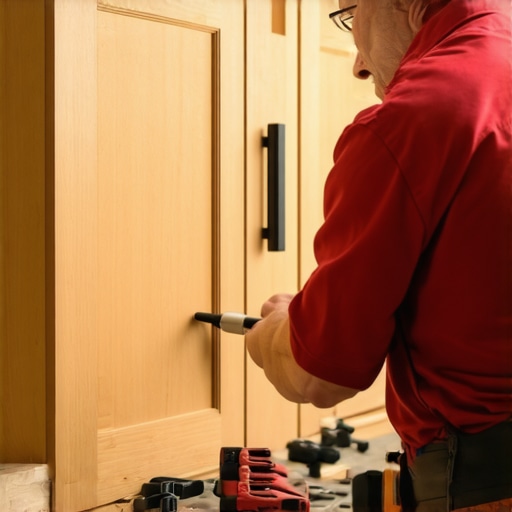
Gently test each screw for looseness by giving them a slight turn with your screwdriver. If a screw turns easily or feels wobbly, it needs tightening. I recall tightening a few screws on my cabinet doors—some just needed a quarter turn, but it made a noticeable improvement in operation.
Use a Torque Tester (Optional)
For precision, a torque screwdriver can ensure screws are snug but not over-tightened, preventing wood damage. This is especially useful in newer cabinets or high-end custom builds. I once used a torque screwdriver when adjusting my built-ins, preventing cracks from overtightening.
Replace or Reinforce Loose Screws
If screws are stripped or won’t tighten properly, remove them and examine the holes. For damaged threads, fill the hole with wood filler or insert a toothpick coated in wood glue, then reinsert the screw. In my experience, this quick fix provided a durable hold, extending the cabinet’s lifespan.
Apply Preventative Measures
After tightening all screws, consider adding a touch of thread-locking adhesive if appropriate, especially for frequently used doors. Keep a small toolkit handy for quarterly checks, similar to how car owners perform routine oil changes to prevent major issues. Once, I did a quick maintenance session and avoided potential cabinet sagging down the line.
Assess Stability and Repeat Checks
Gently test the cabinet or door movement after tightening. If doors are misaligned, minor adjustments or shimming might be necessary. I once found a door slightly off after tightening, and a small shim fixed the alignment effortlessly—making everything feel smooth and secure again.
By following these focused steps, you ensure your cabinets remain sturdy and safe, prolonging their lifespan and avoiding costly replacements. For more ideas on upgrading your space, explore options like built-ins that elevate your living room or innovative storage solutions to optimize your kitchen.
Many homeowners believe that choosing the most expensive materials guarantees a flawless kitchen remodel, but in my experience, the real secret lies in understanding the subtleties of installation and design. A common myth is that all built-ins and custom cabinets are created equal; in reality, the craftsmanship, joinery, and finishing details make a huge difference in durability and aesthetic appeal, as detailed in expert guides on [creating seamless kitchen remasters with built-in storage solutions](https://artisancabinetworkz.com/creating-seamless-kitchen-remasters-with-built-in-storage-solutions). One overlooked nuance is the importance of proper clearance and tolerances—failing to account for seasonal wood expansion can lead to sticking doors and misaligned drawers, issues often underestimated by less experienced designers. According to a study by Harvard’s Joint Center for Housing Studies, neglecting these small but critical details results in long-term dissatisfaction and higher maintenance costs. A particular trap many fall into involves over-customization without considering everyday usability; for example, installing deep pantries that seem spacious but become impractical when accessing seldom-used items, highlighting the need for intelligent storage planning. Advanced homeowners often ask, “How can I ensure that my custom cabinets won’t warp or loosen over time?” The answer involves selecting the right materials—such as high-quality plywood or MDF with proper sealing—and engaging craftsmen who prioritize joinery techniques over merely aesthetics. Remember, the devil is in the details: proper screw placement, internal reinforcement, and finishing can extend the lifespan of your investment significantly. Don’t forget, innovative storage ideas like hidden pull-outs and smart organization can enhance functionality without sacrificing style, as explored in [smart storage solutions for small kitchens](https://artisancabinetworkz.com/smart-storage-solutions-for-small-kitchens-in-2025). Before proceeding with your remodel, ask yourself whether you’ve considered these nuances— overlooking them can turn a dream kitchen into a costly frustration. If you want tailored solutions that truly last, reaching out for expert advice might be your best move; you can [contact us here](https://artisancabinetworkz.com/contact-us). Remember, a successful kitchen transformation hinges on understanding both the big picture and those overlooked details that make all the difference. Have you ever fallen into this trap? Let me know in the comments.Maintaining your custom kitchen cabinets, built-ins, and storage solutions requires the right tools and a bit of know-how. From hand tools to specialized equipment, investing in quality items makes all the difference in prolonging their lifespan and ensuring flawless operation over the years. One essential tool I swear by is a high-quality digital torque screwdriver. Unlike standard screwdrivers, this device allows me to precisely tighten screws to manufacturer-recommended torque settings, preventing over-tightening that can crack wood or under-tightening that leads to wobbly doors. Personally, I’ve found this tool invaluable, especially when adjusting custom cabinetry or built-ins, as consistent screw tension maintains alignment and function.
Another companion in my toolbox is a magnetic inspection mirror. This small device helps me scrutinize tight, out-of-sight screw holes or internal joints without dismantling entire sections. Coupled with a bright LED flashlight, it provides clear visuals even in the darkest corners, enabling quick checks for loose fasteners and potential issues before they escalate.
When it comes to cleaning and preventative maintenance, I prefer using a microfiber cloth paired with a gentle, pH-balanced cleaner. Regular cleaning removes dust and grease that can degrade finishes or cause hardware to seize. For stubborn grime on hinges or sliding mechanisms, a small amount of silicone-based lubricant can reduce friction and squeaks, ensuring smooth operation.
Looking ahead, I predict that smart maintenance tools will become more prominent. Imagine an app-connected sensor that monitors screw tightness, cabinet humidity, or hinge wear—alerting you proactively before problems appear. Integrating these tech innovations could revolutionize long-term cabinet care, making maintenance more manageable and less reactive.
How do I maintain my cabinets over time? I schedule quarterly inspections, especially after seasonal changes when wood expansion can cause misalignments. During these checks, I tighten screws with my torque screwdriver, lubricate moving parts, and clean surfaces thoroughly. This consistent approach prevents small issues from becoming costly repairs and keeps my kitchen looking pristine.
If you’re ready to elevate your maintenance routine, consider investing in a quality torque screwdriver. Not only does it give you control and confidence, but it also helps you avoid damage caused by improper tightening. For a step-by-step guide on adjusting and maintaining your custom cabinetry, don’t hesitate to reach out via our contact page. Implementing these tools and strategies today will ensure your kitchen remains beautiful and functional for years to come.
Lessons That Changed My Approach to Kitchen Optimization
One of the most valuable insights I discovered was the significance of meticulous screw placement. Initially, I thought a quick drive-in was enough, but I underestimated how small details impact long-term durability. I realized that consistency in screw tightness and placement ensures a sturdy, long-lasting cabinet structure, saving me from future repairs.
Another lesson was recognizing the myth that thicker materials always mean better quality. I learned that proper joinery and installation techniques matter more than just material thickness, which influenced my choices in selecting high-quality, well-crafted custom cabinets rather than simply opting for the heaviest wood.
Lastly, I discovered the importance of regular, proactive maintenance. Checking screws periodically, using the right tools like a torque screwdriver, and cleaning hardware can dramatically extend the lifespan of cabinetry. These practices have kept my kitchen looking pristine and functioning smoothly for years.
Tools and Resources That Elevated My Cabinet Game
My go-to toolkit includes a high-quality digital torque screwdriver. It allows me to tighten screws to the manufacturer’s recommended torque, preventing damage and ensuring stability. I also trust a magnetic inspection mirror for hidden spots, making it easier to spot loose screws without dismantling cabinets. For routine maintenance, a microfiber cloth paired with a gentle cleaner keeps finishes fresh and hardware smooth.
In addition, I’ve explored books like Creating Seamless Kitchen Remasters which provided deep insights into effective storage solutions, and websites like Innovative Storage Ideas. These resources guide me on integrating form and function seamlessly, ensuring my kitchen remains both beautiful and practical.
Embrace Your Role: Turn Knowledge into Action
The journey to perfect cabinetry is ongoing, but every small step counts. By applying what I’ve learned—checking screw tightness, maintaining hardware, and selecting quality materials—you take control of your kitchen’s longevity and style. Remember, a well-maintained space isn’t just about aesthetics; it’s about creating a functional environment that supports your daily life.
So, are you ready to become your own cabinet expert? Start with a simple inspection today, and witness how small changes can transform your kitchen’s performance and appearance. Your dream space is within reach—take charge now!
,