The Hidden Toe-Kick Drawer Move for Extra Kitchen Storage
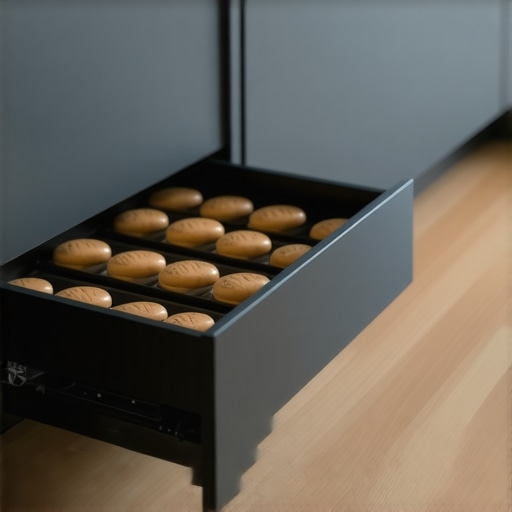
I’ll never forget the day I finally lost it with my cookie sheets. I was halfway through a holiday baking marathon, and my kitchen felt like it was closing in on me. Despite a recent investment in innovative storage solutions for modern kitchen remodels, I still had a pile of flat pans leaning precariously against the side of the fridge. I looked down, defeated, and kicked the base of the cabinet. That hollow ‘thud’ of the toe-kick was my lightbulb moment. Why was I letting six linear feet of perfectly good space sit empty just to hide some shims? Today, I’m going to show you how to stop treating your floor-level gaps as dead air and start using them for real-world storage. We are diving deep into the ‘toe-kick move’—a design trick that turns that dusty void into the most organized spot in your home.
Stop Ignoring the Dead Space Under Your Feet
For years, I assumed the bottom four inches of a cabinet were just structural. I even made the mistake of thinking the best way to store baking sheets in a narrow cabinet was to lose an entire vertical shelf to them. I was wrong. Early in my journey, I actually built a makeshift drawer down there without using heavy-duty glides. It was a disaster; the drawer dragged on the floor and eventually got stuck so bad I had to pry it out with a crowbar. But when done right as part of a kitchen remodel using built-ins and creative storage, these drawers are game-changers.
Are these drawers just a trap for dust and dog hair?
I hear this all the time from neighbors: ‘Won’t I just be sweeping crumbs into my storage?’ It’s a fair concern. However, if you use a sealed drawer box and a touch-to-open mechanism, the seal remains tight enough to keep the dust out. In fact, research from the National Kitchen & Bath Association suggests that optimizing lower-cabinet accessibility can significantly reduce physical strain during meal prep for homeowners. Have you ever looked at the bottom of your cabinets and wished they did more than just collect scuff marks? Learning to maximize space with innovative storage solutions is the goal, and the toe-kick is the final frontier. Before we get into the hardware, you need to understand that this isn’t just about more space—it’s about the right space for those heavy items you only use once a week. [image placeholder]
Finding the Perfect Depth for Flatware and Pans
I’ve learned the hard way that you can’t just slap a box under a cabinet and call it a day. You have to treat this space like a miniature version of the main cabinet box. Most standard toe-kicks are 4 inches high. If you use a 1/2-inch bottom for the drawer and leave at least 1/2-inch of clearance from the floor to avoid scratching your finish, you’re left with about 3 inches of usable depth. It doesn’t sound like much until you realize that nearly every baking sheet, cooling rack, and muffin tin you own is less than 2 inches tall. This is exactly how custom cabinets as a game changer in your kitchen remodel journey start to earn their keep. I once worked on a project where the kitchen floor was so sloped we had to use the proper way to shim cabinets on a high spot in the floor just to get the base units level. Because we planned for toe-kick storage, those shims had to be strategically hidden behind the drawer glide supports. It was a logistical puzzle, but the result was a seamless look that provided enough room for a heavy cast-iron griddle that previously took up half a main shelf.
Pick the Right Glides to Save Your Back
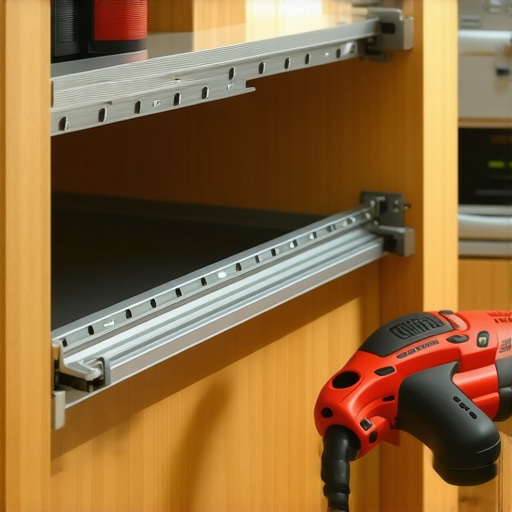
When you are designing these for modern kitchen remodels featuring custom cabinets and built-ins, the hardware is where most people fail. You cannot use cheap, side-mount glides here. Because the drawer is so low, you are often using your foot to open it or reaching down at an awkward angle. I always insist on heavy-duty, full-extension undermount glides. Think of it like the suspension on a truck; it needs to handle the weight of heavy pans without sagging and hitting the floor. If the drawer sagged even a quarter-inch, it would scrape your flooring every time you opened it. For the ultimate ‘wow’ factor, I install a ‘touch-to-open’ mechanical latch. It’s a game-changer when your hands are covered in flour; you just tap the baseboard with your toe, and the drawer pops out. 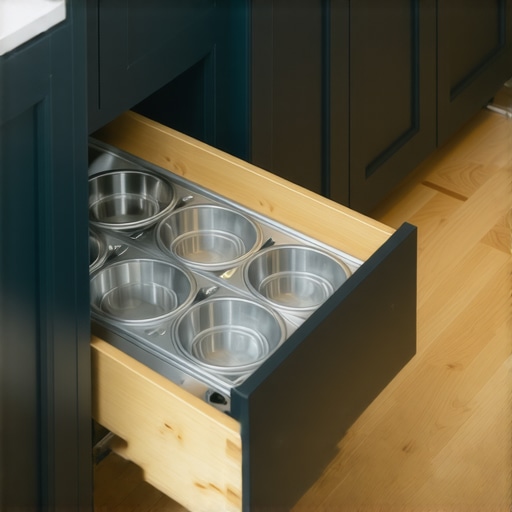
Make the Faceplate Look Like a Standard Cabinet
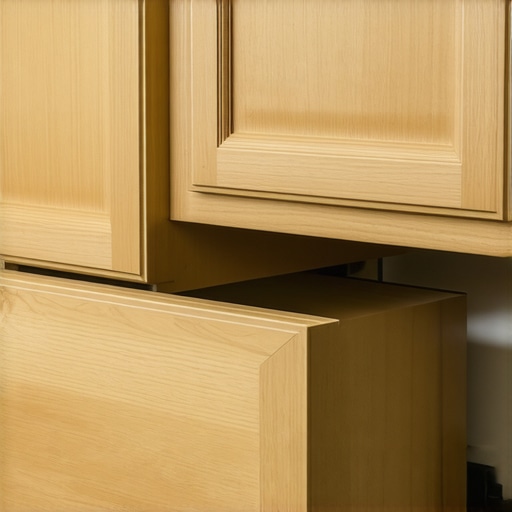
One of my early mistakes was making the drawer front look like a drawer. It ruined the lines of the kitchen. Instead, the face of the drawer should be the actual toe-kick material, matching the rest of the run perfectly. When closed, it should be indistinguishable from the surrounding base. This level of detail is why why your custom cabinets should feature dovetail drawers even at the floor level. Dovetail joints provide the sheer strength needed to withstand the occasional accidental kick without the box pulling apart. I remember a client who was worried about the aesthetics, thinking the gaps would be visible. We used a 1/8-inch reveal around the edges, and unless you were lying on the floor, you couldn’t tell it was a functional drawer. It’s about creating built-ins and storage hacks for a sleek functional kitchen without sacrificing the clean, architectural lines of the room. When you align the grain of the wood across the entire toe-kick area, the storage becomes a secret compartment rather than a cluttered addition.While most designers preach that every square inch must be utilized, I’ve actually started advising some of my clients to scale back. It sounds counterintuitive, especially when you’re paying for modern kitchen remodels featuring custom cabinets and built-ins, but here is a hard-learned nuance: not every floor can handle the mechanical stress of a toe-kick drawer. If you’ve opted for floating floors, you might be walking right into a massive repair bill. This is the ‘Oops’ factor most contractors won’t mention because they are focused on the immediate aesthetics rather than long-term home health. Have you ever fallen into this trap where a ‘cool’ feature ended up causing a structural headache? Let me know in the comments.
What happens when your subfloor isn’t perfectly level?
In my years in the field, the biggest technical failure occurs when people ignore the expansion gap requirements of modern flooring. I’ve seen beautiful custom cabinets for a stylish kitchen overhaul ruined because the homeowner insisted on toe-kick drawers over a luxury vinyl plank floor without proper planning. According to the North American Laminate Flooring Association (NALFA), floating floors must be allowed to move freely with temperature changes. When you install heavy toe-kick drawers that exert downward pressure directly on those planks, you risk buckling or separating the seams. This is exactly why luxury vinyl plank should not be trapped under your base cabinets. To do this correctly, you must install your base cabinets before your flooring and run the planks up to the cabinet feet, ensuring the drawer hardware doesn’t pin the floor down. 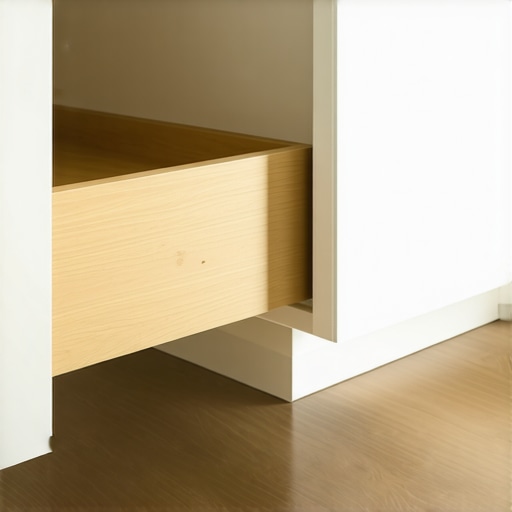
Don’t Let Your Custom Quote Blind You to Maintenance Needs
One thing that drives me crazy in this industry is why your custom cabinet quote varies so much between shops. Often, the cheaper quote simply skips the necessary structural blocking for these specialized floor-level drawers. If the cabinet box isn’t reinforced to handle the lateral force of you tapping a drawer open with your foot every day for a decade, the faceplate will eventually sag and scrape. It’s about more than just expert tips on selecting storage solutions; it is about the physics of daily use. I’ve found that built-ins and storage hacks for a sleek functional kitchen are only ‘smart’ if they don’t compromise the accessibility of your utilities. For instance, I always recommend keeping the area under the sink clear because having drainage repairs significantly easier is worth more than one extra pan drawer. If you’re ready to plan a space that actually works for the long haul, visit our contact page to get a professional’s eyes on your layout before you commit to a design that might be too clever for its own good.I’ve spent too many hours on my knees with a headlamp to tell you that maintenance isn’t optional for these low-profile gems. If you’ve invested in modern kitchen remodels featuring custom cabinets and built-ins, the last thing you want is a gritty drawer that sounds like a gravel pit every time you nudge it. My secret weapon is a can of dry PTFE spray. I never use standard WD-40 or heavy grease because they act like magnets for pet dander and kitchen flour. A dry lubricant ensures the ball bearings stay slick without the ‘gunk’ factor. This is a crucial part of expert tips on selecting storage solutions for a perfect kitchen upgrade—choosing hardware that you actually know how to service.
Stop the Gunk Before It Starts
For the heavy lifting, I strictly stick to the Blum TANDEM Plus BLUMOTION series. According to the Blum TANDEM technical specification manual, maintaining a parallel alignment within 0.5mm is critical for the long-term health of the soft-close mechanism. If you notice your drawers feeling heavy, check the temperature; the real reason your soft-close drawers are sluggish in winter is often just the increased viscosity of the damping fluid in the pistons, not a mechanical failure. Knowing these nuances is part of why custom cabinets as a game changer in your kitchen remodel journey are worth the upfront cost; you are buying into a system designed for repairability. [image placeholder]
How Can You Keep These Hidden Spaces Clean for a Decade?
I suggest a twice-yearly ‘deep pull’ where you remove the drawer box entirely to vacuum the cavity. It takes five minutes and prevents debris from migrating into the glide tracks. If your toe-kick is near the sink, make sure your sink cabinet needs a drip tray right now to prevent any slow leaks from migrating downward and swelling the wood components of your storage units. Looking ahead, I expect we will see a major shift toward motorized ‘servo-drive’ systems that open with a gentle nudge, even when your hands are full of grocery bags.
Precision Leveling Is the Difference Between Smooth and Stuck
When installing these, I ditch the traditional bubble level and reach for a 3-plane green beam laser level. At the floor level, even a 1/16th-inch deviation over a six-foot run can cause a toe-kick drawer to bind. This level of precision is what makes revolutionize your kitchen remodel using built-ins and creative storage more than just a marketing slogan—it’s a technical requirement. If you are feeling adventurous, I challenge you to install a hidden magnetic catch for touch-to-open doors on your most-used unit. It eliminates the need for any external hardware and keeps that ‘stealth’ look perfectly intact. If you run into a snag or the alignment feels off, you can always reach out via our contact page. Sometimes how to fix a drawer that wont close all the way is as simple as a minor adjustment on the rear mounting bracket to restore that factory-perfect glide.
The Hardest Lessons I Learned at the Floor Level
Building these hidden units has taught me that the smallest details determine whether a project is a triumph or a trip hazard. First, never underestimate the power of a heavy-duty drawer slide; if you skimp here, the drawer will inevitably sag under the weight of those cast-iron pans. Second, I realized that expert tips on selecting storage solutions for a perfect kitchen upgrade often overlook the ‘kick factor’—ensure your faceplates are finished with a durable topcoat because they will take some abuse from shoes and vacuum cleaners. Finally, don’t forget to account for the thickness of your flooring if you are installing drawers after the fact; even a 1/8-inch discrepancy can turn a smooth glide into a permanent jam.
The Gear That Makes These Secret Compartments Glide
If you are ready to tackle this, there are a few things I never head into a job without. I always recommend the Blum TANDEM series for its longevity and weight capacity, but for the DIYer, the Rockler Drawer Slide Jig is a lifesaver for ensuring parallel alignment in tight spaces. For those looking for inspiration beyond just the kitchen, I suggest checking out architectural guides on maximizing space with innovative storage solutions for every room. I also keep a set of precision shims on hand at all times—there is no such thing as a perfectly level floor, and those shims are the difference between a drawer that stays shut and one that drifts open on its own.
Claim Your Extra Six Square Feet Today
Transforming your baseboards into functional assets is more than just a clever trick; it is about taking full control of your environment. Whether you are in the middle of a full modern kitchen remodel featuring custom cabinets and built-ins or just looking for one small weekend win, reclaiming that dead space is incredibly satisfying. These built-ins and storage hacks for a sleek functional kitchen prove that you don’t need a bigger house—you just need a smarter layout. It’s time to stop stepping over that empty space and start putting it to work. Have you ever considered what’s hiding behind your toe-kicks, or do you have a specific item that simply refuses to fit in your current cabinets? Let me know in the comments below!