The Secret to Adjusting Inset Doors That Won’t Close Flush
Ever had a kitchen cabinet door that just refuses to sit perfectly flush? One morning, I was reaching for my coffee, only to be met with a door ajar that stubbornly hung unevenly. It was one of those small frustrations that slowly gnawed at my patience, especially when I was eager to finish a remodel or clean up after a cooking session. I realized I wasn’t alone—many homeowners and DIY enthusiasts face this exact issue. The good news? It’s often fixable with a few straightforward adjustments, and I’m here to walk you through some proven tips that helped me regain that sleek, seamless look in my kitchen.
Getting to the Root of the Gap
When inset doors won’t close flush, it’s easy to assume the worst—like warped frames or faulty hinges. But in most cases, the problem lies in minor misalignments or unlevel cabinets that can be corrected without calling in a pro. Early in my DIY adventure, I made the mistake of assuming that the hinges were the problem—only to realize I hadn’t checked if the cabinet frames were perfectly level. This recurring mistake reminded me of an important lesson: always start with a level surface. According to studies in cabinetry installation, slight unevenness in cabinet positioning is often the culprit behind misaligned doors (source: Expert Tips on Selecting Storage Solutions for a Perfect Kitchen Upgrade). Ensuring your cabinets are level is the foundation for a smooth, flush door closure, no matter how new or high-quality your hinges are.
If you’re noticing gaps or unevenness, don’t give up just yet. Sometimes, what looks like a major hardware issue can be a simple tweak. Now, before you start adjusting hinges or shimming brackets, have you ever faced the frustration of installing cabinets only to find they don’t align properly? If so, you’re not alone. Many of us begin a renovation excited and optimistic, only to be stopped by little imperfections that feel like roadblocks. But addressing these issues with patience and the right techniques can transform your space without a costly overhaul.
Identify and Adjust Cabinet Leveling
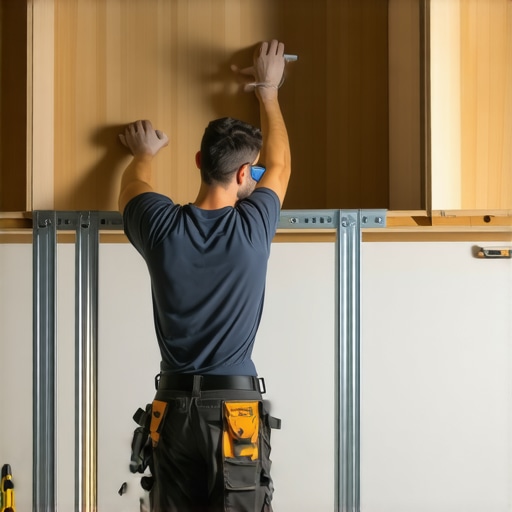
Start by inspecting whether your cabinets are perfectly level. Use a long bubble or laser level across the top edges. If you notice unevenness, you can shim the high side with thin wood or plastic shims placed behind the cabinet’s base or sides. Secure shims with screws through the cabinet frame into the wall studs. During a particular remodel I undertook, I found my upper cabinets were slightly tilted due to uneven flooring, which I corrected by shimming the base. After leveling, doors aligned much better, eliminating gaps. For detailed methods, visit our guide on innovative storage solutions in modern kitchen remodels.
Realign Hinges and Doors
Adjust Hinge Screws
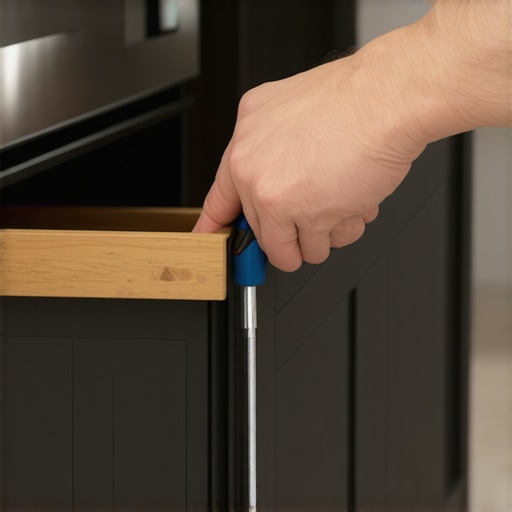
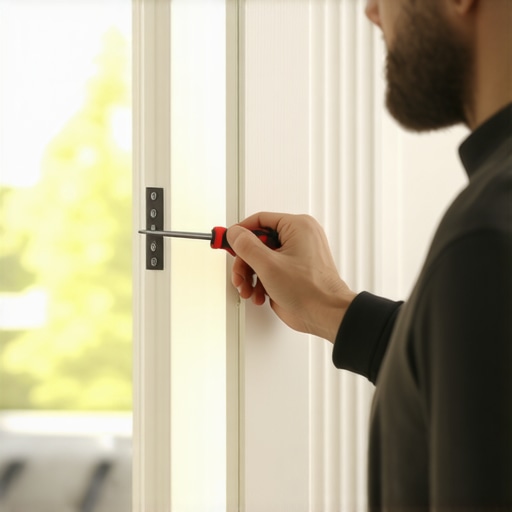
Most inset cabinet hinges allow for fine-tuning. Loosen the hinge screws slightly, then adjust the door inward or outward to close gaps. Tighten screws once aligned. In my recent project, I used a screwdriver to shift a door inward by approximately 1/8 inch, resulting in a flush fit. Practice with adjustment screws on a scrap hinge first to develop a steady hand.
Check for Warped Doors
If a door remains misaligned after hinge adjustment, it may be warped. Lay the door flat and inspect for twists. Replace warped doors or flatten them using a heated iron and pressing beneath a flat, heavy surface. Replacing a warped door in my kitchen restored symmetry and a tight seal, enhancing overall aesthetics.
Shimming and Fine-Tuning for Perfection
Shims can be used behind hinges or along the cabinet frame to correct minor misalignments. Insert shims at the hinge mounting points to slightly tilt the door forward or backward. This technique is valuable when previous leveling isn’t enough. In my experience, small shims provided a precise fit, especially in older homes with slight settling. For inspiring ideas that can elevate your style, check custom cabinet ideas transforming home styles.
Utilize Built-In Adjustments
Many modern cabinets feature built-in adjustment screws on the hinges for side-to-side, vertical, and depth alignment. Use a screwdriver to tweak these screws incrementally until doors sit flush. After my last cabinet update, I utilized these adjustments, which averted the need for shimming altogether. This method provides a clean and permanent solution, especially in high-use areas.
Final Checks and Sealant Considerations
Once everything is aligned, check the doors by opening and closing multiple times to observe gaps. Small discrepancies can be adjusted with slight hinge tweaks. If gaps persist near the top or bottom, consider installing a filler strip or adding molding to conceal unevenness. Applying clear sealant or touch-up paint around the frame can further refine the visual seamlessness. For further refinements, explore a complete guide to transforming your kitchen with custom cabinets.
Many homeowners assume that expanding storage means installing more cabinets or opting for off-the-shelf solutions, but this approach often misses the nuance of truly functional design. A hidden mistake is overlooking the importance of tailored solutions that fit your unique space, rather than relying solely on standard options. For instance, many believe that maximizing cabinet height always leads to better storage, yet in reality, ceiling-high cabinets can be harder to access and may lead to dust accumulation—something that experts like those at Artisan Cabinetry warn against. Additionally, there’s a misconception that built-ins are only suited for large homes; however, thoughtful, custom-built features can optimize even compact spaces, especially when integrated with smart storage strategies. A common trap is neglecting future needs—installing cabinets for current use but failing to anticipate changes like family expansion or new appliances. This mistake can lead to costly remodels down the line. Advanced homeowners ask whether they should focus on modular units or fully custom designs. The answer depends on your specific space, budget, and aesthetic goals: customized solutions often provide seamless integration and long-term flexibility, as discussed in our guide on modern kitchen remodels with custom cabinets and built-ins. To avoid these pitfalls, consult with experts who understand the nuances of space planning and cabinetry technology. Remember, small details like hinge adjustments and tailored shelving can transform your storage from cluttered to curated. Have you ever fallen into this trap? Let me know in the comments.
Keeping your kitchen storage solutions, especially custom cabinets and built-ins, in top shape requires more than just good intentions. The right tools can make ongoing maintenance efficient, precise, and even enjoyable. Over the years, I’ve honed my toolkit to include equipment that ensures my cabinetry stays functional and beautiful long-term.
Invest in a High-Quality Level
A reliable spirit or laser level is indispensable. I prefer a digital laser level because it provides instant, accurate readings across uneven surfaces, which is crucial for adjusting and verifying cabinet alignments over time. Regular use of a laser level helps prevent sagging or misaligned doors from developing, saving you future headaches. To get started, check out this guide on creating seamless kitchen remasters.
Use Precision Screwdriver Sets
Gone are the days of struggling with a single Phillips and flat-head screwdriver. I recommend a precision multi-bit screwdriver set for delicate adjustments, especially when dealing with hinge screws or shimming hardware. The ergonomic design reduces hand fatigue, allowing for controlled movements. Precise adjustments with the correct tools make all the difference, particularly when aligning built-in shelves or tightening soft-close hinges. As many professionals note, using the right screwdriver minimizes damage and extends hardware lifespan.
Apply a Cordless Drill with Soft Bits
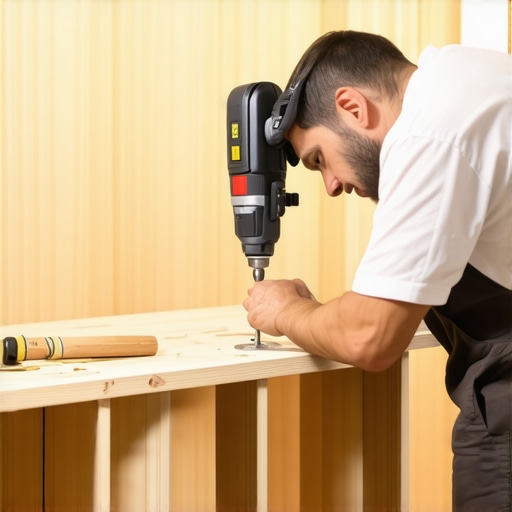
A cordless drill equipped with soft, adjustable bits is fantastic for periodically tightening or adjusting hardware. I use mine to make subtle adjustments to hinge mounts or tighten mounting screws that loosen over time. The trick is to set the torque to avoid stripping delicate materials or over-tightening—important when working with pre-drilled holes in cabinetry. This approach helps maintain the integrity of your custom work, ensuring long-term performance.
Lighted Magnifying Glass or Inspection Mirror
For elusive misalignments or small cracks, a lighted magnifying glass or inspection mirror is a boon. Illuminating hidden areas allows you to spot issues early, such as loose joints or minor warping. I always keep one in my toolbox for routine inspections, especially around corners and inside drawers. Catching issues early prevents small problems from escalating into costly repairs.
Proper Cleaning and Maintenance Supplies
Keeping tools aside, remember that the longevity of your cabinetry depends on cleaning supplies that won’t damage finishes. I swear by microfiber cloths and mild, cabinet-specific cleaners. Regular dusting with the right tools prevents buildup that can warp or stain wood over time. Also, applying furniture wax or protective sealants periodically can protect surfaces, especially in high-traffic or humid areas. For more tailored storage tips, consider exploring innovative storage solutions for every room.
How do I maintain my custom cabinets over time?
Consistent inspections, gentle cleaning, and occasional hardware adjustments are key. Use your laser level periodically to verify alignment, and tighten hinges as needed. Don’t forget to check for signs of warping or warping, especially after seasonal changes. With the right toolkit, like a precision screwdriver and inspection mirror, you can address small issues before they become big problems. Moving forward, I predict that smart tools, such as digital measurement devices and connected hardware, will become standard. These advancements will offer real-time diagnostics, making maintenance more proactive and less guesswork-heavy. For instance, integrating sensor-based hinges that alert you to misalignments could revolutionize cabinet care. Noch in the future, embracing these tech trends will keep your storage solutions working flawlessly for years to come.
Start by trying out a precision screwdriver set combined with your laser level for your next maintenance routine. It’s simple, effective, and elevates your craftsmanship. For more tips on how to keep your custom cabinetry looking their best, visit our expert advice on selecting storage solutions.
Lessons I Wish I Discovered Sooner About Your Kitchen Storage Evolution
One of my biggest realizations was that the smallest adjustments, like shim placement or hinge fine-tuning, can make an enormous difference in the look and feel of your kitchen. I once spent hours replacing cabinet doors that stubbornly refused to sit flush, only to realize that a quick check of cabinet leveling and hinge alignment could have saved me time and frustration. Another lightbulb moment came when I learned that investing in high-quality tools, like a digital laser level and precision screwdrivers, transforms maintenance into a satisfying task rather than a chore. Lastly, I discovered that embracing custom solutions tailored to your space, instead of settling for off-the-shelf options, leads to a truly seamless and functional design that ages beautifully—something I highly recommend exploring beyond just the visual appeal.