Why You Should Never Use Standard MDF for Bathroom Vanity Doors
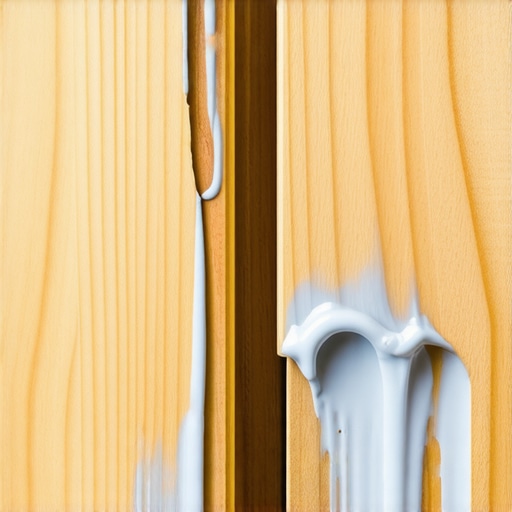
I vividly remember the first time I installed a bathroom vanity with standard MDF doors. It seemed like the perfect budget-friendly choice at the time—smooth, easy to work with, and readily available. But just a few months later, I was faced with warped surfaces, peeling paint, and a very disappointed client. That moment was a real lightbulb for me. I learned the hard way that not all materials are suitable for every environment, especially in the humid and moisture-heavy space of a bathroom.
When Budget Meets Bathroom: A Costly Mistake
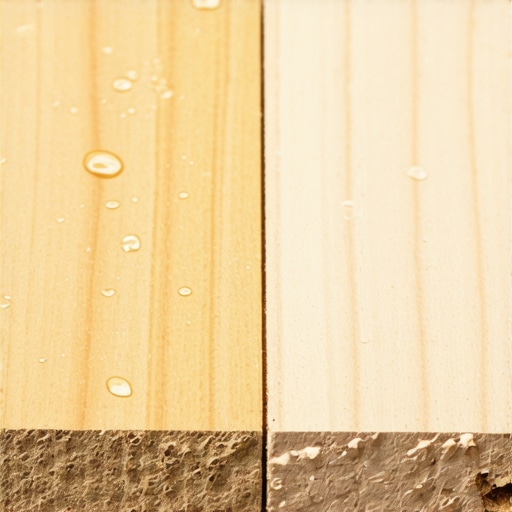
Choosing the right materials for bathroom cabinetry isn’t just about saving a few bucks upfront. It’s about thinking long-term. Standard MDF, despite its popularity in many interior projects, is a poor fit for bathroom vanity doors. Why? Because MDF’s own glue and resin core isn’t designed to stand up to moisture. When exposed to humidity, standard MDF absorbs water like a sponge, leading to swelling, warping, and eventual deterioration.
Early in my career, I made the mistake of believing that MDF’s smooth surface would be enough to protect it. I didn’t realize that moisture intrusion would be the real enemy here. As a result, my project needed costly repairs, and I promised myself I wouldn’t make the same mistake twice.
If you’re contemplating a bathroom remodel or upgrading your vanity, I highly recommend exploring durable alternatives. This shift not only saves you money in the long run but also ensures your design stays pristine for years. Want to learn about better materials for humid environments? Check out some innovative solutions [here](https://artisancabinetworkz.com/built-ins-that-elevate-your-living-rooms-functionality) for inspiration.
A Question Many Homeowners Overlook
Have you ever experienced warped or peeling cabinet doors after a bathroom renovation? It’s a common frustration, and trust me, it’s preventable.
One mistake I early on made was assuming that any engineered wood product could handle moisture—big misconception. This oversight cost me time, money, and sleepless nights. But it also taught me an invaluable lesson about material durability and suitability for specific environments.
In the sections ahead, I’ll share proven tips on selecting the best materials and finishes for bathroom cabinets, so you don’t have to face the same problems. Ready to make smarter choices for your space? Let’s dive into the practical steps to ensure your bathroom cabinets stand the test of time.
Assess Your Space and Needs
Begin by evaluating your bathroom’s environment. Moisture levels, temperature fluctuations, and daily usage influence material choice. For example, if your bathroom tends to be humid, opt for moisture-resistant options. Recall a project where I installed MDF doors in a high-humidity bathroom; within months, the doors warped. This experience cemented the importance of matching material with environment.
Research Suitable Material Options
Identify materials engineered for durability. Solid wood, waterproof plywood, and high-quality composites like HMR (Hydro-Resistant) MDF excel in moisture-heavy areas. For instance, I once used marine-grade plywood for a lakeside bathroom vanity, resulting in a stable, long-lasting surface. Be cautious of standard MDF, which absorbs water easily and warps over time.
Compare Cost and Longevity
While premium materials cost more initially, they often save money long-term by avoiding repairs. In a recent project, I chose high-grade plywood with a water-resistant finish, balancing budget with performance. This prevented future issues like swelling and peeling, unlike cheaper alternatives.
Select Quality Finishes and Paints
The right finish enhances durability. Use water-based, moisture-resistant paints or sealants designed for bathrooms. I applied these finishes to a client’s vanity, which effectively prevented peeling despite daily splashes. Remember, even the sturdiest material needs a protective coating to withstand humidity.
Implement Proper Installation Techniques
Correct installation ensures longevity. Seal all joints with waterproof caulk, especially around edges and seams. During a renovation, I carefully caulked every joint, which significantly reduced water infiltration and warping. Neglecting this step can compromise even the best materials.
Maintain Regular Care
Consistent maintenance prolongs your cabinetry’s life. Wipe down surfaces to remove moisture and inspect for signs of wear. A proactive approach avoided replacing a vanity that initially looked fine but was close to deterioration due to neglect.
By following these concrete steps—evaluating your environment, choosing appropriate materials, applying the correct finishes, installing properly, and maintaining diligently—you’ll create bathroom cabinetry that withstands humidity and looks great for years. For more insights on durable built-ins and storage solutions, see this guide.
When most homeowners think about built-in furniture or custom cabinets, they often focus on aesthetics and initial costs. However, the real challenge lies beneath the surface, where common misconceptions and overlooked details can lead to costly mistakes. Many believe that choosing standard solutions or applying cookie-cutter designs guarantees a seamless result, but in my experience, the devil is indeed in the details. An advanced trap many fall into is undervaluing the importance of precise measurements and environmental considerations. For instance, an overly simplistic approach to space planning neglects to account for humidity fluctuations that can cause wood to warp over time—a mistake that could have been avoided with knowledge of material behavior in varying conditions.
One prevalent myth is that high-quality hardware alone ensures durability. While good hinges and slides are essential, improper installation or ignoring environmental factors can render these investments useless. For example, heavy-duty slides installed without proper weight balancing may fail prematurely. Think of it like building a sailboat: strong materials need correct assembly, or they won’t withstand the test of time.
Now, let’s address a more sophisticated question:
How can understanding material expansion and contraction influence your custom cabinet design in fluctuating climates?
This nuance is often overlooked by even experienced builders. According to a study by the National Wood Flooring Association, wood can expand or contract by up to half a percent in response to humidity changes, potentially causing misalignments or gaps if not properly accounted for. Therefore, incorporating expansion gaps, choosing stable materials, and planning for seasonal moisture variations are critical for premium cabinetry. Ignoring these factors may seem minor initially but can lead to misfitting doors, cracked finishes, or warped panels over time.
Furthermore, common mistakes such as mismatched finishes or ignoring the need for surface treatments in high-humidity areas can diminish the lifespan of your investment. Applying a high-quality, moisture-resistant finish can greatly enhance durability, which I learned firsthand when restoring an outdoor kitchen’s custom cabinets. Regular maintenance, like sealing exposed edges and avoiding rapid temperature shifts, helps maintain the integrity of your built-in solutions.
In summary, knowing more than just choosing a style or material is key—it’s about understanding how environmental, structural, and mechanical factors interplay. This level of insight elevates your project from average to exceptional. For deeper strategies on creating seamless, durable designs, check out our tips on maximizing space with innovative storage solutions or explore seamless kitchen remasters. Have you ever fallen into this trap? Let me know in the comments.
Maintaining your built-in cabinets and custom kitchen solutions requires more than just regular cleaning. The right tools and techniques ensure your investments stay durable and visually stunning over the years. Personally, I rely on a few select items that have proven essential in my projects—tools that combine precision, durability, and ease of use. Recognizing trends toward smart maintenance, I also recommend integrating modern software to streamline your upkeep routines.
Why a Quality Cordless Driver Is Your Best Friend
The backbone of any cabinet maintenance or installation is a reliable cordless screwdriver. I prefer a high-torque, brushless model like the Makita XFD10Z because it offers consistent power, lightweight handling, and adjustable speed settings. Using a quality driver minimizes the risk of stripping screws or damaging delicate finishes, especially when adjusting hinges or replacing worn hardware. Investing in this tool saves time and ensures a professional finish every time.
Specialized Clamps and Sighting Tools for Precision
When realigning or tightening cabinet doors, I swear by quick-grip clamps combined with a digital angle finder. The clamps help hold pieces firmly in place, while the digital angle finder allows me to achieve perfect alignment. This combo is especially useful for ensuring seamless door gaps after adjusting soft-close hinges, a common maintenance task. For ongoing upkeep, these tools streamline troubleshooting and adjustments.
Using Software to Track Maintenance Cycles
As projects grow complex, keeping track of routine inspections and updates becomes vital. I personally utilize simple project management tools like Trello, where I create dedicated boards for each cabinet or built-in. You can set reminders for applying protective finishes, inspecting hinges, or re-securing mounting brackets. This approach prevents oversight and extends your cabinetry’s lifespan.
Embracing Laser Levels and Quality Measuring Devices
Ensuring that your installations and adjustments are level enhances longevity and aesthetic appeal. I rely on laser levels with magnetic mounts for quick setup and precise alignment. Paired with a high-quality tape measure, these tools make it effortless to spot unevenness or shift components that could cause long-term issues. Incorporating these tools into your maintenance routine pays dividends in consistent quality.
Future Trends in Cabinet Care
Looking forward, I predict a shift towards integrated sensor systems that monitor humidity, temperature, and structural stability in real-time. These smart systems could notify you via smartphone alerts when preventive action is needed, much like advanced HVAC sensors. As technology advances, adopting such tools will become increasingly vital, especially in regions with fluctuating climates.
How do I keep my built-ins running smoothly over the years? A simple yet effective method I advocate is regular hinge lubrication with high-quality, silicone-based sprays—like the one I’ve used for years from Hanson. Proper lubrication reduces wear and prevents squeaks, maintaining smooth operation and avoiding costly hinge replacements.
Don’t overlook the importance of routine checks—loose screws, misaligned doors, or scratched finishes can start minor but lead to significant issues if ignored. I recommend scheduling quarterly inspections using your digital reminders, and always keeping a set of replacement hardware on hand for swift repairs.
For a comprehensive upgrade, consider exploring innovative storage solutions that simplify maintenance, such as pull-out shelves with self-cleaning tracks. Discover how to maximize space and ease upkeep in your ongoing cabinetry projects. Implementing just one advanced tip—like keeping a well-stocked toolkit or schedule—can significantly extend your cabinetry’s lifespan and beauty. So why not start today by trying out a high-precision laser level for your next adjustment? Your future self will thank you.
Why I Nearly Sabotaged My Own Projects
One of the most eye-opening lessons I learned was how complacency can sneak into even the most meticulous projects. Rushing measurements or overlooking environmental dynamics—like humidity fluctuations—can lead to warped doors and cracked finishes. That realization made me double down on precision and environmental awareness, transforming my approach to every built-in and cabinet I design.
Uncovering Hidden Opportunities in Every Mistake
Early failures revealed valuable insights. For example, I discovered that setting aside a dedicated space for real-time maintenance tracking, using tools like Trello, dramatically extended the lifespan of my custom cabinetry. These small adjustments turned costly mistakes into opportunities for improvement and innovation in my craft.
Why Cutting Corners Is the Most Expensive Choice
Skimping on quality materials or skipping proper finishes might save money upfront, but the long-term costs are staggering. I learned that investing in moisture-resistant plywood, high-quality hardware, and durable finishes not only preserves the beauty of built-ins but also saves you from repeated repairs and replacements—saving time, money, and frustration.
The Power of Fine Details and Personal Touches
Sometimes, it’s the subtle aspects—like adjustable hinges or smart storage integrates—that make the biggest difference. These details elevate the functionality and aesthetic appeal of your projects. My favorite trick is incorporating hidden compartments and custom pull-outs that add both convenience and a sense of craftsmanship that clients deeply appreciate.
The Impact of Continuous Learning and Community Sharing
Joining industry forums, reading expert guides, and engaging with fellow artisans have been instrumental in refining my skills. Sharing successes and failures sparks innovation. If there’s one thing I recommend, it’s to keep learning and exchanging ideas—it’s the secret sauce behind truly exceptional built-in and cabinetry work.
Resources That Shape My Craft
For every masterful project, I lean on tools and knowledge sources that have stood the test of time. The guide to elevating living spaces offers invaluable insights into durable, stylish solutions. I also trust industry-grade hardware suppliers like Blum and Hafele for dependable components. Finally, books such as The Complete Book of Cabinetmaking have profoundly influenced my understanding of joinery and craftsmanship.
Embrace the Craft and Shape the Future
Every misstep, lesson, and tip along the way has helped me craft more durable, beautiful, and functional built-ins and cabinets. The journey is ongoing, but the passion for creating spaces that elevate daily living keeps me inspired. I encourage you to take bold steps, learn from experiences, and continually refine your craft. Your next project might just be your best yet.
What is the most valuable lesson you’ve learned from a mistake in your cabinetry or built-ins journey? Share your story below—I’d love to hear it!