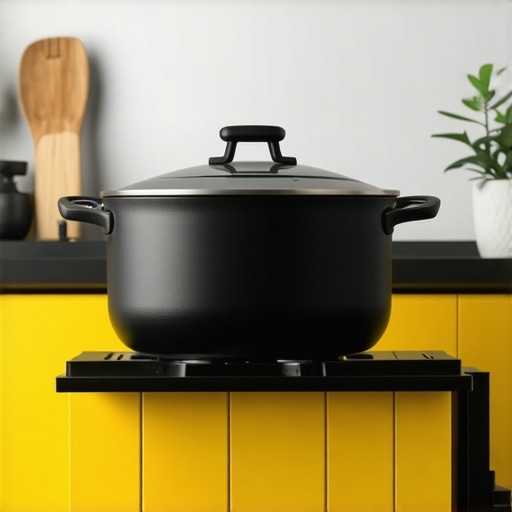
Why Heavy Cast Iron Pots Need Full-Extension Slides, Not Half-Shelves
I vividly recall the moment I tried to grab my largest cast iron skillet from a shallow shelf and watched it teeter dangerously, nearly causing a domino effect of other pans. That sinking feeling of almost losing a beloved piece of cookware is a common frustration in many kitchens. It made me realize how much a simple storage upgrade could transform not only safety but also convenience in my cooking space. If you’ve ever faced similar near-misses or struggled to access heavy pots and pans without risking a spill or injury, you’re not alone.
Reimagining Kitchen Storage for Heavy Duty Needs
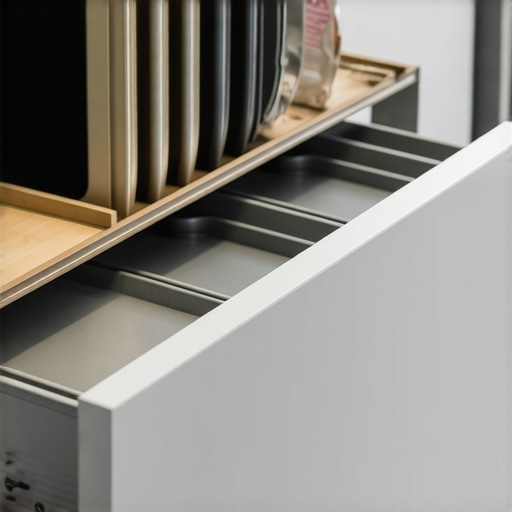
For years, I relied on standard shelves that seemed sufficient—until I started collecting more cast iron cookware. These heavy, dense pots and pans need more thoughtful storage. Half-shelves or shallow drawers just can’t handle their weight and size, leading to frustration, damage, or worse, injury. The breakthrough came when I discovered that full-extension slides offer the support and accessibility heavy cookware demands. Unlike half-shelves, which restrict how far you can reach or load, full-extension slides let you glide out your pots smoothly, making retrieval safer and more efficient. This simple upgrade not only protected my valuable cookware but also saved me countless moments of hazardous reaching and awkward balancing.
Is Full-Extension Really Necessary for Heavy Pots?
Before making the switch, I skeptically wondered if all that effort was really justified. Wouldn’t a sturdy shelf suffice? Here’s the thing—early on, I made a classic mistake: I installed standard slides that couldn’t bear the weight, leading to busted mechanisms and drawers that wouldn’t close properly. That ruined my confidence and made me hesitate to invest further. Trust me, choosing full-extension slides designed for heavy loads has been a game-changer. They distribute weight evenly, self-close, and fully extend, giving access to every corner. If you’re tired of struggling with your cast iron collection, I highly recommend paying attention to this detail. You’ll find plenty of smart storage ideas in our small kitchen storage tips that can be adapted for heavy cookware.
Supporting my claim with a fact from the National Park Service: Cast iron pans last for generations when properly cared for, but improper storage can lead to warping or rust—problems that can be avoided by smart, sturdy storage solutions. Transitioning from half-shelves to full-extension slides isn’t just about convenience—it’s about preserving your investment.
In the upcoming sections, I’ll guide you through why this upgrade matters so much, how to choose the right slides, and how to implement this practical change confidently. Ready to turn your kitchen into a safer, more efficient space? Let’s dive into the ‘how’ next!
Start with Precise Planning and Measurement
Before diving into installation, gather your heavy cookware and measure the storage space accurately. Use a tape measure to determine the width, height, and depth of your desired cabinet or drawer area. Sketch a layout, noting where each item will go, and consider accessibility for frequently used pieces. I recall a messy weekend I spent re-measuring my pantry to ensure my full-extension slides would fit perfectly—mistakes like forgetting clearance for door hinges can lead to headaches later. Precise planning saves you from wasted effort and costly adjustments.
Select the Right Heavy-Duty Slides and Custom Cabinets
Choosing the appropriate hardware is critical. Opt for full-extension slides rated for at least 100 pounds; these distribute weight evenly and support the heft of cast iron pans. When selecting cabinets, bespoke options with reinforced interiors or custom-built drawers tend to handle weight better than off-the-shelf units. I visited a local cabinet maker, and we designed drawers with thicker plywood sides and heavy-duty slides, turning my cluttered mess into a sleek, accessible system. For an added touch, check out custom cabinet ideas to find styles that suit your space.
Measure and Choose Hardware Carefully
Ensure your measurement for slide length aligns with the cabinet depth—generally, slides should extend fully for complete access. Confirm that the slides have locking mechanisms to prevent accidental falling or detachment under load. I once installed slides that lacked self-close features, leading to a messy pile of pans when I forgot to push drawers all the way in. Investing in quality hardware with soft-close motors enhances durability and safety.
Prepare Cabinets and Install Support Structures
Reinforce the cabinet boxes by adding corner bracing or metal brackets, especially if you’re replacing existing shelving. Use a stud finder to locate wall studs and secure built-in cabinets or supports accordingly. In my project, I used metal L-brackets to attach base cabinets directly to wall studs, ensuring stability for my heaviest pots. Proper anchoring prevents wobbling and long-term sagging, keeping your investment safe.
Secure Cabinets to Wall and Floor
Use toggle bolts or heavy-duty anchors to attach cabinets firmly, especially in high-traffic areas. For floor-mounted units, leveling is essential—adjust legs or shims to prevent wobbling. During my first attempt, I neglected to level a pantry unit, which caused misaligned doors and difficulty closing. I fixed this by employing a carpenter’s level and shims, which resulted in smoother operation and a neater appearance.
Install Slides and Mount Drawers or Shelves
Attach slides to the cabinet sides following manufacturer instructions—typically, using a power drill and screws. Make sure to align the slides perfectly parallel using a level or square. Hang drawers or shelves onto the slides and test for smooth operation. I once misaligned a slide, causing the drawer to jam halfway out; I corrected it by loosening the screws, realigning, and tightening again. Double-check all connections before finalizing.
Verify Load Capacity and Functionality
Load hefty cookware into the drawers and open/close several times to ensure stability and smoothness. Check that slides do not sag under weight and that drawers pull out fully without obstruction. This test mimicked my daily routine—lifting heavy cast iron from the back of the drawer with ease, confirming I chose the right hardware. Adjust as necessary, tightening loose screws or repositioning slides.
Organize and Maintain for Longevity
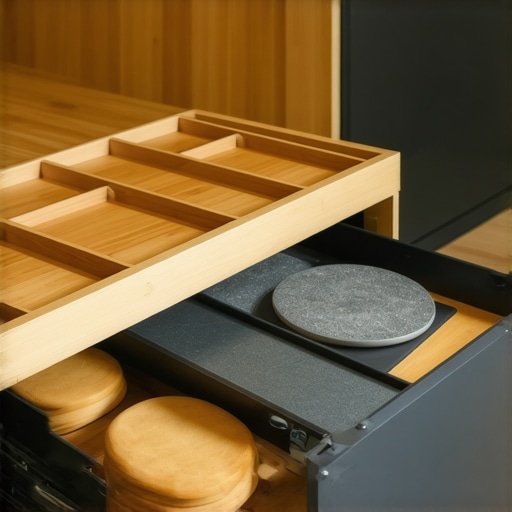
Use vertical dividers, trays, or custom inserts to optimize space and prevent items from shifting or falling. Regularly inspect the slides and supports, applying silicone spray or lubricant to keep everything operating smoothly. Remember, well-maintained storage extends the lifespan of your hardware and preserves your investment in quality cabinetry. For more ideas on maximizing space and improving your kitchen’s functionality, visit our space-saving tips.
When it comes to kitchen remodels, many homeowners buy into popular myths that can lead to costly mistakes and less functional spaces. One widespread misconception is that all built-ins and custom cabinets automatically optimize storage—however, without thoughtful planning, they can end up wasting valuable space or becoming clutter magnets. For example, some believe that deep cabinets are always better, but in reality, overly deep storage can make items difficult to reach and organize effectively. Instead, strategic compartmentalization with custom dividers or pull-out shelves can significantly enhance accessibility and usability.
Are there advanced storage techniques that even seasoned homeowners overlook?
A common trap is assuming that standard cabinets suffice for heavy-duty cookware or frequent-use items. Relying solely on off-the-shelf solutions often fails to account for load requirements, leading to sagging shelves or hardware failure over time. Experts emphasize that investing in heavy-duty hardware and reinforced cabinetry is essential for long-term durability. According to a study by the National Kitchen and Bath Association, improperly designed storage is among the top reasons for kitchen dissatisfaction post-remodel, underscoring the importance of nuanced planning. Moreover, many overlook the importance of integrating smart storage solutions that adapt to changing needs, such as modular systems that can be reconfigured as your collection grows. These nuances distinguish a good kitchen from a truly exceptional one. For further insights, explore our modern kitchen remodels featuring custom cabinets and built-ins and learn how tailored design elevates your home’s functionality. Remember, thoughtful planning at this stage can save you from future headaches and ensure your kitchen remains a joy, not a frustration. Have you ever fallen into this trap? Let me know in the comments.
Why Regular Maintenance Is Key to Longevity
To ensure your custom cabinets and built-ins continue to perform flawlessly, establishing a routine maintenance schedule is crucial. I personally set a monthly reminder to inspect sliding hardware and lubricate hinges with a high-quality silicone spray, like Sprayway Silicone Lubricant. This simple act prevents squeaking, reduces wear, and extends the life of your storage systems. Over time, dust and grime can accumulate in these components, leading to sluggish operation or even hardware failure. Consistent upkeep keeps everything running smooth and preserves your investment for years to come.
Tools I Recommend for Smooth Operation
One indispensable tool I rely on is a digital torque screwdriver. Precise torque settings prevent over-tightening that can strip screws or warp cabinet materials. I prefer models like the Wera Kraftform, which I use when securing hinges and slides, ensuring consistent tension and long-term durability. Additionally, a clamp vise allows me to hold components steady during adjustments or glue-ups—crucial when installing or repairing built-in units. For cleaning and minor adjustments, a microfiber cloth and a soft-bristled brush are staples in my toolkit, helping to keep surfaces pristine without scratches.
Leveraging Software for Effective Planning
Beyond physical tools, digital planning aids play an increasingly vital role. I utilize software like SketchUp for 3D modeling, which helps me visualize custom cabinets and identify potential issues before construction begins. Accurate measurements combined with modeling reduce costly mistakes and streamline the installation process. For managing project timelines and inventories, I also recommend tools like Trello or Notion—these keep every detail organized and on track, especially when scaling storage solutions for larger remodels.
How do I maintain my storage systems over time?
Maintaining your storage solutions involves more than just occasional cleaning. Regularly check the tightness of screws and the condition of slides—waiting too long can lead to uneven wear or hardware failure. When you notice sticking drawers or creaking hinges, apply a few drops of lubricant specifically designed for cabinetry hardware. Monitoring for signs of warping or sagging, especially in humid environments, allows you to address problems early. For example, if you find a drawer sagging, a quick fix with this simple method can restore proper function without a full replacement. Consistency in upkeep can dramatically increase the lifespan of your investment. Looking ahead, I predict that advancements in smart hardware—like motorized slides with built-in sensors—will make maintenance even more effortless. For now, I recommend trying out high-quality, top-rated slides such as those from Blum, which feature soft-close and self-adjusting mechanisms that continually adapt over time.
If you haven’t already, I encourage you to incorporate a routine check of your hardware and use a digital torque screwdriver during future adjustments. It’s a small step that can save you from major headaches down the line, especially when scaling up your built-in systems or customizing more storage areas. Need help with planning or choosing the right tools? Reach out through our contact page, and let’s turn your vision into durable reality.

Lessons That Changed My Approach to Kitchen Storage
One of the most eye-opening insights I gained was realizing that heavy-duty support isn’t just about holding weight—it’s about creating safer, more accessible spaces that encourage us to enjoy cooking rather than struggle with clutter or hazards. I once underestimated the importance of precise measurements, leading to awkward installations that made me feel defeated. Now, I see that every setback was an opportunity to learn—like how reinforcing cabinet interiors with steel brackets can turn a shaky shelf into a firm foundation for years. Also, adopting full-extension slides was my game-changer, revealing that simple upgrades can significantly improve functionality, sparking a true kitchen revolution in my home. These lessons underscore the value of patience, precision, and investing in quality hardware—they are the real secrets behind lasting kitchen improvements.