The Narrow Pull-Out That Finally Organizes Your Cookie Sheets
If you’ve ever reached into a cluttered cabinet only to hear that dreaded clatter of baking sheets tumbling to the floor, you know the frustration of inefficient storage. I remember one particular weekend—staring at my overflowing pantry, overwhelmed by the pile of mismatched cookie sheets and baking trays. That’s when I had my lightbulb moment: there had to be a better way. That chaos was more than inconvenient; it was a sign that my storage setup just wasn’t doing its job.
The Small Space That Changed Everything
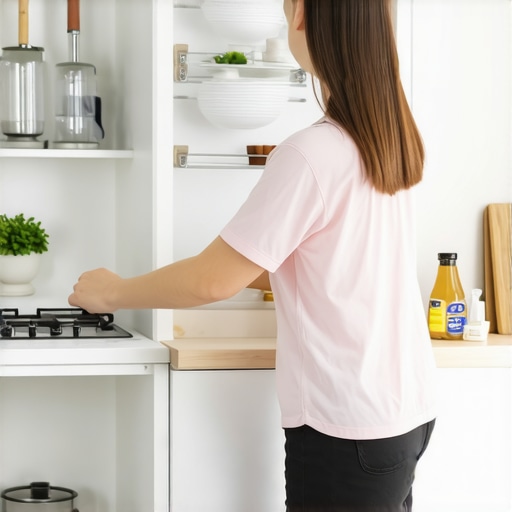
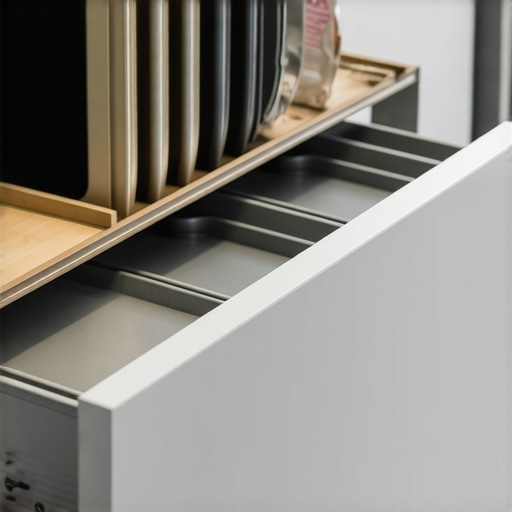
After trying various organizers and even resorting to stacking trays haphazardly, I realized what I needed was a dedicated, slim storage solution—something to fit into that narrow, awkward gap in my cabinetry. Enter the narrow pull-out—it’s a game-changer. Not only does it make access effortless, but it keeps everything organized, visible, and within arm’s reach. Trust me: this little mod transformed my kitchen into a functional haven, saving me time and avoiding that nerve-wracking
Plan Your Space Precisely Before Building
Before starting any installation, measure the area meticulously using a tape measure and a level. I once miscalculated the height of a custom cabinet, which led to fitting issues later. To avoid this, sketch out the space on graph paper or use a digital design tool, factoring in clearance and hardware allowances. This ensures your storage solutions will fit perfectly and work seamlessly within your kitchen layout. For inspiration and detailed design ideas, visit this guide.
Choose Quality Materials for Longevity
Select materials like birch plywood or MDF with high-quality veneer finishes to ensure durability and a sleek appearance. I once opted for cheap particleboard, which warped within a year. Investing in better materials, such as birch plywood, guarantees your cabinets withstand moisture and daily wear. Consider your project’s aesthetics and practical needs carefully, as materials greatly influence both look and lifespan.
Design Functional Storage Solutions
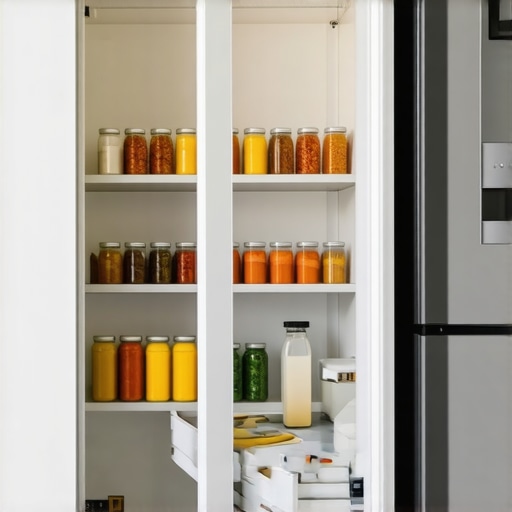
Incorporate adjustable shelves, pull-out trays, and lazy Susans to maximize accessibility and organization. I added a spice pull-out rack in a narrow cabinet, transforming cluttered drawers into a neat row of spices—saving me time and frustration. Use innovative storage ideas to enhance efficiency. Think about your daily routines; for example, placing frequently used items at arm’s reach and less-used items higher or deeper. This tailored approach turns storage into a functional asset rather than a cluttered mess.
Prioritize Seamless Integration with Your Layout
Design built-ins that blend seamlessly into your kitchen’s architecture to maintain a cohesive look. For instance, I created a custom built-in with a cabinet-depth refrigerator nook, making the appliance look built-in rather than bulky. Installing flush-mounted door hinges and matching finishes ensures a sleek, professional appearance. For more ideas on seamless design, check this article. Taking the time to coordinate your finishes and hardware results in a polished, high-end look that elevates your entire kitchen aesthetic.
Focus on Accessibility and Ergonomics
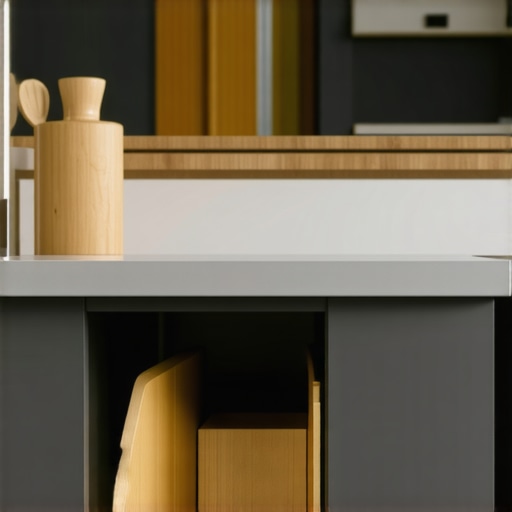
Design cabinets and shelves considering ease of use for all household members. I added a toe-kick drawer for flat items like baking sheets, making storage accessible without bending over. Position heavy items like cast-iron pans on lower shelves with easy pull-out mechanisms to prevent strain. Use smart ergonomic tips to ensure your kitchen is user-friendly. Think about reach zones, avoid obstructive hardware, and incorporate features like soft-close hinges to enhance comfort and safety during daily routines.
Implement Precise Construction Techniques
Double-check measurements during framing and assembly, and use quality fasteners for secure joints. I once installed a wall cabinet and didn’t brace it properly, causing it to sag over time. To prevent this, attach cabinets directly to wall studs with appropriate screws, and use shims to ensure levelness. Finish with expert sanding and painting for a flawless look. Learn more about these techniques at this resource. Proper construction techniques extend the life of your cabinets and maintain a clean, professional appearance over the years.Many homeowners assume that choosing custom cabinets and built-ins is a straightforward process focused mainly on aesthetics, but this belief can lead to costly mistakes. One prevalent misconception is that more customization always equals better quality or functionality. In reality, over-customizing without a clear plan can result in complex installations and higher expenses, especially if you overlook the importance of practical storage solutions. For instance, you might select elaborate features that don’t align with your daily routines, thereby reducing efficiency.
A frequent trap is underestimating the significance of precise measurements and layout planning. While it might seem obvious, even seasoned DIY enthusiasts often skip detailed planning, leading to misfitting cabinets or inaccessible storage zones. Investing in professional measurements and sketches—or using digital tools—can avoid these pitfalls and streamline the installation process. For a comprehensive approach, my detailed guide on custom cabinets emphasizes the necessity of thorough planning.
Another nuance is the misconception that high-end materials automatically guarantee durability. While quality materials like birch plywood or high-grade MDF offer longevity, their benefits are realized only when combined with proper construction techniques. Poor joinery or hardware selection can undermine even the most expensive components. To prevent this, focus on expert craftsmanship and technical details, such as screw placement and hardware mounting routines, to truly maximize durability.
Make sure you’re not falling for the myth that built-ins are a static, unchangeable feature. In fact, adaptive designs—like adjustable shelves and modular units—can evolve with your needs, offering long-term value. Remember, detailed storage planning benefits greatly from considering future changes; this foresight ensures your storage solutions remain functional over years. For innovative ideas that grow with your needs, visit this resource.
Finally, beware the common myth that aesthetics should always trump functionality. A sleek, modern finish is impressive, but if it impairs accessibility or workflow, it’s counterproductive. Prioritizing ergonomics and engineering in your design ensures your space remains practical. Integrating these advanced nuances will help you avoid the typical pitfalls that seasoned experts have learned to sidestep. For further insights, check out this article.
Have you ever fallen into this trap? Let me know in the comments.
Keep It Working: Essential Tools and Maintenance Tips
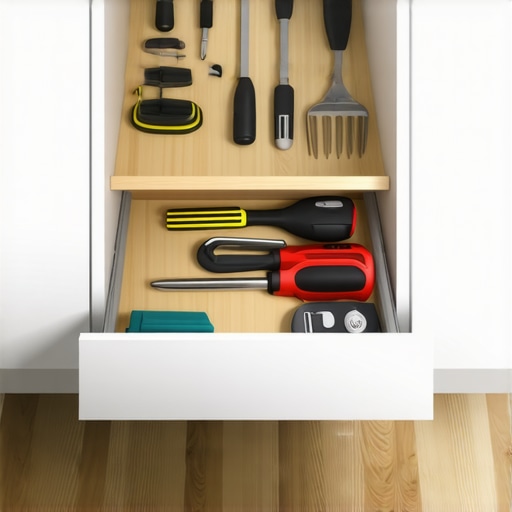
Maintaining your custom cabinetry and built-ins requires the right tools combined with a proactive approach. One of my favorite tools is a high-quality orbital sander: I use it regularly for touch-ups and refinishing, ensuring that surfaces stay smooth and free from scratches or wear. A precision screwdriver set is also indispensable; it allows me to tighten hinges and hardware without stripping screws, which is vital for long-term durability. Additionally, a laser level ensures perfectly aligned components during installation and adjustments, preventing misalignments that could lead to operational issues over time.
Software plays a surprisingly important role—not just in design but in maintenance planning. I rely on digital cabinetry management apps, such as DesignCAD or SketchUp, which help me keep track of hardware specifications, finish types, and routine upkeep schedules. These tools enable me to log when parts were last checked or replaced, making future maintenance more straightforward and less prone to oversight.
Long-term results depend on consistent upkeep. For instance, applying a protective coating or wax to wooden surfaces annually helps resist moisture and wear. I also recommend inspecting hardware every six months for looseness or corrosion, re-tightening or replacing as necessary. Keeping hinges well-lubricated with a silicone-based spray prevents squeaks and ensures smooth operation, extending their lifespan.
Upgrade Your Maintenance Routine for Longevity
Integrate these tools and practices into your routine to maximize the lifespan of your investment. Remember, small, consistent actions prevent costly repairs or replacements later. As trends point toward smarter, more connected kitchens, consider investing in smart sensors that monitor humidity levels or hinge status, alerting you to issues before they escalate. Looking ahead, the integration of IoT (Internet of Things) devices in cabinetry maintenance promises even more proactive care, potentially automating routine tasks and diagnostics—making your built-in systems resilient for decades to come.
How do I maintain my built-ins over time? Regular inspections combined with specific tools like a laser level and lubricants are key. For example, check hinges and slides annually, and use a silicone spray to keep everything operating smoothly. Incorporating protective coatings helps preserve finishes, especially in high-moisture areas, and should be reapplied as recommended by the finish manufacturer. Staying vigilant and using quality equipment can make all the difference in keeping your custom cabinetry looking and functioning like new for years to come.
Don’t forget to try advanced tips like applying a light film of wax or mineral oil on wooden surfaces annually to guard against moisture. Small investments in quality tools and a solid maintenance routine will pay off by preserving the beauty and functionality of your cabinetry. For more detailed maintenance strategies, check out this resource.
Lessons from My Hidden Pitfalls in Custom Storage
One of the hardest lessons I learned was the importance of aligning design visions with practical limitations. I once designed a stunning built-in that looked perfect on paper but was painfully inaccessible in daily use—teaching me to prioritize ergonomics over aesthetics. Also, I underestimated the time and craftsmanship needed for high-end materials, which caused delays and added costs. The key takeaway? Deep planning and realistic expectations save heartbreak and money later. Lastly, I discovered that seamless integration isn’t just about appearance; it’s about function. Incorporating adjustable features and future-proofing options turned my kitchen from beautiful to brilliant in usability.
Tools and Resources That Elevated My Kitchen Remodel
To ensure longevity and quality, I rely on certain tools and references. A digital design program like SketchUp transformed my ideas into precise plans—trust me, visual accuracy prevents costly mistakes. High-quality hardware, such as Blum hinges, guarantees smooth operation and durability—my secret for cabinetry that lasts. Reading this guide opened my eyes to detailed planning and innovative storage ideas, making my remodel more efficient. Lastly, the book The Guide to Custom Cabinets is an invaluable resource that covers everything from material choices to construction techniques—training wheels for perfect results.
Transform Your Space: Your Next Move
Remember, creating a kitchen with custom cabinets and built-ins is a journey of continuous learning and adaptation. Don’t let doubts or misconceptions hold you back from designing a space that truly reflects your lifestyle. Embrace the process, and let your unique needs guide your choices. Your dream kitchen is within reach—start planning today and turn your vision into reality. For further inspiration, explore this article to see how smart storage solutions can elevate your entire home. What part of your kitchen would you love to transform next? Let me know below!