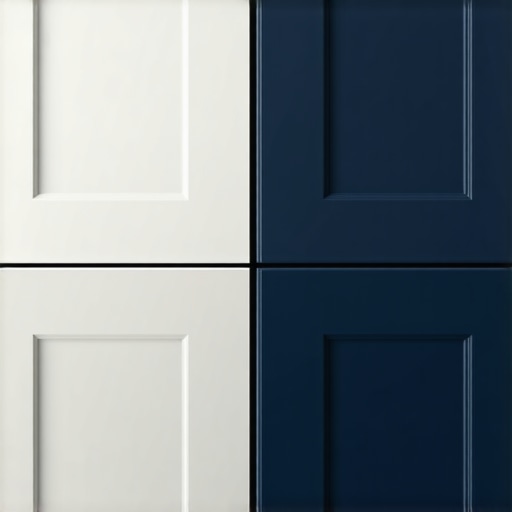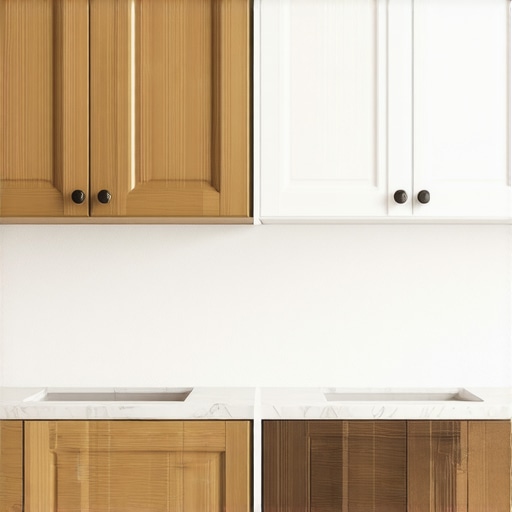
Why Lacquer Finishes Yellow Over Time and the Non-Yellowing Alternative
I’ll never forget the day I noticed the once-pristine finish on my custom kitchen cabinets starting to turn an unsightly yellow. It was a quiet afternoon, and I was preparing dinner when a flicker of sunlight caught those once-flawless surfaces—suddenly, they looked aged and dull. That moment was a lightbulb realization: my beautiful craftsmanship was slowly fading, and I needed to understand why. If you’ve invested in high-quality built-in cabinets or stylish storage solutions, you probably know that the finish is as important as the wood itself. But why do lacquer finishes, which are prized for their smoothness and durability, tend to yellow over time?
The Hidden Flaw in Traditional Lacquer
Early in my projects, I made a critical mistake—assuming all finishes age the same way. I chose a classic lacquer for a sleek, modern look, unaware that some formulas contain ingredients susceptible to discoloration. Over the years, I watched as the clear gloss that once showcased the natural beauty of the wood gradually adopted a warm, amber hue. The culprit? The exposure to UV rays and oxidation, which causes the yellowing. According to research from the Journal of Coatings Technology and Research, traditional solvent-based lacquers contain resins and solvents that degrade with sunlight, leading to discoloration over time. It’s a common pitfall for many homeowners and even pros who rely on classic formulas without considering long-term effects.
Now, fast-forward—I’ve found that not all finishes are doomed to yellow. In fact, there are non-yellowing alternatives that make me wish I knew about them from the beginning. The key is choosing the right finish that is resistant to UV damage and oxidation, preserving that flawless, crisp look for decades. But how exactly can you spot these options and whether they’re worth the investment?
Select a UV-Resistant Finish
Start by researching lacquer products labeled as UV-resistant or non-yellowing. During a project, I once mistakenly applied a standard lacquer on my kitchen cabinets and watched over years as it gradually yellowed under sunlight. To avoid that, I examined product specifications and chose a finish with added UV inhibitors, ensuring the natural wood tones remain vibrant. When visiting supplier websites, look for descriptions emphasizing UV stability—this is your first line of defense against discoloration.
Test the Finish Before Full Application
Always perform a test on a small, inconspicuous area or sample piece. I learned this lesson the hard way when I attempted a new clear lacquer on a test panel; after a week in sunlight, I observed no yellow tint, confirming its non-yellowing properties. This step saves you time and money, allowing you to verify the product’s performance under your specific environment. Use a piece of scrap wood similar to your cabinet material for best results.
Prepare Your Surface Properly
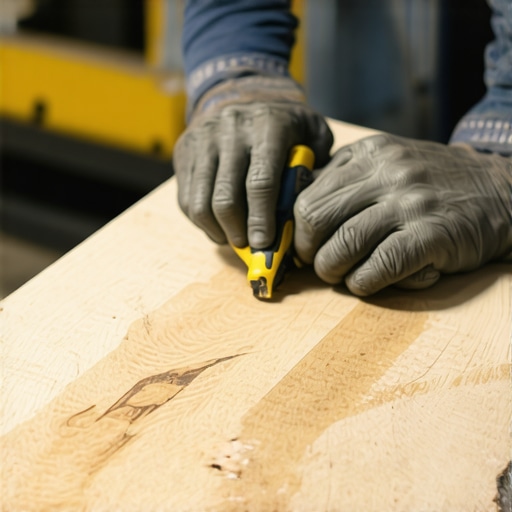
Proper surface prep is critical for a flawless, durable finish. I once rushed to prime and spray without sanding properly, resulting in uneven coating that reflected light differently and accentuated imperfections. To prevent this, I sanded the cabinetry with fine-grit paper, cleaned the dust thoroughly, and applied a compatible primer. Ensuring a smooth, clean surface enhances the adhesion of the lacquer and maximizes its clarity and longevity.
Use the Right Application Technique
Adopt controlled spray techniques and proper drying intervals. I used a HVLP spray gun, maintaining consistent movement and pressure, which minimized drips and runs. Applying thin coats with adequate drying time—usually 1-2 hours—is key. This approach allows the finish to cure evenly and reduces the risk of discoloration from trapped solvents or air bubbles. Follow the manufacturer’s instructions carefully for your chosen lacquer.
Employ Protective Measures During and After Finishing
Shield your cabinets from UV exposure immediately after finishing. During my project, I kept the cabinets out of direct sunlight until the lacquer cured completely, typically 24-48 hours. Installing UV-resistant film on nearby windows can further protect the finish long-term. Regular maintenance with non-abrasive cleaners and avoiding harsh chemicals will also preserve the non-yellowing properties of your lacquer over years.
Consider Alternative Coatings When Necessary
If UV exposure is inevitable, explore options like clear polyurethane or epoxy coatings, which offer superior non-yellowing performance. For instance, some modern water-based polyurethanes contain UV stabilizers that outperform traditional lacquers in maintaining clarity. Assess your environment and choose a topcoat designed for UV resistance, ensuring your investment in beautiful, long-lasting cabinetry is protected.
Many homeowners believe that installing built-in storage and custom cabinets is a straightforward process: pick a design, choose a finish, and execute. However, this oversimplification often leads to overlooked pitfalls and misconceptions that can compromise your project’s success. One prevalent myth is that all built-in solutions automatically maximize space efficiency. In reality, without considering the structural nuances—like wall thickness, wall stud locations, and load-bearing limitations—you risk designing units that don’t fit or can’t support your storage needs. An advanced mistake I’ve seen is neglecting the importance of proper airflow and moisture control, especially for kitchens prone to humidity, which can cause warping or mold—something detailed in expert studies on cabinetry longevity and environmental factors. To truly master built-ins and custom cabinetry, you must understand the subtle interplay of design, material properties, and environmental influences. For example, choosing the right grade of plywood and incorporating proper ventilation can dramatically extend your cabinets’ lifespan. Don’t assume that a visually appealing design equals functional excellence. Instead, work with professionals who analyze underlying structures—like in custom cabinets that transform kitchens—to ensure your investment endures. Have you ever fallen into this trap? Let me know in the comments.
What advanced considerations do experienced designers account for that most DIYers overlook?
The key lies in understanding the hidden nuances of material expansion, load distribution, and environmental adaptability. For instance, expert sources advise that incorporating adjustable shelving or reinforcement behind cabinetry can prevent future sagging—an often overlooked issue that manifests after years of use. Additionally, integrating smart storage solutions that adapt to evolving needs ensures your space remains functional over time. According to research from industry leaders, fine-tuning these details minimizes costly corrections down the line and elevates your home’s value. To learn more about crafting effective storage solutions, check out seamless kitchen remasters with built-in storage and other expert tips.
Maintaining your custom cabinetry and built-in storage solutions is crucial for their longevity and continued aesthetic appeal. Over the years, I’ve learned that having the right tools and a disciplined maintenance routine can significantly extend their lifespan. One of my go-to tools is a high-quality digital moisture meter. This device helps me monitor humidity levels inside cabinets, preventing warping or mold growth, especially in kitchens and bathrooms. Regularly checking moisture levels is vital because fluctuating humidity is often the unseen culprit behind deterioration. I personally use the contact page to find specialists for any professional advice or repairs needed.
Another invaluable tool is a handheld orbital sander. I use this for periodic touch-ups to maintain a smooth finish and remove minor scratches or buildup without stripping the entire surface. When it comes to cleaning, I prefer an air compressor with a gentle nozzle attachment. It blows out dust and debris from hard-to-reach corners without risking damage from wet cleaning methods. This approach keeps the intricate details of custom cabinetry pristine and functionally sound.
Assessing and selecting appropriate storage solutions is equally important. Flexible, modular hardware such as adjustable hinges and magnetic latch systems allow quick repairs or upgrades so your built-ins stay relevant over time. For ongoing inspections, I keep a dedicated notebook to log maintenance activities—tracking when I last tightened hinges or replaced seals helps prevent small issues from becoming expensive repairs.
Looking ahead, I predict that integrated digital sensors and smart maintenance systems will become standard in high-end cabinetry. Imagine cabinets that alert you when moisture levels rise beyond safe thresholds or when hinges need lubrication—this automation will save time and protect your investments. The industry is already experimenting with IoT-enabled hardware, hinting at a future where your cabinetry is more than just functional; it becomes a part of your home’s smart ecosystem.
So, how do I maintain my built-ins over time? The key is consistency. Incorporate routine checks using reliable tools like moisture meters and gentle cleaning methods. Plus, perform minor adjustments as needed—tightening hardware or reapplying finishes—to avoid costly replacements later. I highly recommend trying out a digital moisture meter for your own cabinetry; it offers precise insights that can save you from long-term damage. If you’re unsure how to start, visit the contact page for expert guidance. With proactive maintenance and the right tools, your built-ins will remain as stunning and functional as the day they were installed, year after year.
Lessons That Changed My Approach to Built-Ins
One of the most surprising insights I gained was how crucial precise measurements are. Initially, I underestimated the importance of accounting for wall irregularities, leading to gaps and misalignments. Now, I always double-check with laser levels and consider environmental factors like humidity, which can cause wood to expand or contract. Never assume standard dimensions work perfectly in every space. This realization saved me from costly revisions and added a polished look to my projects.
Another eye-opener was understanding the value of high-quality materials, especially in high-traffic areas. Choosing durable plywood over particleboard or MDF for cabinet shells has significantly increased longevity and resistance to moisture, which is vital in kitchen environments. I learned that investing in better materials upfront pays dividends in durability and appearance over time.
Lastly, I discovered the importance of integrating smart storage ideas early in the design process. Hidden compartments, adjustable shelving, and custom pull-outs not only improve functionality but also keep clutter out of sight, creating a seamless aesthetic. It’s never too early to think about future needs—what seems perfect today might need adjustment tomorrow.
Resources That Truly Elevated My Skills
My go-to reference has become this comprehensive guide on built-in strategies. It offers detailed techniques and innovative ideas that I personally tested and loved. For selecting the right storage solutions, I trust this expert advice on storage upgrades. It helped me navigate options suitable for both small and large kitchens, ensuring I maximized every inch. Lastly, this resource on seamless remastering transformed my understanding of aesthetics, guiding me to achieve harmony between form and function in my projects.
Embrace the Challenge and Transform Your Space
The journey toward custom built-ins and thoughtful storage is rewarding when approached with curiosity and patience. Remember, each challenge is an opportunity to learn something new—whether it’s perfecting installation techniques or selecting the ideal material. Your kitchen can become not just a place for cooking but a showcase of craftsmanship and smart design. So, take a step forward today—start experimenting, and don’t hesitate to seek out expert guidance when needed. Your dream space is within reach, and with each project, you’ll gain confidence and skill that will serve you forever.