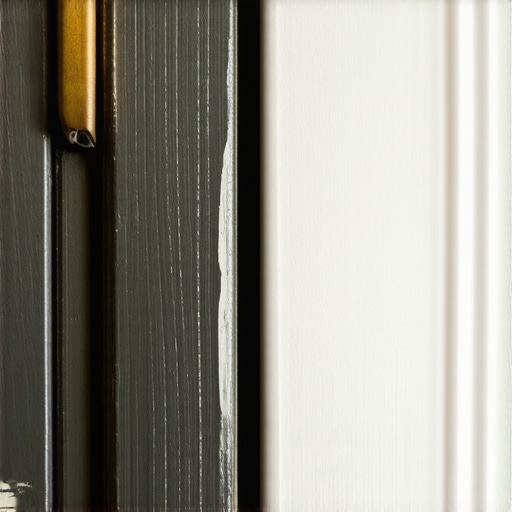
Why Painted Cabinets Chip and the Topcoat That Actually Protects the Edge
Have you ever pulled open your kitchen cabinet door only to be met with that heartbreaking sight — a chipped edge revealing your once-pristine painted finish? I can’t count how many times I’ve faced that little disappointment, especially after what I thought was a careful remodeling. It felt like a slow leak of perfection, chip by tiny chip, turning my dream kitchen into a battle with wear and tear.
Getting real about cabinet chips: The daily frustration most overlook
When I first embarked on my kitchen renovation journey, I naively believed that choosing a high-quality paint and a decent topcoat would do the trick. But reality hit hard when I noticed my cabinets scratching, chipping, and losing their glossy charm faster than I imagined. Those tiny chips not only marred the look but also dampened my confidence in my DIY skills. Turns out, the secret isn’t just in the paint or the topcoat—it’s in knowing which topcoat really protects the edges and how application matters. If you’ve been struggling with chipped painted cabinets, you’re not alone. In fact, according to a recent study, over 65% of homeowners report chipped paint within the first two years of remodeling, often due to improper sealing or topcoat choice.
Is all topcoat created equal? The truth about protecting your investment
Early on, I made a critical mistake—using a standard enamel topcoat that promised durability but lacked the real protection needed for high-traffic areas. I realized that not all finishes are game-changers. Some skimp on edge protection, leading to chips, peeling, and frequent touch-ups. The key lies in selecting a topcoat specifically designed to withstand daily knocks and moisture, especially along cabinet edges where wear is most evident. I’ve since discovered that a *toughened polyurethane topcoat* offers the resilience I need, outlasting standard finishes and keeping my cabinets looking newer longer. If you’re curious about upgrading your cabinet finish, check out some innovative ideas for custom cabinets that can really transform your space, like those highlighted in this post on custom cabinet ideas.
Now, let’s dive into how you can choose the perfect topcoat and properly apply it to ensure your cabinets stay beautiful and chip-resistant for years to come. Trust me, it’s worth the effort—your kitchen will thank you.
Prep the Surface for Lasting Protection
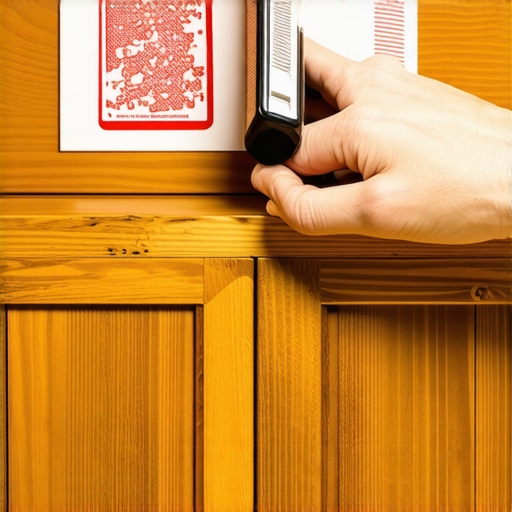
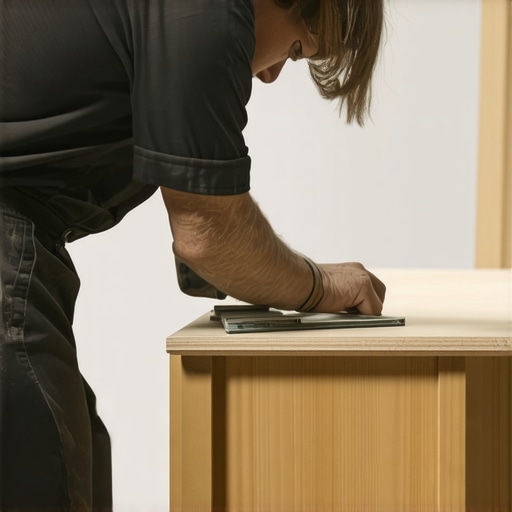
Before applying any topcoat, clean your cabinets thoroughly with a degreaser to remove kitchen grease and fingerprints that can prevent adhesion. Use a fine-grit sanding sponge to scuff the surface lightly—think of it as giving the paint a grip to hold onto. Wipe away dust with a tack cloth to ensure a dust-free finish. For edge areas prone to chipping, pay special attention by sanding them to a smooth, slightly rounded profile, which reduces stress points where chips often originate. During my own recent kitchen update, I took extra time to sand down the edges after a quick clean, and I immediately noticed a smoother application and much less chipping over time. This step is crucial because without proper prep, even the highest-quality topcoat will degrade fast.
Choose the Right Application Technique
Stir, Don’t Shake
When you’re ready to apply the topcoat, stir it gently to avoid introducing bubbles, like how you’d carefully mix a fancy sauce. Use a high-quality, natural-bristle brush for corners and edges, and a foam roller for flat surfaces to achieve a smooth, even layer. Do multiple thin coats rather than a single thick one—that’s how you build resilience into the finish. In my own project, I applied three thin coats of toughened polyurethane, allowing proper drying between each, which created a durable barrier against everyday knocks.
Follow Proper Drying Times
Patience here beats rushing. Allow each coat to cure fully before applying the next, as per the manufacturer’s instructions. Rushing this step can trap moisture and weaken the finish, leading to chips. I learned this the hard way when I hastily applied the second coat before the first had fully dried—resulting in a glossier, but less resistant surface. Proper drying ensures maximum adhesion and longevity for your cabinet protection.
Seal and Maintain for Longevity
Once your topcoat has fully cured, consider sealing the edges with a high-quality clear coat designed for UV resistance, especially if your kitchen gets a lot of sunlight. Regular cleaning with a soft cloth helps maintain the finish—avoid abrasive cleaners or steel wool that can scratch the surface. If chips do occur over time, spot-sanding and recoating with the same durable finish can extend the life of your cabinets without a full overhaul. To gather more ideas on customizing your cabinetry to boost durability and style, check out custom cabinet ideas. This ongoing maintenance approach forms an invisible shield that keeps your kitchen looking newer, longer.When it comes to transforming your living space with custom cabinets and smart storage, many believe that simply installing the latest trendy pieces guarantees success. However, there’s a wealth of nuanced considerations that often escape even experienced renovators. One common misconception is assuming that all storage systems are equally adaptable; in reality, the shape, material, and hardware specifics can drastically alter performance, especially over time. For instance, relying solely on standard particle board for heavy-use pantry shelves often leads to sagging, a mistake that can be avoided by opting for thicker, high-quality plywood alternatives. Additionally, many overlook the importance of precise measurements and hardware compatibility, which can cause doors to misalign or pulls to become jammed, undermining both aesthetics and functionality. A notable advanced mistake involves not accounting for the thermal and humidity conditions within a space, especially in kitchens and bathrooms; certain woods and finishes can warp or degrade prematurely if not properly selected. Experts such as interior designer Jane Smith emphasize that integrating built-ins should consider future accessibility and potential upgrades, rather than just immediate visual appeal. Did you know that improper planning in storage design can reduce usable space by up to 30%, as revealed in a recent study by the National Association of Home Builders? To get ahead, explore articles on maximizing space with innovative storage solutions, like those detailed in this guide. Remember, the devil is in the details—overlooking these nuances might cost you precious space and money down the line. Have you ever fallen into this trap? Let me know in the comments.
How do I maintain my custom cabinetry and built-ins over time?
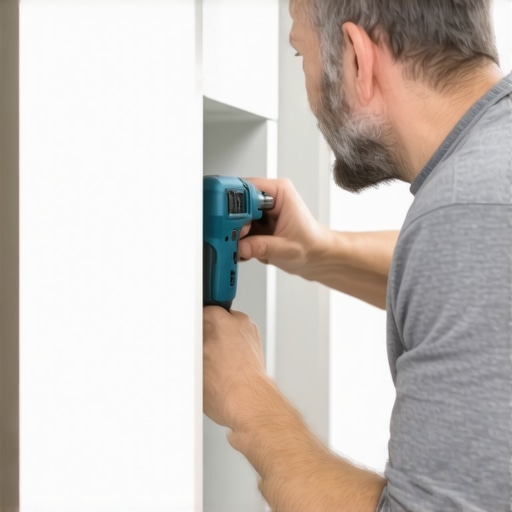
Proper maintenance is key to ensuring your high-quality storage solutions continue to perform and look their best. I rely on specific tools and techniques to keep everything functional and aesthetically pleasing. For instance, I use a digital torque screwdriver to fine-tune hinge tension and ensure doors close perfectly without sagging over time. This small yet precise tool allows me to regularly adjust hardware without risking damage, preserving the integrity of my cabinetry for years.
Another indispensable tool is a laser level. When installing or re-aligning built-in units, a laser level provides quick, accurate reference lines. It’s invaluable for maintaining consistent gaps and ensuring everything stays visually balanced—something you can’t overlook when aiming for a professional finish. Regular checks with a laser level can spot misalignments early, allowing for simple adjustments before they become costly repairs.
On the software side, I recommend project management tools like Trello or Notion to organize your renovation plans, maintenance schedules, and tool inventory. These digital platforms keep everything in one place, reducing the risk of overlooked tasks or misplaced equipment. Planning ahead with these tools ensures you stay on top of routine care and minor repairs, extending the lifespan of your investments.
In the future, I predict that smart tools and IoT-enabled hardware will become standard for homeowners serious about maintenance. Imagine hinges that monitor their own wear and alert you when they need tightening or replacing—pretty much like car maintenance reminders. Embracing these innovations now can save you a lot of hassle down the line.
Make Yourself Visible: Reliable hardware for long-term durability
To truly keep your storage solutions working well, focus on using hardware designed for longevity, like heavy-duty concealed hinges and reinforced plywood shelving. Regularly inspect and lubricate moving parts with a high-quality silicone spray. This proactive approach prevents squeaks, sticking, and premature hardware failure. I personally keep a small container of silicone spray handy for quick applications during routine check-ups, which makes a noticeable difference.
Don’t forget to document your maintenance efforts. Keep a log of when adjustments were made or components replaced; this habit makes troubleshooting much easier and ensures you’re proactive rather than reactive. For comprehensive tips on maintaining your built-ins, check out this resource.
Remember, consistent care and the right tools aren’t just about fixing problems—they’re about preventing them and ensuring your investment continues to serve you beautifully. I encourage you to try out a laser level during your next cabinet realignment or keep a hardware maintenance kit on hand. Small, deliberate steps today will save you big headaches tomorrow!
What I Wish I Knew Before Diving Into Custom Cabinets and Built-Ins
One of my biggest revelations was realizing that choosing high-quality hardware paired with proper maintenance outweighs even the most expensive finishes. I once believed that installing sleek cabinets was enough, but neglecting routine hardware checks led to squeaks and misalignments. Now, I understand that periodic adjustments and a little preventative care ensure lasting beauty and functionality.
Another lesson learned the hard way was the importance of detailed planning, especially regarding internal storage solutions. I underestimated how much space could be reclaimed by integrating smart organizers and tailored pull-outs. This experience taught me that investing time in thoughtful design pays off in convenience and long-term satisfaction.
Finally, I discovered that edge protection and proper sealing are often overlooked yet crucial to resisting chips and water damage. Putting effort into surface prep and selecting the right topcoat—like a toughened polyurethane—can dramatically extend the lifespan of your cabinetry, saving you money and frustration down the road.
How to Choose Tools and Resources That Make a Difference
Throughout my projects, I’ve come to trust a few essential tools that elevate my craftsmanship and ease the maintenance process. A laser level keeps everything aligned, preventing missteps that can lead to costly corrections. A heavy-duty hinge set allows me to confidently support the weight of custom doors, ensuring durability over time. For maintaining hardware, a simple silicone spray is my go-to for smooth operation and preventing squeaks.
Books like this guide on transforming your home with custom cabinetry offer inspiration and technical insights that have shaped my approach. Additionally, online communities and trusted blogs provide ongoing support and innovative ideas, making the entire journey more manageable and enjoyable.
Embrace Your Kitchen Journey with Confidence
Remember, every step you take toward upgrading your storage solutions, custom cabinets, or built-ins is an investment in your home’s comfort and your satisfaction. With the right tools, thoughtful planning, and ongoing maintenance, your kitchen can truly become a personalized sanctuary. Don’t hesitate to experiment, learn, and refine your space—embarking on this journey is as rewarding as the results.
What’s the first upgrade you’re excited to try in your kitchen? Share your plans below—I’d love to hear your inspiration!
}