How to Fix Scratches in Stained Cabinets Using This Simple Polish
Ever opened your kitchen cabinet door only to notice an unsightly scratch running across the beautifully stained surface? Yeah, I’ve been there. That moment of dismay when you realize those tiny marks are turning into eyesores that ruin the overall look of your built-ins. It’s frustrating. You think, “Was it that accidental bump, or has my cabinet finish just given up?” It’s a common dilemma, and honestly, I used to feel stuck, unsure of whether I needed a costly refinishing or a complete replacement.
Why Scratches in Cabinets Drive Us Crazy—and How They Can Be Fixed Fast
I’ve learned through personal experience—and a little trial and error—that scratches in stained cabinets aren’t the end of the world. In fact, with the right approach, they can be remedied quickly, often with a simple polish. What really struck me was discovering that many homeowners, myself included initially, overlook the power of a good cabinet polish to restore their wood finishes. Even better, some polishes can actually fill in minor scratches, making them less noticeable and saving you a bundle compared to replacing entire cabinet doors or refinishing projects.
But here’s the thing: not all polishes work equally well. I made the mistake early on of rushing to buy any product off the shelf, only to be disappointed with the results. Trust me, doing a little homework on the best type of polish for stained wood makes all the difference. According to wood care experts, choosing a product specifically designed for stained and finished wood surfaces ensures your cabinets get the care they need without risking further damage (source: [wood finishing tips](https://www.familyhandyman.com/article/how-to-fix-scratches-in-wood-furniture/)).
Are you tired of those pesky scratches stealing the charm from your cabinets? Do you want a simple, effective solution that doesn’t require a full remodel? Keep reading—I’ll walk you through the straightforward process that’s saved my kitchen and could easily do the same for yours. Whether you’re a seasoned DIYer or just starting to tackle home upgrades, fixing scratches has never been easier or more affordable.
Prepare Your Work Area to Fix Scratches
Start by clearing your countertop and laying down a clean cloth or drop cloth to catch any drips or dust. Wear gloves to protect your hands from staining products. I once thought I could skip this step and ended up with stain on my shirt—lesson learned. Having a tidy space makes the process smoother and prevents accidental messes from spreading.
Choose the Right Polishing Product for Your Cabinets
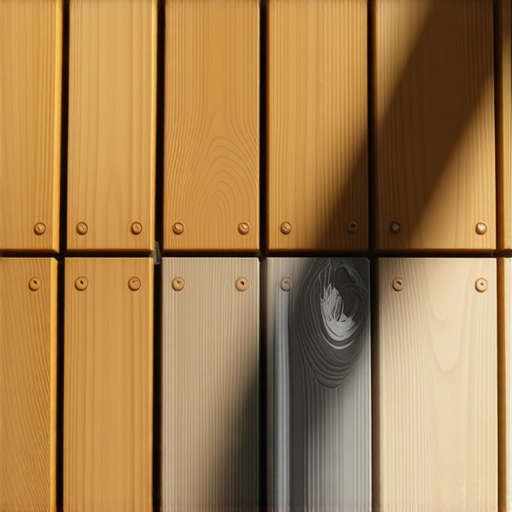
Opt for a high-quality wood furniture polish specifically formulated for stained and finished wood surfaces. Avoid generic or overly oily products, as they can dull the finish over time. When I researched which polish to use, I looked for one that restores luster and fills minor scratches—this choice made my cabinets look nearly new after a quick application. For a curated selection, check out custom cabinet ideas.
Test the Product on a Hidden Area First
Before applying the polish directly to the scratched area, test it on an inconspicuous spot, like the back edge of a cabinet door. This prevents unexpected discoloration or damage. I learned this the hard way when a quick test saved me from making the scratch more noticeable—always test first, especially on stained wood.
Apply the Polish Using a Soft Cloth or Brush
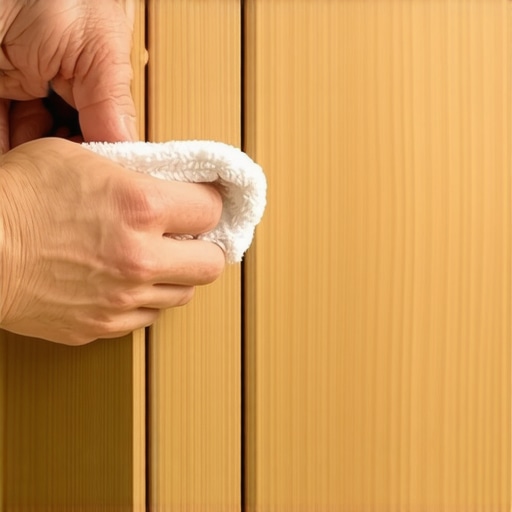
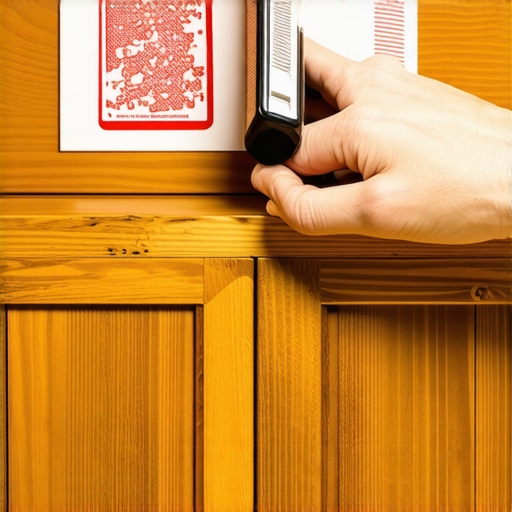
Use a clean, lint-free cloth or a soft brush to apply the product. Gently rub the polish into the scratch, following the direction of the wood grain. Be cautious not to oversaturate; a little goes a long way. I once applied too much polish and had to wait for it to dry, so careful application saves time.
Buff the Area for a Seamless Finish
After applying the polish, use a fresh cloth to buff the area in circular motions, blending the repaired scratch into the surrounding surface. This step helps fill minor imperfections and restores the sheen. I found that patience during buffing made my cabinets look professionally finished—don’t rush this part.
Repeat if Necessary for Deeper Scratches
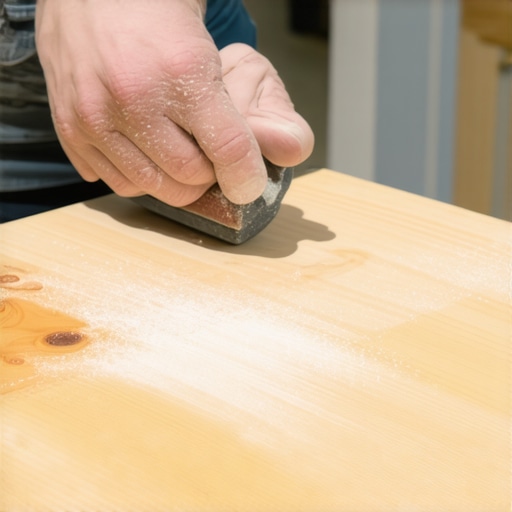
If scratches are still visible, repeat the process. For deeper abrasions, consider applying a wood filler or touch-up stain before polishing. I once had a deep gouge; after filling it with matching stain and following up with polish, it was barely noticeable. Properly matching the stain color enhances the overall look, so take your time selecting the right hue.
Seal and Protect the Repair
Finish by applying a clear protective topcoat or sealant designed for wood surfaces. This adds durability and helps the repair blend naturally. I applied a thin layer of sealant, which prevented the polish from wearing off quickly. Regular maintenance with furniture polish keeps cabinets looking pristine longer.
Maintain Your Cabinets to Prevent Future Damage
Use soft cloths instead of abrasive sponges, keep cabinet surfaces dry, and avoid harsh chemicals. Regularly dust and polish to maintain their luster. I’ve found that quick daily wipe-downs prevent scratches from becoming permanent eyesores. Also, consider adding protective pads on nearby appliances or utensils to avoid accidental scratches in the future. For additional storage tips, explore smart storage solutions to keep your kitchen organized and safe.
Many homeowners believe that choosing popular trends or quick fixes will make their kitchen upgrades straightforward, but this oversimplifies a complex process that requires nuanced understanding. For instance, a widespread myth is that all built-ins automatically add value; in reality, improper placement or design can lead to clutter and inefficiency. Specifically, many get caught in the trap of thinking that customized cabinets are a luxury rather than a smart investment—when, if designed thoughtfully, they can dramatically improve functionality and aesthetic appeal. For example, integrating clever storage solutions like pull-out pantry shelves or toe-kick drawers maximizes space and minimizes clutter, which is often overlooked in first-time projects.
Why Do Some Kitchen Remodels Fail Despite Following Popular Advice?
Often, the failure stems from ignoring the importance of workflow and ergonomics. It’s common to focus solely on aesthetic elements while neglecting how users will interact with the space during daily routines. For example, positioning appliances or storage too far from prep zones can lead to frustration and inefficiency. This oversight is backed by a study from the National Kitchen & Bath Association, which emphasizes that a well-planned layout enhances usability and homeowner satisfaction (source: NKBA). Another mistake homeowners make involves underestimating the importance of proper framing and structural supports for heavy cabinetry. Overloading poorly supported shelves or cabinets can lead to sagging or damage over time. It’s an advanced nuance often overlooked in DIY projects and underscores why consulting with professionals during custom cabinet installation is crucial. Additionally, understanding material durability is vital—picking the wrong finishes or hardware can result in quick wear and tear, especially in high-traffic kitchens. This emphasizes that choosing high-quality hardware and finishes, aligned with your specific needs, will prolong the lifespan of your investment.
In designing for small kitchens, many tend to underestimate the value of vertical storage. Utilizing tall cabinets and ceiling-mounted racks can dramatically increase storage capacity without sacrificing style. For example, installing esthetic yet functional open shelving or incorporating hidden compartments can revolutionize your space. Moreover, integrating built-ins with existing architecture—such as aligning cabinets with crown molding or creating seamless transitions—requires advanced planning and precise measurements, often missed by DIYers. For deeper insight, explore this comprehensive guide on custom cabinets. Remember, the devil is in the details, and understanding these subtleties can make or break your remodel’s success. So, before rushing into your project, consider consulting with experts who can help you avoid these common pitfalls and maximize your kitchen’s potential. If you want to see how expert design transforms ordinary spaces into functional masterpieces, check out this overview of built-in and storage innovations. Have you ever fallen into this trap? Let me know in the comments, and I’ll help you navigate around these hidden pitfalls.
Maintaining Your Custom Cabinets and Storage Solutions Over Time
Proper maintenance is essential to ensure your kitchen remodel retains its beauty and functionality for years to come. I personally rely on high-quality cleaning tools like microfiber cloths and mild wood cleaners to gently remove dust and smudges without damaging finishes. Using a soft, lint-free cloth helps prevent scratches, which is crucial for maintaining the pristine look of your built-ins and custom cabinetry. Regularly inspecting hinges, pulls, and sliding mechanisms allows me to catch wear early and lubricate moving parts with silicone-based lubricants, ensuring smooth operation.
Investing in the Right Equipment for Long-Term Success
One tool I can’t live without is an adjustable multi-tone LED flashlight. It helps me identify areas with moisture buildup or grime that are invisible to the naked eye, especially in tight corners or under cabinets. For cleaning, I recommend a specialized wood-safe cleaner like Murphy’s Oil Soap—it’s gentle yet effective at preserving finishes. When it comes to hardware, I swear by a magnetic screwdriver set, which speeds up alignment and tightening tasks and minimizes strip-outs. These tools have saved me hours during regular upkeep and adjustments.
Prolonged Results Need Consistent Care
Applying a quality furniture polish once a month restores shine, while a light reapplication of protective finishes can help resist scratches and water damage. To prevent future issues, I recommend setting a maintenance schedule, like bi-monthly check-ins, to keep everything in tip-top shape. Periodic re-sanding and re-staining of cabinets may be necessary in high-traffic areas—consider doing this yourself with fine-grit sandpaper and matching stain to refresh the surface without a full redo. Staying on top of these small tasks ensures your carefully crafted storage solutions continue to look exceptional.
How do I keep my built-in storage systems functional without constant repairs?
Implementing thoughtful design details like soft-close drawer slides (which are less prone to misalignment and wear over time) can make a huge difference. I prefer side-mount slides for their durability, even though under-mounts are aesthetically preferable; I’ve found they last longer with less maintenance. When selecting hardware, choosing corrosion-resistant materials such as stainless steel prevents rusting in humid kitchen environments. For cutting-edge solutions, consider digital inventory systems that help you track and maintain your storage items effectively, ensuring everything remains accessible and organized. Looking ahead, the trend is leaning towards smart cabinetry with integrated sensors for humidity and wear—these innovations promise to make long-term upkeep easier than ever. To explore some of these advanced options, check out this comprehensive guide on custom cabinet longevity.
One specific tip I highly recommend is installing a magnetic strip for knife storage in a dry, accessible spot. It keeps blades sharp and prevents clutter. Give it a try to see how much easier your routine becomes!
Lessons From the Trenches of Custom Kitchen Renovations
One of the most unexpected lessons I learned was that patience truly pays off. Rushing through a remodel often leads to overlooked details that become costly mistakes, like mismatched finishes or uneven alignments. Taking the time to plan meticulously and consult with experts—even for simple upgrades—can save you from frustration and extra expenses. Another insight was realizing that smart storage solutions can transform a small kitchen from chaotic to cohesive—hidden compartments and vertical shelving are game-changers. Lastly, I discovered that understanding the nuances of materials and hardware selection doesn’t just improve aesthetics; it significantly extends the lifespan of your cabinets and built-ins, making your investment worthwhile.
Tools and Resources I Keep Coming Back To
For anyone serious about elevating their kitchen, I recommend exploring The Ultimate Guide to Custom Cabinets—it’s packed with expert tips. My must-have toolkit includes a high-quality cordless drill, a precision level, and a magnetic screwdriver set, which streamline installation and adjustments. To stay inspired and informed, I turn to books like Kitchen Logic, which goes beyond surface trends to explain the science behind functional design. These resources continually help me refine my approach, ensuring every project is both beautiful and sustainable.
Your Next Step Towards a Smarter Kitchen
Remember, your kitchen remodel or upgrade can be a rewarding journey when approached with clarity and patience. Embrace the process of learning and experimenting with storage solutions, finishes, and layouts. With each small improvement, you move closer to the kitchen of your dreams—more functional, stylish, and tailored to your life. Don’t hesitate to start today; even simple tweaks can have a profound impact on your everyday experience.