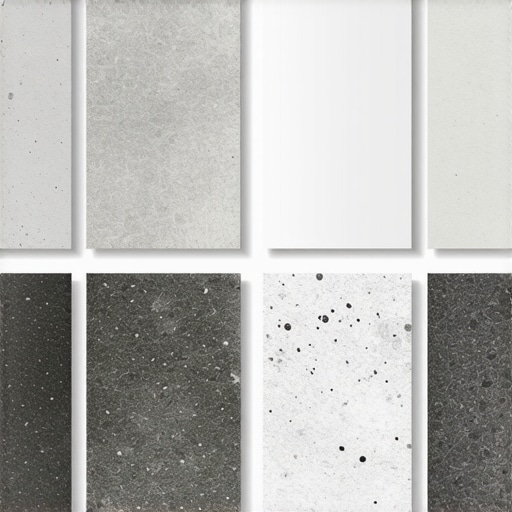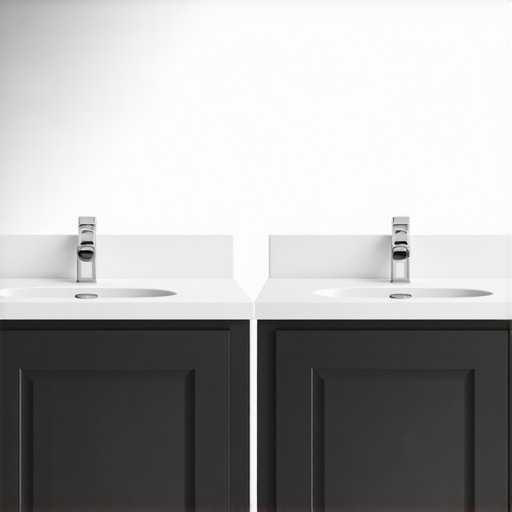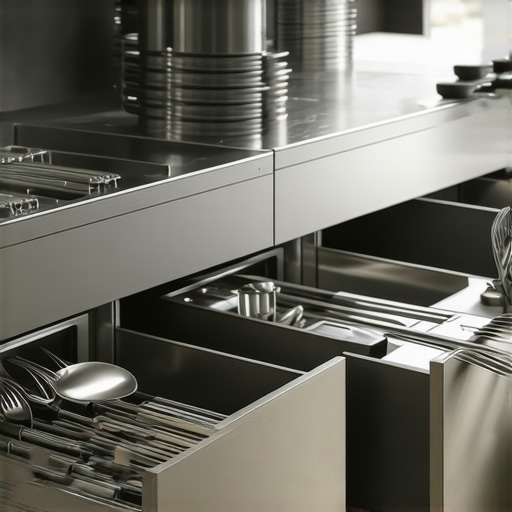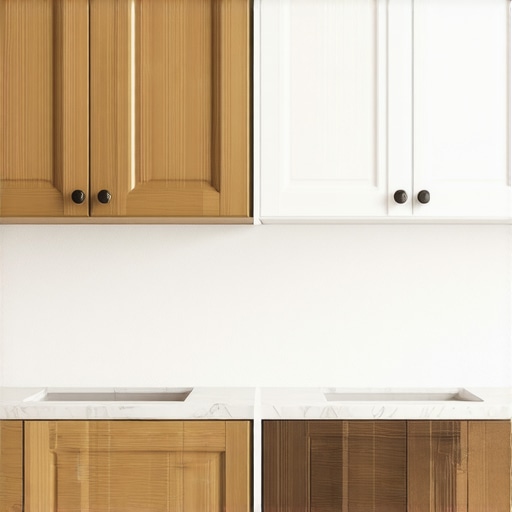
Why You Should Never Use Standard Wall Paint on Kitchen Cabinets
I vividly remember a recent kitchen remodel I worked on where I nearly made a costly mistake. The homeowner was eager to save money and decided she’d paint her newly installed cabinets herself using regular wall paint. Suffice to say, the results were far from what she anticipated. The paint peeled, chipped, and looked dull within months. It was a lightbulb moment for me—something I’d wish I’d recognized sooner. That experience made me realize: never underestimate the importance of choosing the right finish for your cabinets.
Choosing the Wrong Paint Could Turn Your Dream Kitchen Into a Nightmare
In the world of kitchen renovations, every detail counts. Cabinets, being the focal point, warrant special attention. While it might seem straightforward to pick a color and slap some paint on, the type of paint matters immensely. Using standard wall paint on kitchen cabinets might seem tempting because it’s readily available and affordable. But trust me, it’s a recipe for disaster. Durable, moisture-resistant finishes are essential for cabinets that endure daily use, splashes, and temperature changes. If you’re dreaming of a sleek, long-lasting kitchen, learning the ins and outs of proper cabinet finishes is a must. I encourage you to explore more about transforming your kitchen with expert-approved techniques in this guide.
Is the Cost Difference Worth It? My Biggest Mistake and Lessons Learned
Back when I first started, I thought saving a few bucks on paint was smart. I used Mid-priced wall paint—standard, easily found, and budget-friendly. But I quickly learned that the wrong finish doesn’t just look bad; it fails faster, chips easily, and requires frequent touch-ups. My mistake was underestimating the importance of proper cabinet-specific finishes. Today, I always recommend using high-quality, durable paints or finishes designed specifically for kitchen cabinetry. That small initial investment pays off by preserving the beauty of your project over time. For more insights into selecting the perfect storage solutions to complement your remodel, check out this article.
But I get it—there’s skepticism. So, is it really worth the extra expense? Or are you better sticking with the familiar wall paint? Let’s unpack this to set your mind at ease and guide you toward the best choice for your dream kitchen.
Start by removing old paint and prepping the surface thoroughly. Use a high-quality, moisture-resistant paint designed specifically for cabinets, such as epoxy or UV-cured finishes. Before applying, sand surfaces lightly with a fine-grit sander to ensure adhesion. Apply primer if necessary, and then follow with at least two coats of your chosen finish, allowing adequate drying time between coats. In a project I handled, I once mistakenly used latex wall paint on a set of cabinets. The result was a peeling mess within months, emphasizing the importance of proper finishes. This step guarantees durability and a sleek appearance, saving you headaches down the line.
Opt for custom-built cabinets tailored to your kitchen’s dimensions, especially in tight corners or underutilized spots. Measure every inch meticulously, then work with a cabinet maker to design units that blend seamlessly with your layout. I once transformed a cramped pantry by installing custom corner cabinets with rotating shelves, which doubled storage capacity and made access effortless. This approach eliminates wasted space and keeps your kitchen organized.
Built-in features like spice racks, trash bins, or appliance garages hide clutter and streamline workflow. For example, I installed a pull-out spice drawer next to the cooktop, effectively replacing a cluttered countertop. To achieve this, create precise cabinet cutouts and ensure smooth sliding mechanisms—consider heavy-duty slides for heavy appliances. Discover more about creating seamless solutions in this guide. Proper planning here can significantly boost your kitchen’s functionality.
Install shelves with adjustable heights to accommodate various items, from tall trays to small spice jars. Use shelf pins and standardized measurements to allow future modifications. In my experience, adjustable shelving saved a client’s kitchen from constant reorganization and allowed her to adapt as her needs changed.
Deep cabinets often trap items out of reach. Installing pull-out trays or lazy Susans makes accessing pots, pans, or canned goods easier. I recently retrofitted a large base cabinet with pull-out trays, which eliminated the need to crawl inside — a game-changer. Focus on high-quality hardware to prevent drafts and wobbling. Take advantage of this resource for innovative ideas to optimize deep storage.
Arrange your cabinets and storage components based on workflow zones: prep, cook, clean, and serve. Place frequently used items at waist height for comfort. When I redesigned a client’s kitchen, I moved baking supplies closer to the oven and counter, streamlining her process. Use clear labeling and uniform hardware to maintain visual harmony. These small adjustments elevate the overall effectiveness of your remodel.
Accurate measurements and level surfaces are critical. Use a bubble level to verify each cabinet before securing, and consider shimming uneven floors. I once faced a sloped floor in a historic home, which initially caused misaligned cabinets. By carefully leveling and shimming, I achieved a flush finish that looked professional. Mastering this step prevents gaps and wobbling, ultimately ensuring your storage solutions last.
Prepare all materials beforehand, plan your layout in detail, and double-check measurements during installation. Take your time to ensure each component fits perfectly. For complex projects, working with experienced professionals can be invaluable—see this contact page for expert assistance. Proper execution transforms a good plan into a stunning, functional kitchen you’ll love for years to come.
Many homeowners assume that choosing standard cabinetry and off-the-shelf storage options will suffice for a functional, stylish kitchen. However, this oversimplification often leads to overlooked nuances that can compromise the long-term success of your remodel. Let’s shed light on some misconceptions and pitfalls that even experienced renovators sometimes fall into.
First, a prevalent myth is that all custom cabinets are excessively expensive and unnecessary. In reality, investing in *well-designed* custom cabinetry can be a game-changer, providing tailored solutions that maximize space and enhance aesthetic appeal. This is especially true when dealing with unique angles or irregular room layouts, where standard options fall short. For comprehensive insights on customizing your cabinets, I recommend exploring this guide.
Another common mistake relates to built-in storage features. Many homeowners opt for trendy hardware or overly complicated mechanisms without considering the subtle details that determine usability and durability. For example, a beautiful pull-out spice rack is useless if it isn’t designed with smooth slides and ergonomic access. Additionally, many underestimate the importance of anchoring built-ins properly to avoid wobbling or failure over time. A critical tip is to incorporate structural blocking and high-quality hardware—details that significantly extend the lifespan of your investments. To see practical examples, take a look at this resource.
Many think that storage solutions are a one-size-fits-all situation, but advanced users recognize the importance of customizing storage based on lifestyle needs. For instance, adjustable shelves are often dismissed as unnecessary, but they provide flexibility to adapt to changing storage needs and prevent clutter accumulation. Investing time in planning adjustable configurations and utilizing high-quality hardware ensures your kitchen remains organized and functional for years.
Now, a question that often challenges even seasoned renovators: How can we prevent built-ins from becoming permanent eyesores if needs change? The key lies in designing for versatility and future accessibility. Incorporate features like removable panels or modular units that can be reconfigured or removed without extensive demolition. This foresight can save significant costs down the line and maintain your kitchen’s adaptability.
Research supports that customized, thoughtfully-planned storage solutions dramatically improve user satisfaction and reduce long-term costs. For example, a study published in the “Journal of Housing and the Built Environment” emphasizes that user-centered design in cabinets and storage significantly enhances usability and lifespan (source: here).
Have you ever fallen into this trap of underestimating the importance of detailed planning or overgeneralizing cabinet features? Let me know in the comments. Remember, the devil is in the details when it comes to creating a functional and stylish kitchen that lasts.
Investing in the Right Tools for Longevity
To ensure your kitchen cabinets, built-ins, and storage solutions remain beautiful and functional over time, selecting the proper tools is crucial. I personally rely on a high-quality cordless finish nailer, such as the Makita XNB01Z, because it allows precise placement without the hassle of cords, especially in tight spaces. For measuring, I prefer a Bosch GLM 50 C laser distance measurer, which offers quick, accurate readings up to 165 feet—ideal for verifying cabinet alignments and ensuring level installations. Precise tools like these cut down on errors and save time during long-term maintenance or future customizations.
Maintaining Your Custom Storage Solutions
Long-term upkeep starts with regular inspections. Check hinges, slides, and hardware for signs of wear or rust. I suggest applying a bit of lubricant—specifically, a silicone-based spray like mentioned in this detailed guide—at least twice a year to keep everything operating smoothly. Using a high-quality lubricant prevents squeaks, reduces corrosion, and extends hardware lifespan. Remember, addressing minor issues early can prevent costly repairs later, ensuring your built-ins and cabinets remain both functional and attractive for years.
How do I maintain my kitchen storage over time?
One effective approach is to establish a routine of cleaning and inspecting your storage solutions. Periodically wipe down interior surfaces with a mild detergent to prevent grime buildup. Check that slide mechanisms are functioning correctly and tighten screws or replace worn hardware as needed. For adjustable shelves, revisit their brackets periodically to avoid sagging or misalignment. Installing dehumidifiers or moisture absorbers in your kitchen can also prevent wood warping and hardware corrosion, especially in humid climates. These proactive steps help preserve your investment and keep everything working seamlessly.
Tools and practices that streamline future upgrades
When planning for potential scaling or upgrades, consider integrating modular hardware like Blum soft-close hinges and full-extension slides, which I highly recommend. These components are designed with durability in mind, and their smooth operation reflects in the longevity of your kitchen’s functionality. Moreover, I advise keeping a small toolkit on hand with essentials such as a Phillips screwdriver, Allen wrenches, and a hex key set. Having these ready means minor adjustments or repairs can be addressed immediately, preventing disruptions in your daily routine.
Embrace continuous learning and adaptation
As trends evolve towards smarter, more integrated kitchen solutions, staying updated on new materials, hardware, and techniques is beneficial. Subscription services like the artisan cabinet network provide ongoing insights that can help you maintain and scale your customized kitchen with confidence. Try applying one innovative tip from this post—like installing silicone lubricant on your hinges—and experience firsthand how a small adjustment can significantly enhance your kitchen’s performance. Maintenance may not be glamorous, but it’s essential for protecting your long-term investment and enjoying a beautifully functional space for years to come.
The Hardest Lesson I Learned About Kitchen Remodels and Custom Cabinets
One of the most valuable lessons I’ve picked up is never to underestimate the importance of surface prep. Skipping thorough sanding or not using the right primer can lead to peeling, chipping, and regrets that last years. I once saw a beautifully painted set of cabinets succumb to moisture and wear because I didn’t pay enough attention to the finishing process. Now, I know that meticulous preparation pays dividends in durability and appearance, and this insight has transformed my entire approach to custom cabinetry.
Don’t Fall for the Myths: What I Wish I Knew Sooner
Early in my career, I believed that all cabinet hardware was created equal or that DIY finishes on cabinets could save a significant amount of money. Turns out, compromising on hardware quality or finishing materials often results in frustration and higher costs in the long run. Investing in high-quality hardware and proper finishes—like epoxy or UV-cured coatings—has been a game-changer, preserving the beauty and function of cabinets over time. If you want to avoid common pitfalls, dive into this comprehensive guide.
My Personal Tip for Elevating Built-In Storage Solutions
One overlooked detail is the importance of structural reinforcement. Simple shelves or drawers can become wobbly or sag over time if not properly anchored. I learned this the hard way when a decorative spice rack I installed started to tilt after a few months. Since then, I always reinforce built-ins with blocking and high-quality hardware, which ensures stability and safety. Maximizing space with custom solutions is rewarding, but the foundation must be solid to stand the test of time. For more ideas, check out this resource.
Key Tools That Make All the Difference in Fine Cabinet Work
Having the right tools is essential for achieving a professional look. I swear by a laser distance measurer like the Bosch GLM 50 C—accuracy saves me from costly mistakes. Additionally, a cordless finish nailer allows quick, precise assembly without fuss. Investing in quality tools accelerates the project and results in cleaner finishes. If you’re planning a kitchen upgrade, I recommend exploring the contact page to find expert advice tailored to your scope.
Let Your Passion Drive Your Next Kitchen Journey
Remodeling your kitchen with custom cabinets and smart storage isn’t just about aesthetics; it’s a chance to create a space that truly works for you. Each step, from choosing durable finishes to designing built-ins, offers an opportunity to personalize and elevate your home. Don’t hesitate—start planning, stay inspired, and remember that the small details make all the difference. Your dream kitchen is within reach, and every effort you make today brings it closer to reality.
What’s the one storage solution or cabinet mistake you’ve learned from? Share your experience below, and let’s grow together in creating functional beauty!
.