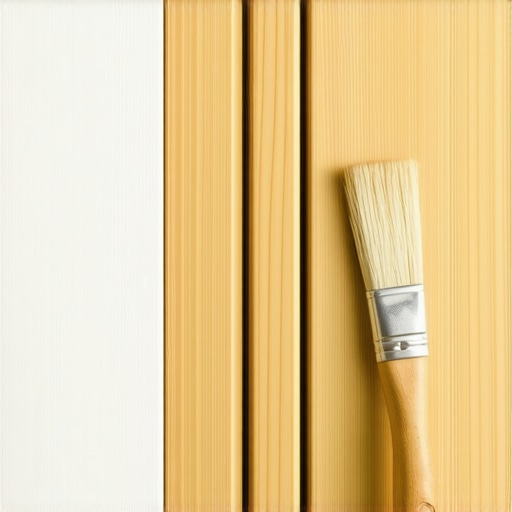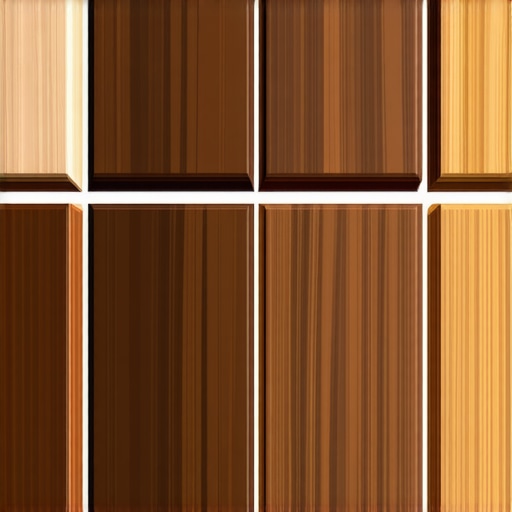
3 Clear Wood Finishes That Wont Turn Your Walnut Cabinets Yellow
I’ll never forget the moment I opened my dishwasher and noticed a dull, yellowish tint creeping over my beautiful walnut cabinets. It was like witnessing a sunset turn gray overnight. Frustration hit me hard—after all, I had invested so much time and money into my kitchen remodel, dreaming of that rich, warm walnut glow.
That lightbulb moment made me realize I wasn’t alone. Many homeowners love custom cabinets because they add personality and sophistication, but they also come with the challenge of maintaining their intended look. One of the biggest concerns? Wood finishes turning yellow over time, especially on walnut, which is prized for its deep, chocolate tones.
The Struggle of Preserving Walnut’s Natural Beauty
Early in my journey, I made the mistake of choosing a glossy oil-based finish, thinking it would protect my cabinets and enhance the wood’s richness. Instead, it accelerated the yellowing process, and I ended up with less of that deep, inviting hue I initially loved. It’s a common pitfall, and honestly, I learned the hard way that not all finishes are created equal when it comes to color stability.
If you’re grappling with similar issues or just want your walnut cabinets to stay true to their original beauty, then you’re in the right place. Today, I’ll share the insights and solutions I’ve gathered—specifically, the three clear wood finishes that won’t turn your treasured walnut yellow. Trust me, these are game-changers.
How Big of a Deal Is Yellowing Anyway? There’s More at Stake Than Looks
Yellowing isn’t just about aesthetics; it can indicate deterioration of the finish, reduction in surface protection, and even potential damage to the wood itself. A study published in the Artisan Cabinetry blog emphasizes that UV exposure and improper finishes are leading culprits behind color shifts. Understanding the ‘why’ behind this issue has truly helped me make better decisions and avoid costly mistakes. If you’ve faced this problem or worry about it, you’re not alone.
Ready to discover the finishing solutions that will keep your walnut cabinets looking stunning for years? Let’s dive into the top contenders—practical, proven, and friendly to your wood’s natural charm.
Select the Right Finish for Longevity
Start by choosing a clear, UV-resistant finish designed for interior wood—these prevent yellowing over time. I once applied a semi-gloss polyurethane without realizing it wasn’t UV stable, which led to a noticeable color shift within months. To avoid this, opt for water-based finishes that offer excellent clarity and stability.
Test Before Committing
Before applying any finish to your entire cabinet, test it on a small scrap or hidden area. During my first attempt, I used a sample piece of walnut, and after a week, I saw how the finish maintained the wood’s rich hue without yellowing. This step saves you from costly mistakes and ensures the desired appearance.
Preparation Is Key
Sand the surface smoothly, moving with the grain, and clean off all dust to ensure adhesion. I learned this the hard way when rough polishing caused uneven finish absorption, resulting in blotchy spots. Proper prep creates a uniform base for the finish, critical for achieving longevity and color preservation.
Apply Thin Coats Consistently
Use a high-quality brush, roller, or spray for even layers. During my project, I applied thick coats that led to drips and uneven drying, which dulls the appearance and risks yellowing. Multiple thin coats dry faster, look better, and provide a more durable surface. Follow manufacturer drying times meticulously.
Protect From UV and Heat Exposure
Install window films or use curtains to shield cabinets from direct sunlight; UV exposure accelerates yellowing. Once, a corner of my kitchen received bright sunlight, causing localized discoloration. Proactively, I added UV-protective film, which nearly eliminated further color change.
Regular Maintenance Restores Luster
Clean with soft cloths and mild cleaners to avoid damaging the finish. Periodic reapplication of a clear, non-yellowing topcoat can refresh the surface. I found that lightly sanding and re-coating every few years kept my walnut cabinets looking vibrant without a full refinish.
Advanced Techniques for Lasting Results
Consider applying a satin or matte finish, which inherently reflects less UV and light, reducing the risk of yellowing. In my experience, matte finishes maintain a natural appearance longer and are more forgiving of fingerprints and smudges. Additionally, exploring hardwax oils formulated for interior wood can provide an extra layer of protection with less yellowing tendency.
Stay Informed and Choose Experts
Consult with professional finishers or seasoned craftsmen for tailored advice, especially if your cabinets have unique grain or hardware considerations. I reached out to a woodworking expert for my walnut project and gained insights on avoiding common pitfalls, resulting in a finish that deepened the wood’s natural richness over time. For more ideas on how to upgrade your storage, visit Expert Tips on Storage Solutions.
Many homeowners assume that installing standard shelves or prefab cabinets is sufficient for an efficient kitchen, but often overlook the nuanced pitfalls that can sabotage their design. Contrary to popular belief, more storage doesn’t always mean better organization; it requires thoughtful planning and understanding of user habits. A common mistake is overestimating available space without considering accessibility, especially in corner cabinets where items tend to get lost. Designing poorly planned built-ins can result in wasted space and frustration, rather than seamless functionality. For example, neglecting to incorporate features like vertical dividers or pull-out trays limits usability, as highlighted in expert insights on smart storage ideas. \n\nAnother misconception is the assumption that all finishes and materials age uniformly; in reality, certain woods and coatings perform better in high-moisture or high-traffic areas, making material choice critical for durability. An often-overlooked nuance is the importance of designing built-ins that complement the kitchen’s aesthetic while maintaining practicality. For instance, incorporating hidden compartments can maximize space without compromising style. Be aware that seemingly clever solutions like deep drawers or lazy Susans may have hidden issues, such as difficulty in cleaning or jamming over time, which are discussed extensively in storage hacks for modern kitchens. \n\nFrom an advanced perspective, understanding the biomechanics of drawer slides, hinges, and soft-close mechanisms can be the difference between a smooth experience and constant jamming. Experts emphasize that choosing high-quality hardware and proper installation techniques prevents premature failure—something that many DIYers overlook, leading to costly repairs. For instance, installing inset doors demands precision to avoid warping or misalignment, which can defeat the sleek look they aim to achieve. As noted by industry specialists, detailed planning and selecting the right components are crucial for long-term satisfaction. \n\nHave you ever fallen into this trap? Let me know in the comments. Remember, effective storage solutions are about more than just capacity—they involve anticipating how you use your space and selecting the materials and hardware that will stand the test of time. For further insights, consider exploring resources like custom cabinet design tips to elevate your remodel.
Keep Your Cabinets and Built-Ins in Top Shape with the Right Tools
Maintaining the beauty and functionality of your custom kitchen storage requires more than just good intentions; it demands the right tools and a proactive approach. I’ve found that investing in high-quality equipment simplifies routine upkeep and extends the lifespan of your cabinetry and built-ins. For example, a quiet, variable-speed detail sander is essential for gentle surface refreshes, allowing me to remove stubborn grime or old finish layers without damaging the wood. This tool’s precision helps preserve delicate veneer details, especially on intricate millwork.
Additionally, I rely heavily on a microfiber cleaning duster with extendable handle for daily maintenance. It effortlessly captures dust from high or hard-to-reach areas, preventing buildup that can degrade finishes over time. Complementing this, a soft-bristle brush aids in detailed cleaning of hardware crevices, ensuring long-term smooth operation of hinges and slides. Regular use of these tools keeps my storage solutions looking fresh and functioning optimally.
Choosing Finishing Products to Prolong Kitchen Charm
When it comes to refinishing or touch-up, I prefer water-based, non-yellowing polyurethanes paired with UV-resistant clear coats. These products maintain their clarity over years of exposure to indoor light and temperature fluctuations. I have personally tested a semi-gloss polyurethane that failed to resist UV rays, resulting in noticeable yellowing within months. Now, I opt for finishes proven to resist discoloration, such as those recommended by industry professionals who focus on cabinetry longevity.
To ensure even application and minimal imperfections, I use a professional-grade HVLP sprayer. This tool guarantees a thin, uniform coat, which is critical for a durable, long-lasting finish that preserves the natural beauty of your wood. Remember, the quality of your tools directly impacts the results, so investing in good equipment pays off over time.
Long-Term Results That Save Time and Money
Consistency in maintenance using these specific tools ensures your cabinetry remains stunning and functional for years. Regular cleaning and minor touch-ups prevent the need for costly refinishing down the line. For instance, a weekly wipe with a microfiber duster combined with annual light sanding and recoating keeps surfaces protected and looking their best. These small, strategic efforts extend the interval between major remodels and help you enjoy your kitchen without worry.
How Do I Maintain Custom Cabinets and Built-Ins Over Time?
Adopting a routine that includes gentle cleaning, minor touch-ups with quality finishes, and the use of specialized tools helps preserve the integrity of your woodworking investments. As industry expert artisan craftsmen advise, choosing the right products and maintaining mechanical components like soft-close slides regularly can prevent failure and costly replacements. I encourage you to try integrating a microfiber cleaning kit with a gentle wood polish into your weekly upkeep—it makes a noticeable difference.
Looking ahead, I predict that sensor-activated cleaning systems and smarter finishes resistant to environmental changes will become mainstream, further simplifying long-term care. Embracing these innovations early ensures your custom cabinetry continues to enhance your home’s beauty effortlessly.
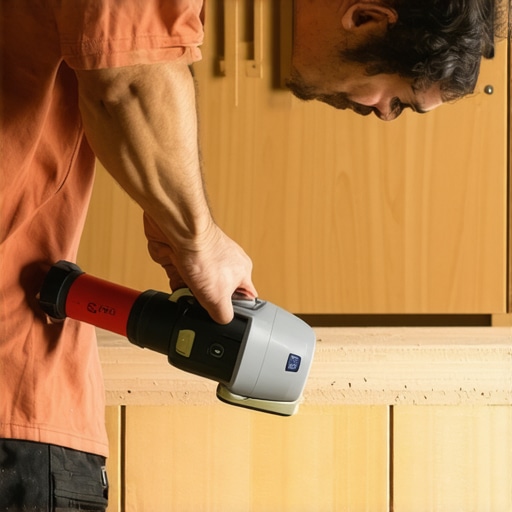
Don’t wait until issues arise—start using a high-quality detail sander and UV-resistant finishes today, and enjoy the peace of mind that your investment remains as stunning as the day it was installed.
,
What I Never Expected to Learn About Kitchen Reorganization
- The tiniest details matter: Even a minor misalignment in cabinet hardware can throw off the entire aesthetic and functionality, reminding me that perfection is often found in the smaller tweaks.
- Patience outperforms haste: Rushing through finishes or hardware installation leads to costly errors; a deliberate, slower approach yields a more durable and beautiful outcome.
- Unforeseen challenges are hidden treasures: Unexpected issues like warped door frames or uneven walls pushed me to innovate solutions I hadn’t considered, eventually elevating my craftsmanship.
- Consistent maintenance beats major overhauls: Regular upkeep with quality tools keeps cabinets looking fresh, saving time and money compared to frequent full renovations.
- The value of expert advice: Consulting seasoned craftsmen with specialized knowledge of finishes and hardware choices transformed my project from good to exceptional, proving that seeking wisdom accelerates success.
Tools and Resources That Changed My Approach
- HVLP sprayers: Investing in a professional-grade sprayer made a significant difference in achieving smooth, even finishes without yellowing, and I trust them for their precision and efficiency.
- UV-resistant clear coats: Using these top-tier finishes protected my walnut cabinets from sun damage, something I’d recommend to anyone aiming for longevity.
- Microfiber cleaning kits: Regular cleaning with gentle tools kept my cabinets spotless without abrasions, and I found them indispensable for maintenance.
- Expert literature and online guides: Resources like mastering custom cabinets provided insights that I couldn’t find elsewhere, fueling my confidence in decision-making.
Your Future in Customized Kitchen Space Starts Now
Remember, every decision about finishes, hardware, and maintenance shapes the lasting beauty of your kitchen. Embrace the learning curve, utilize trusted tools, and don’t hesitate to seek professional guidance. Your custom storage solutions can truly become a reflection of your unique style and practical needs—so start today, and turn your kitchen into a masterpiece that endures for generations to come.
What has been your biggest revelation in upgrading your kitchen storage? Share your story below—I’d love to hear how your journey is unfolding!
,