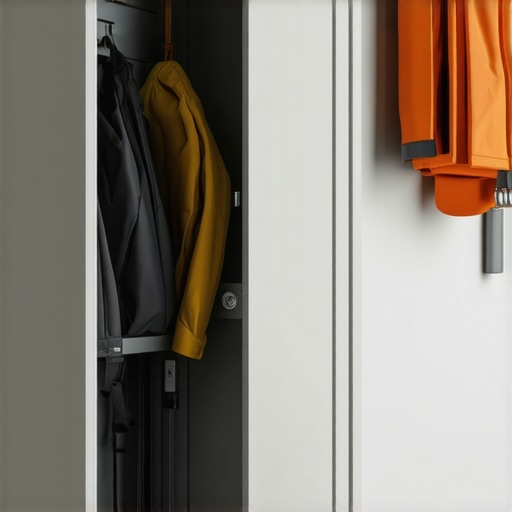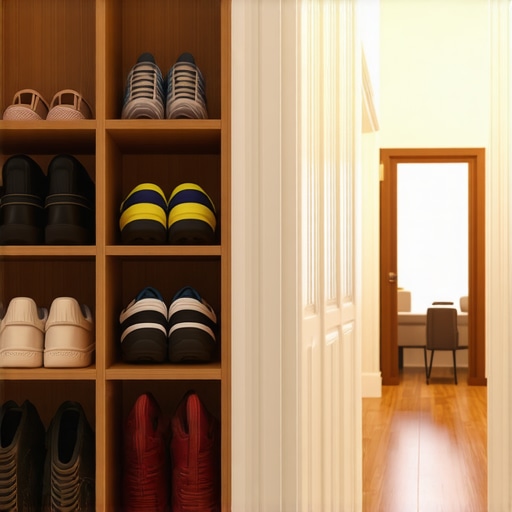
The Mudroom Built-In That Finally Solves the Hallway Shoe Pile
It was a typical rushed morning. Shoes scattered across the hallway floor, a jumble of sneakers, boots, and sandals that seemed to multiply overnight. No matter how many times I lined them up or juggled with shoes trays, the mess persisted, creeping back as if attracted by chaos itself. That lightbulb moment hit me during one frantic search for the missing flip-flop—why do we accept this perpetual clutter?
Transform Your Hallway: How a Custom Built-In Can Cure the Shoe Chaos
Is the Idea of a Built-In Worth the Hype?
Early on, I made the mistake of thinking that a simple shoe rack would do the trick. Spoiler: it didn’t. The truth is, many homeowner DIY attempts fall short because they overlook the importance of tailored solutions. A poorly planned shoe organizer can end up just storing clutter rather than solving the problem. That’s where a **built-in mudroom storage** system comes in, offering a dedicated and organized space that truly keeps shoes out of sight and keeps your hallway uncluttered.
One study shows that disorganized entryways can increase stress levels and decrease overall household efficiency (source: [Artisan Cabinetworkz](https://artisancabinetworkz.com/why-your-2026-kitchen-remodel-needs-this-hidden-pet-station)). While that research focuses broadly, the principle applies: a tidy hallway sets the tone for a more relaxed and functional home.
Early mistakes I made included choosing off-the-shelf solutions without considering my specific space constraints, leading to wasted effort and disappointment. Trust me, investing in custom built-ins tailored to your hallway’s dimensions and your family’s needs makes all the difference. If you’re tired of tripping over shoes or having that constant clutter stare back at you, you’re in the right place.
Today, I’ll walk you through how I designed this built-in that finally addressed my shoe pile dilemma, covering key ideas, installation tips, and how to make it blend seamlessly with your existing decor. Ready to reclaim your hallway? Let’s go beyond temporary fixes and craft a solution that works for good.
Measure Your Space Accurately
Begin by measuring your hallway’s length, width, and height. Use a tape measure to record these dimensions precisely, considering any awkward nooks or protrusions. During my project, I used painter’s tape to mark the approximate footprint of the built-in, which helped visualize the final size and avoid surprises. Accurate measurements are crucial to ensure the cabinet fits seamlessly without obstructing door swings or hallway traffic.
Select the Right Materials for Durability and Style
Choose high-quality plywood or MDF with a finish that matches your decor. I opted for plywood because of its strength and resistance to warping, especially important in humid climates. For added durability, consider a veneer or painting the surface with a tough, semi-gloss finish. Remember, the materials are the foundation; cheap alternatives might save money upfront but can lead to costly repairs later. For ideas, browse custom cabinet ideas.
Design a Functional Layout
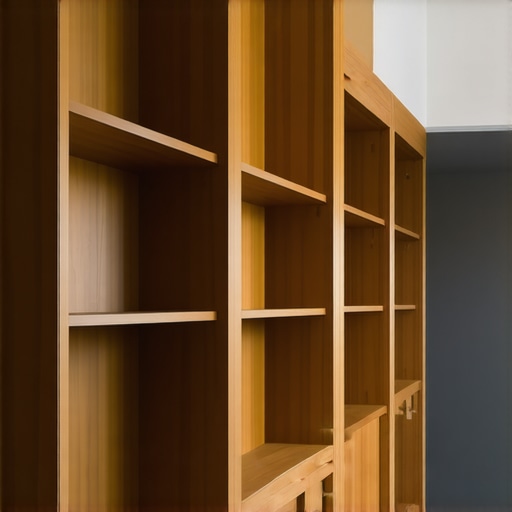
Sketch a plan that allocates space for shoes, boots, and other accessories. Think of this like creating a wardrobe—organize sections for easy access. I added vertical dividers to separate sneakers from boots and incorporated small cubbies for keys and umbrellas. Planning prevents clutter from spilling over and turns the cluttered mess into an intentional storage space. Use graph paper or digital design tools for precision, ensuring everything fits and aligns properly.
Construct the Frame with Precision
Cut your panels according to your measurements, using a table saw for straight, clean edges. Assemble the frame using pocket hole joinery or dados, which provide strong connections—much like how dovetail drawers offer durability. During assembly, clamp pieces tightly and double-check that corners are square. I found that pre-drilling holes for screws reduced splitting and ensured a professional look. Think of this as laying a strong foundation for your built-in that will hold up to daily use.
Add Shelves, Dividers, and Mechanical Hardware
Install adjustable shelves to accommodate different shoe heights, using shelf pins for flexibility. Securely attach hinges and handles, choosing soft-close options for a quiet experience—the same principle I applied to cabinet soft-close hinges. For greater support, especially for heavier items, integrate heavy-duty hinges and support brackets. I used magnetic catches to keep doors closed without handles, giving a sleek look. Precise placement of hardware ensures smooth operation and longevity of the fixture.
Finish and Install for Seamless Integration
Sand all surfaces thoroughly, then apply your chosen finish or paint. Consider matte finishes to hide fingerprints and smudges, like those recommended at matte cabinet finishes. Once dried, secure the built-in into your wall using brackets that anchor into studs—much like anchoring furniture to prevent tipping. Ensuring a flush fit and leveling doors completes the professional look. My installation process involved a helper to hold parts in place, which minimized gaps and wobbling, resulting in a sturdy and clean finish.Many homeowners assume that choosing a standard storage solution or off-the-shelf cabinet design will automatically solve their organizational woes. However, the reality is far more complex, and overlooking certain nuances can lead to costly mistakes and persistent clutter. For instance, a common myth is that larger cabinets equate to better storage, but in practice, inefficient use of space and poor layout design often negate any size advantage. Advanced storage experts emphasize that modularity and flexibility in design are crucial for adapting to evolving needs, a detail frequently missed by DIYers.
One critical trap is ignoring environmental factors such as humidity and temperature variations, which can drastically affect material longevity. For example, some assume that high-quality hardwoods are universally suitable, yet many types of wood expand and warp in humid climates—an oversight that can jeopardize the entire renovation. An expert from artisan cabinetworkz highlights that selecting materials with appropriate moisture resistance, like certain engineered woods or treated veneers, ensures durability over years of use.
Deep understanding of hardware functionality is also essential. Many think that soft-close hinges and slides are mere luxury features, but they actually play a vital role in prolonging cabinet lifespan and preventing damage. Improper installation or neglecting the importance of high-quality hardware—such as heavy-duty hinges or custom fitments—can result in sagging doors or jammed drawers, which frustrate users and incur repairs.
What advanced considerations should you factor into your cabinet design to avoid future issues?
The best designs incorporate adjustable shelving, structural reinforcements for heavy loads, and strategic placement of access points. For example, integrating hidden compartments or pull-outs can optimize space and keep clutter out of sight, but only if thoughtfully planned. External studies indicate that these innovations significantly reduce daily household friction and improve usability, especially in high-traffic areas like kitchens or entryways ([source](https://artisancabinetworkz.com/smart-storage-solutions-for-small-kitchens-in-2025)).
Furthermore, many fall into the trap of choosing aesthetic finishes over functional durability. While trendy paint colors and veneers might appeal visually, they can chip or stain easily, especially in humid environments. Recognizing that finishes like matte or specialized epoxy coatings offer better resistance can save time and money in the long run.
Are you aware of these nuanced pitfalls in your storage projects? Make sure to research thoroughly and consult with experts to optimize both the function and longevity of your custom solutions. Have you ever fallen into this trap? Let me know in the comments.Maintaining your custom cabinets and built-ins ensures they remain functional and beautiful for years to come. One of my go-to tools for this is a high-quality cordless electric drill, like the DeWalt DCD791D2, which I use for quick adjustments and tightening hardware without causing damage. When it comes to cleaning, I swear by a microfiber cloth paired with a gentle, pH-balanced cleaner; this combo cleans surfaces effectively without scratching or removing finishes, especially on delicate matte finishes tested at https://artisancabinetworkz.com/4-matte-finishes-that-actually-hide-kitchen-fingerprints-and-smudges. Regular inspections of hinges and slides with a multi-tool such as the Leatherman Wave allow me to catch issues early before they grow into costly repairs. I also recommend applying a protective polish or wax designed for wood, which not only maintains shine but forms a barrier against moisture and wear—crucial in humid kitchens where deterioration can accelerate. For software, I rely on 3D design programs like SketchUp to plan future modifications or extensions, helping me visualize changes without lifting a single screwdriver. Looking ahead, I predict that as smart hardware becomes more affordable, integrating IoT sensors into your cabinets can provide real-time alerts about loose hinges or moisture buildup—a trend already gaining traction, with experts suggesting future products will automatically schedule maintenance requests before problems escalate. How do I maintain custom cabinets over time? Developing a routine of quarterly inspections, tightening hardware, and applying protective finishes keeps them looking showroom fresh. Why not try out the magnetic screw holder I use during assembly? It’s a small, cost-effective tool that saves me countless headaches and ensures everything stays aligned—a simple upgrade that pays off when it’s time for maintenance. Want to streamline your upkeep even further? Integrate a home automation system to monitor moisture and hardware status, transforming your cabinet care from reactive to proactive.Embarking on my journey to create a custom built-in for my hallway taught me invaluable lessons I wish I’d known from the start. First, the importance of precise measurements cannot be overstated—sketching and marking before cutting saved me from costly mistakes and helped visualize the final result. Next, selecting durable, moisture-resistant materials ensured my storage would withstand everyday wear and environmental challenges. A surprising insight was how hardware quality, especially soft-close hinges and sturdy slides, dramatically extended the lifespan of my cabinets and enhanced usability. Lastly, integrating adjustable shelves and modular components gave me flexibility for evolving needs, transforming my space into a truly personalized haven.