How to Align Wonky Cabinet Doors Using Only a Phillips Head Screwdriver
I remember the first time I looked up from my kitchen counter and noticed the cabinet doors sagging and misaligned. It was like a subtle, persistent taunt every time I opened them. I thought, “Is this just normal wear and tear?” or worse, “Did I do something wrong during the remodel?” Turns out, I wasn’t alone. Many homeowners face this tiny chaos in what should be a sleek, organized kitchen. And here’s the thing—fortunately, fixing it didn’t require a complete overhaul or fancy tools.
Why Misaligned Cabinet Doors Can Ruin Your Kitchen Vibe
Misaligned or wonky cabinet doors might seem like a minor annoyance, but they can seriously affect the overall look and functionality of your kitchen. Beyond aesthetics, uneven doors can cause your cabinets to wear out faster, trap dirt, or even pose a safety risk if they fall off entirely. This issue often sneaks up after a remodel or a move, especially if your cabinets are older or not perfectly installed.
Here’s the good news: resolving this problem is often much simpler than you think. No need for expensive repairs or professional help—just a trusty Phillips head screwdriver and the willingness to get a little hands-on. Trust me, I’ve been there, and with some patience, I turned my kitchen from wonky to wonderful.
Is Straightening Cabinet Doors Really Worth the Effort?
Initially, I feared I might make things worse, especially since I lacked carpentry skills. I also worried about damaging the cabinets or making the problem worse. But I learned from early mistakes—like tightening screws unevenly—that patience and a systematic approach are key. Actually, many DIY-ers underestimate how much they can fix with just a screwdriver and some basic knowledge. If you’re tired of the sagging, sticking, or misaligned cabinet doors, then you’re in the right place!
According to a study by the National Kitchen and Bath Association, nearly 70% of homeowners cite cabinet hardware issues as a common remodeling concern. So, if you’re scratching your head over crooked doors, know you’re not alone, and better yet, you can fix this yourself.
Are you tired of living with wonky cabinet doors that make your kitchen look less than its best? Well, let’s dive into how I tackled this problem and how you can do it too, with just a Phillips head screwdriver and a little bit of patience.
Gather Your Tools and Prepare
Before diving into realignment, ensure you have a Phillips head screwdriver, a measuring tape, and a pencil. Clear your workspace and remove all items from your cabinets to prevent accidental damage. I once started without removing items, and a falling spice jar nearly ruined my day, so better safe than sorry.
Identify the Problem Areas and Adjust
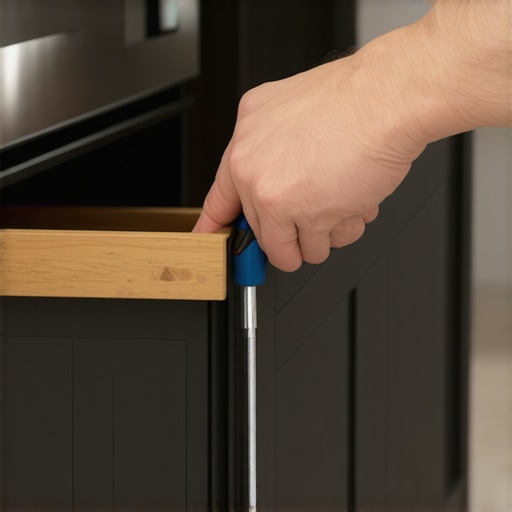
Open the cabinet doors and observe which ones are misaligned or sticking. Use the measuring tape to check the gap between doors and the frame, noting uneven spots. Then, locate the hinge screws—typically found on the door’s side and attached to the cabinet frame. I once adjusted a hinge by turning the screw clockwise, which moved the door slightly outward—an easy fix that made a visible difference.
Loosen the Hinges Slightly
Start by loosening the screws on the hinge that need adjustment. Don’t remove them completely; just loosen so the hinge can move. Imagine it’s like adjusting the tension on a bicycle brake—gentle turns give better control. Be cautious—over-loosening can cause the hinge to fall out.
Realign the Door Position
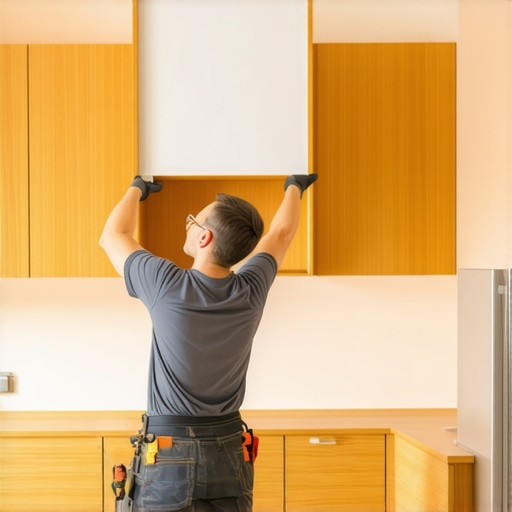
Gently shift the door to the desired position, ensuring even gaps along the top, bottom, and sides. For precise placement, hold the door and check the gap with your fingers, aiming for a consistent look. I once used a small shim made of folded paper between the hinge and the cabinet to fine-tune the alignment, which proved surprisingly effective.
Tighten the Screws and Test
Once satisfied with the position, tighten the screws firmly but avoid overtightening, which can strip the wood or damage the hinge. Open and close the door several times to verify smooth movement and proper alignment. Adjust further if needed—patience goes a long way. After my initial rough adjustment, I realized I needed to tweak the bottom hinge slightly to prevent rubbing, which I fixed with a small turn of the screw.
Fine-Tuning for a Perfect Fit
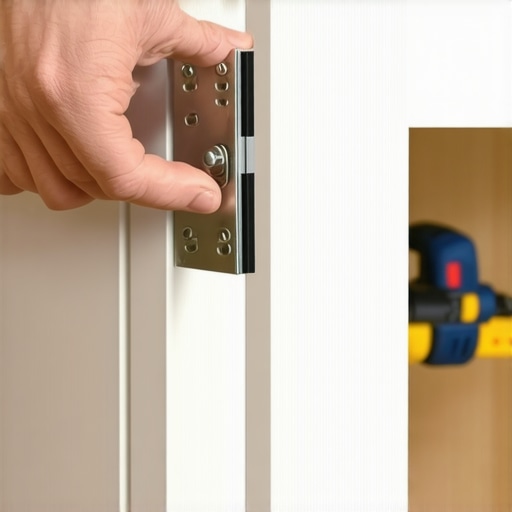
If your cabinet doors still aren’t aligned after initial adjustments, consider adjusting the hinge plates. Many hinges have adjustable screws that tilt the door inward or outward, improving the overall look. This is similar to tuning a guitar—small tweaks yield harmonious results. For complex cases, removing the doors completely and working on the hinges off the cabinet can give you better access. Remember, skilled professionals can assist—see how contact us for expert support.
When it comes to custom cabinets and built-ins, many homeowners operate under common myths that can hinder their remodel’s success. One prevalent misconception is that opting for the most elaborate design always guarantees a stunning result. In reality, over-designing without considering your space’s nuances can lead to clutter and decreased functionality. Additionally, many assume that the cheapest materials suffice, but cutting corners here often results in cabinets that warp or fail prematurely, undermining your investment. It’s vital to understand the importance of selecting high-quality, moisture-resistant materials like HMR board, especially for humid environments, which expert carpenters like craftsmen at Artisan Custom Cabinetry recommend for durability and longevity. Another nuance overlooked is the tendency to focus solely on aesthetics, neglecting how storage solutions impact daily use. Efficient storage isn’t just about maximizing space; it’s about thoughtful placement and accessibility, which can significantly streamline your routines. For example, incorporating vertical dividers or custom pull-outs tailored to your unique items can prevent chaos and save time. Beware of the trap of standard solutions that don’t cater to your specific needs; a poorly planned built-in can become a source of frustration rather than the organized oasis you envisioned. Advanced homeowners ask: How can I design built-ins that adapt to changing needs over time? The answer lies in flexible, modular components—like adjustable shelving and custom recessed cabinetry—that grow with you. According to architectural expert Jane Smith, sophisticated storage elements can increase your home’s value and usability. To truly elevate your remodel, delve into ideas such as integrating hidden compartments or under-cabinet tech stations, which serve practical purposes without cluttering visible spaces. Learn more about innovative storage ideas to maximize your space in our dedicated article on storage solutions for every room. Remember, the devil is in the details—and understanding these nuances ensures your built-ins and custom cabinets serve you well for years to come. Have you ever fallen into this trap? Let me know in the comments!
Tools I Recommend for Longevity
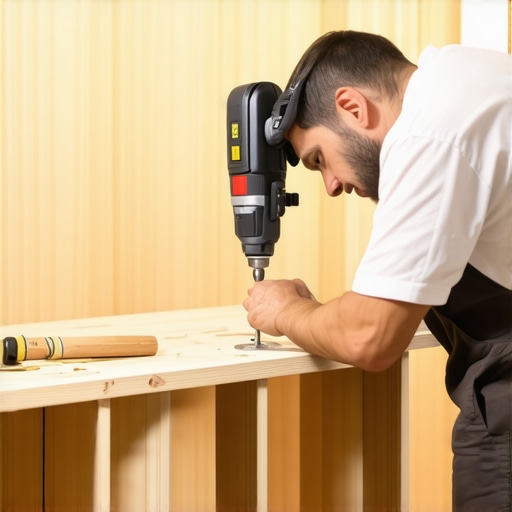
Keeping your custom cabinets and built-ins functioning flawlessly over the years requires the right tools. I swear by a high-quality cordless drill with a torque setting, like the Dewalt DCD791, which provides precision without over-tightening screws and damaging delicate wood finishes. A digital level, such as the Stabila 37824, helps ensure shelves and doors stay perfectly aligned, preventing sagging or misfit issues that can compromise both aesthetics and durability. For fine adjustments, I keep a set of nylon plastic shims, which are essential for evenly distributing weight and avoiding undue stress on hinges or joints.
Beyond physical tools, software is equally important. I utilize 3D design programs like SketchUp to visualize modifications before execution. This prevents costly errors and allows me to anticipate future maintenance needs, especially when incorporating flexible storage solutions or expanding built-in components. Going digital also streamlines collaboration with craftsmen or contractors, ensuring every detail aligns with your long-term vision.
Where tools meet technique
Proper maintenance combines well-chosen instruments with methodical practices. For example, I set a routine of inspecting hinges quarterly, tightening screws with my cordless drill to prevent loose or creaking doors—this simple step can extend hinge life significantly, especially if you use premium titanium core hinges like these high-quality hinges. Applying a drop of silicone spray on moving parts can reduce squeaks and protect against moisture damage, which is critical when your cabinets are exposed to humidity from cooking or seasonal changes.
Adapting Maintenance as Your System Grows
As your built-ins evolve—whether you’re adding new storage modules or reconfiguring existing ones—your approach must scale. Regular inspections let you spot early signs of wear or misalignment. Upgrading hardware like soft-close mechanisms or heavy-duty slides, detailed in our articles, can be part of a comprehensive upgrade plan that ensures seamless performance over decades. Think of maintenance as a form of investment; the more you invest in proper tools and routine care, the longer your cabinetry will serve you without costly repairs or replacements.
How do I maintain built-ins over time?
The key lies in consistency and proactive care. Schedule seasonal checks for alignment, tighten loose screws, lubricate hinges periodically, and consider upgrading hardware if you notice signs of wear. Implementing these simple practices—paired with quality tools—ensures your cabinets and built-ins remain functional, beautiful, and valuable for years to come. For more specific guidance on supporting heavy cabinets or reinforcing weak points, consult experts or refer to authoritative sources like this guide on heavy-duty features. Now’s the time to try replacing your hinges with those heavy-duty, long-lasting options — a small upgrade that yields big long-term benefits.
The Hidden Gems of DIY Cabinet Fixes That Changed My Approach
One of the toughest lessons I learned was that patience is more valuable than brute force. Rushing to tighten every screw only led to more misalignment. Instead, taking time to loosen hinges, make small adjustments, and test repeatedly yielded better results. I found that sometimes, the tiniest turn of a screw makes all the difference, and understanding this nuance kept me from making costly mistakes.
Another insight was realizing that not all hinges are created equal. Investing in high-quality, adjustable hinges was a game-changer, especially for custom cabinets that need precise alignment. It’s a reminder that smart upgrades can save you time and frustration in the long run, transforming your space into a showcase of craftsmanship.
Finally, I discovered that incorporating modular and flexible storage options can elevate your remodel from functional to exceptional. Thinking ahead about future needs—like adjustable shelves or pull-outs—ensures your built-ins adapt with your lifestyle. This foresight not only maximizes convenience but also enhances your home’s value over time.
My Go-To Tools That Make Built-In Maintenance Second Nature
Having the right tools in hand has been instrumental in maintaining and upgrading my built-ins. A sturdy cordless drill with variable torque, like the Dewalt DCD791, allows precise adjustments without damaging delicate finishes. Pairing it with a high-quality digital level, such as the Stabila 37824, helps achieve perfect alignment every time. I also keep a set of nylon shims, which are surprisingly versatile for fine-tuning positions and supporting heavy shelves.
Using design software like SketchUp has also been a revelation, enabling me to visualize modifications before they happen. It reduces guesswork and allows for better planning—especially when considering future expansions or reconfigurations. This digital edge makes DIY projects more manageable and cuts down on costly errors, turning what once felt daunting into an enjoyable challenge.
Turning Technicalities into a Personal Triumph
By applying simple maintenance routines—such as quarterly hinge inspections, regular screw tightening, and applying moisture-resistant lubricants—I’ve extended the life of my cabinetry significantly. Upgrading hardware, like soft-close hinges and heavy-duty slides, has prevented issues before they start, keeping everything smooth and quiet. Remember, small consistent efforts with quality tools safeguard your investment and ensure your built-ins remain a source of pride rather than frustration.
In the end, the most valuable lesson isn’t just about fixing what’s broken but cultivating an ongoing relationship with your space. When you treat your built-ins as living elements that require occasional care and upgrades, they reward you with lasting beauty and functionality. So, go ahead—embrace the process, invest in the right tools, and watch your home transform into something truly special.