How to Remove Old Cabinet Hardware Without Damaging the Finish
Ever tried to swap out those stubborn vintage knobs only to find your carefully painted cabinets marred by unsightly scratches or gouges? I remember the day I dove into my kitchen remodel, determined to give my cabinets a fresh look, but the old hardware wouldn’t budge. My first attempt left scratches that I still see every morning—frustrating! That lightbulb moment led me down a path of careful removal techniques I want to share with you.
Why Removing Old Kitchen Hardware Can Be Trickier Than You Think
Many homeowners overlook how delicate cabinet finishes really are. A single misplaced tool or too much force can cause lasting damage, turning a simple project into a costly repair. Knowing how to remove hardware properly isn’t just about aesthetics; it’s about preserving value and avoiding unnecessary headaches. With the right approach, you can update your kitchen’s look without risking harm to your cabinets. Trust me, I’ve learned this the hard way. Curious if you’ve faced similar frustrations? Drop a comment below!
Is It Really Worth the Extra Effort to Protect Your Cabinets?
Early on, I made the mistake of tearing into hardware with a screwdriver like I was on a salvage mission. Turns out, that’s a surefire way to scratch the finish. Experts agree that using the right tools and techniques can make all the difference. In fact, one study by professional cabinetmakers emphasizes that gentle removal extends the lifespan of your cabinets and keeps them looking new longer (source). In the sections to come, I’ll walk you through how to approach this task with care, saving your finish and your patience. Ready to dive into the detailed steps? Let’s get started with the tools you’ll need for a damage-free withdrawal.
Gather the Right Tools Before You Start
In my own experience, rushing into hardware removal without proper tools can turn a straightforward task into a nightmare. I recommend assembling a few essentials: a utility knife, a quality low-profile screwdriver, a plastic pry tool, and painter’s tape. The utility knife helps safely detach any paint or sealant; the screwdriver must match your hardware screws; the pry tool minimizes cabinet finish damage; and painter’s tape protects delicate surfaces from scratches. Once, I used an old credit card as a pry tool, which worked surprisingly well. Gather these in advance to avoid interruptions that lead to accidental gouges.
Protect Your Cabinets with Painter’s Tape
Step-by-step taping method
Before loosening screws, apply painter’s tape around the hardware and adjacent cabinet surfaces. This acts as a buffer if the tool slips. When I attempted to remove a stubborn vintage knob, I first sealed the area with tape, which prevented scratches even when my screwdriver jerked unexpectedly. This step is crucial for preserving your cabinet’s finish, especially on painted or veneered surfaces. Remember: taking a minute to tape can save hours of refinishing later.
Loosen and Remove Hardware Gently
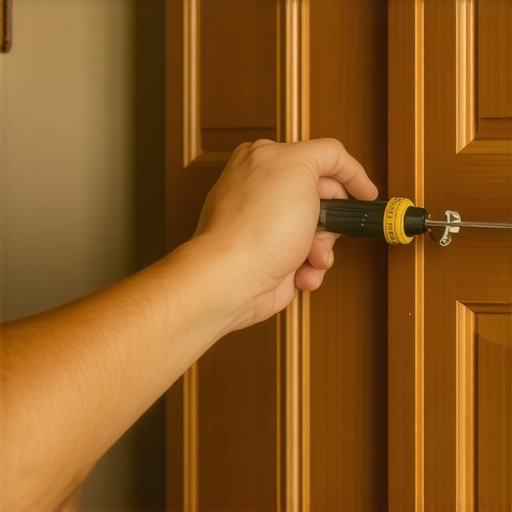
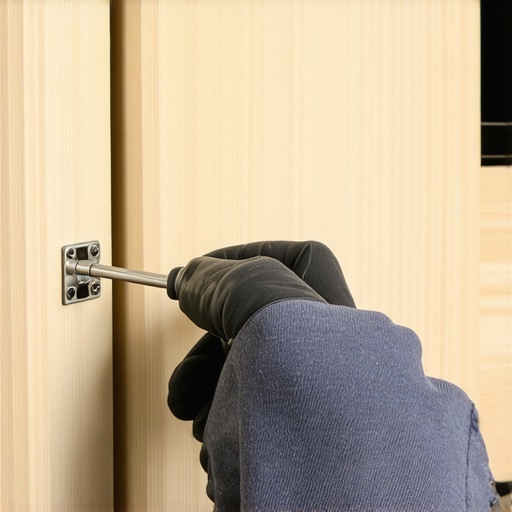
Position your screwdriver into the screw head and turn counter-clockwise with controlled force. If screws are tight, avoid excessive torque that could strip the head or tear the finish. Use the plastic pry tool to carefully lift the hardware if it’s stuck—wriggle underneath with gentle pressure. I once left a knob attached a bit too tightly and ended up stripping the screw; using a specialized screwdriver bit designed for stripped screws could have saved me that hassle. Patience and gentle maneuvers are key—think of cabinet hardware as delicate jewelry rather than rough tools.
Addressing Stubborn Screws and Corrosion
For screws that refuse to budge, apply a penetrating lubricant like WD-40 and wait 10-15 minutes. Tap lightly around the screw rim with a small hammer or the handle of your screwdriver to work the lubricant in, then attempt to turn again. In one case, I left the lubricant overnight and found the screws loosened easily the next day, avoiding damage to the wood. Avoid forcing or prying excessively to prevent strip-outs or gouges. If a screw wallows out, a screw extractor may be your best bet to avoid enlarging the hole.
Dealing with Hidden or Damaged Screws
Occasionally, vintage hardware might be secured with hidden or damaged fasteners. Use a flashlight to inspect inaccessible areas; a mirror can help angle light into tight spots. If screws are stripped or heads are damaged, consider drilling out the screw carefully with a drill bit slightly smaller than the screw shaft, then replace with new fasteners. When I had a handle with a stripped screw, drilling it out allowed me to smoothly reinstall new hardware and prevent future issues.
Cleaning and Preparing for Reinstallation
After hardware removal, clean any residual paint or debris from screw holes with a brush or cloth. Touch up paint if necessary to restore finish integrity. This proactive step ensures your new hardware will sit flush and look pristine. I once skipped this step and faced misaligned hardware on reinstallation, which was hard to correct later. Final step: store screws and hardware in a labeled container for easy reassembly or future projects.
Mastering these careful removal techniques preserves your cabinets and sets the stage for a sleek, new look. Keep in mind, patience saves finishes, and the right tools make all the difference. Want to explore more ideas for your kitchen upgrade? Check out built-in storage solutions that complement your new hardware!
Many homeowners believe they understand what makes a custom kitchen truly premium — but in reality, there are often overlooked nuances that can make or break your remodel’s success. A common myth is that opting for more drawers or larger cabinets automatically translates to better storage. However, experts emphasize that thoughtful planning around accessibility and space utilization is crucial. For instance, improper drawer height adjustments or ignoring vertical storage opportunities can lead to clutter and inefficiency, no matter how high-end your cabinets are. Dive into the details beyond surface-level choices to avoid costly mistakes. Have you ever fallen into this trap? Let me know in the comments!
Why do so many premium kitchens still suffer from poorly utilized space?
“Advanced design strategies reveal that optimized depth, the inclusion of hidden compartments, and smart-latching mechanisms significantly enhance functionality (source). Moreover, many believe that all built-ins add value, but misaligned or poorly integrated pieces can disrupt flow and aesthetic harmony. For example, a built-in wine rack that protrudes unnecessarily or a pantry shelf that isn’t adjustable can diminish the perceived quality. Attention to these subtle details distinguishes an average remodel from an extraordinary one. Remember, the devil is in the details, especially when crafting a seamless, functional kitchen.
One tricky area: How to avoid common mistakes in custom cabinetry?
“Many fall into the trap of neglecting structural load considerations or ignoring future needs for adaptability. Incorporating adjustable shelving and considering overall weight capacity can prevent sagging or failure over time. Also, aligning your hardware and hardware placement with ergonomic principles enhances usability and reduces strain. The real breakthrough is understanding that the craftsmanship behind these elements impacts longevity and user satisfaction more than just choosing the prettiest finish or the most expensive hardware. For comprehensive guidance, check out this expert guide for 2025. It’s essential to plan meticulously and consider future changes — because your kitchen isn’t just a space for today. Get it right, and you’re investing in a lifetime of beauty and function. For more innovative ideas, explore built-in storage solutions that keep your kitchen both stylish and practical.
Once you’ve invested in high-quality custom cabinets and innovative storage solutions, maintaining their functionality is crucial for long-term success. Regular upkeep isn’t just about cleaning; it involves using the right tools and methods that respect the craftsmanship and materials involved, ensuring your kitchen remains as efficient as the day it was remodeled.
Prioritize Precision with Specialized Tools
To keep your cabinetry operating smoothly, I recommend investing in a high-quality, magnetic-tip screwdriver set. I personally prefer the Wiha Precision Screwdriver Set because its magnetic tips firmly hold screws, preventing dropped hardware that can be hard to retrieve in tight spaces. Additionally, a digital moisture meter like the Protimeter Surveymaster can help monitor humidity levels, especially in environments prone to moisture fluctuations, protecting your woodwork from warping or swelling over time. Using these specialized tools allows for precise adjustments and early detection of potential issues, saving you costly repairs down the line.
Adopt Smart Maintenance Practices
Establishing a routine schedule for inspecting hinges, sliders, and hardware can dramatically extend your cabinetry’s lifespan. I recommend checking for loose screws or hinges at least twice a year, tightening them with your precision screwdriver. For stubborn hinges or drawer slides, applying a small amount of high-quality silicone spray lubricant like WD-40 Specialist Smart Straw can reduce wear and ensure whisper-smooth operation. Avoid over-lubricating, as excess can attract dust, which complicates cleaning and maintenance.
Harness Technology for Long-Term Results
Looking ahead, integrating smart sensors into your cabinetry—such as moisture or space sensors—can provide real-time alerts if issues arise. Though still emerging in the cabinetry world, these technologies promise to optimize upkeep by notifying you of humidity spikes or misalignments before damage occurs. Industry experts predict that future trends will lean heavily into IoT-enabled furniture, making routine checks almost obsolete and ensuring your investment remains protected. For now, I recommend using digital tools like the built-in storage management apps to track maintenance schedules and upcoming tasks effectively.
How do I maintain my custom cabinetry and storage systems over time?
Consistent, proactive maintenance is key. Pair routine inspections with the right tools—such as magnetic screwdrivers and moisture meters—and don’t shy away from modern tech solutions that can alert you early to issues. This approach not only preserves your cabinets’ aesthetic appeal but also ensures they function flawlessly for years to come. As the trend toward smarter homes continues, considering innovations like IoT-connected hardware will become increasingly valuable. Start by trying out a simple tip: use a high-quality lubricant on hinges and slides every six months. It’s an easy step that pays off significantly by preventing squeaks and misalignments that can compromise your custom setup.
Want to explore advanced storage innovations? Check out innovative storage solutions for modern kitchens that can further enhance your space’s functionality. Remember, consistent care combined with smart tools will keep your customized kitchen both beautiful and reliable for the long haul.
Throughout my journey with custom cabinets, storage solutions, and built-ins, I’ve uncovered invaluable insights that transform a standard kitchen upgrade into a truly exceptional renovation. These lessons often come from mistakes, late-night research, and a passion to perfect every detail—lessons you’re unlikely to find in typical guides. Let me share some of the most profound realizations that have shaped my approach.
The Hardest Lesson I Learned About Custom Kitchen Designs
- Poor planning leads to costly regrets. Initial enthusiasm can cause overlooked details—like door swing clearance or electrical placements—that haunt you later. Investing time in comprehensive planning saves money and stress.
- Every detail has a purpose. Choosing hardware or finishes without considering functionality can diminish usability. High-end looks won’t compensate for poor ergonomics or accessibility.
- Patience yields perfection. Rushing through installation often results in misalignments or finishing imperfections. Taking deliberate steps ensures a seamless, polished outcome.
- Trust skilled artisans. DIY enthusiasm is great, but knowing when to hire experienced craftsmen makes all the difference in achieving a premium look and long-lasting quality.
- Lifelong maintenance matters. Simple routines—like checking hardware or cleaning surfaces—extend the lifespan of your investment, keeping your kitchen beautiful for years.
My Go-To Resources for Elevating Kitchen Renovations
- Industry-leading privacy and quality standards: Ensuring your supplier adheres to top-tier practices is crucial for durable, beautiful results.
- Built-in storage guides: Practical ideas that maximize space and maintain a clean aesthetic.
- Expert tips on storage solutions: Tailored recommendations to fit your needs and style.
- Modern remodel inspirations: Visualize what’s possible with current trends and innovative ideas.
Your Turn to Shape the Future of Your Kitchen
Embracing the nuances of custom cabinetry and smart storage opens doors to a kitchen that’s both stunning and highly functional. Remember, every choice you make—whether it’s the type of hardware, method of removal, or maintenance routine—contributes to the story of your home. Take these lessons to heart and start crafting your perfect culinary haven. Are you ready to implement some of these insights into your next project? I’d love to hear about your plans or questions below!
,