How to Spot a Bad Miter Joint Before You Pay the Deposit
I remember the moment vividly—standing in my kitchen, holding a newly purchased cabinet door, only to notice a glaring misalignment at the corner. It was disheartening, and honestly, a bit embarrassing. That small flaw made me wonder: did I just fall for a shoddy craftsperson, or was I missing something crucial during my inspection? If you’ve ever been there, you know that such oversights can turn a beautiful renovation into an ongoing frustration.
Why Recognizing a Poor Miter Joint Matters More Than You Think
In the world of custom cabinetry and built-ins, a perfect miter joint isn’t just about aesthetics—it’s a testament to workmanship and durability. A poorly executed joint might look acceptable at first glance but can lead to gaps, wobbling, or worse, structural failure over time. Early in my remodeling journey, I made a costly mistake: trusting a supplier based solely on price, neglecting to scrutinize the quality of their joints. That oversight cost me extra time and money fixing issues I could have spotted beforehand.
Did you know that studies show poorly fitted joints can weaken furniture stability, leading to increased wear and tear? According to industry expert advice, inspecting joints meticulously is a simple yet effective way to ensure longevity and quality in your renovations. So, before you sign that deposit check, let’s delve into how you can spot bad miter joints yourself.
Is It Really Worth Getting Into the Nitty-Gritty?
When I first started learning about cabinet quality, I wondered if this fuss was necessary. Honestly, I thought, “It looks fine from a distance.” But my mistake early on was dismissing the importance of close inspection, which turned out to be a big oversight. The truth is, ignoring these details can lead to costly fixes down the line. To help you avoid my mistake, I’ll guide you through what signs to look for so you can confidently assess your potential investments. Ready to become your own inspector? Let’s get into the details.
Pull Out Your Toolbox and Get Hands-On
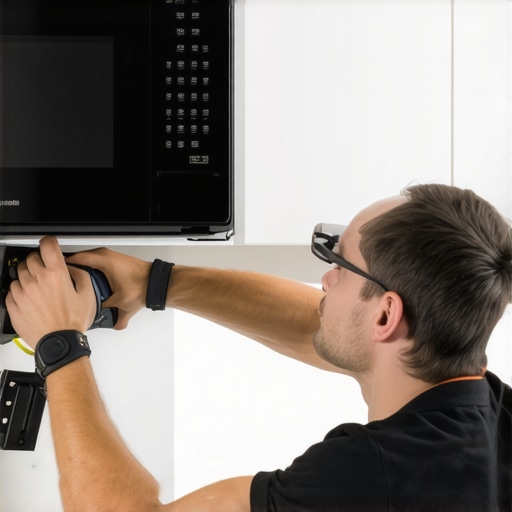
Start by examining your cabinet corners closely. Use a flashlight and a small flat-head screwdriver or a razor blade to gently pry open any gaps. Remember, a tight joint should be seamless and flush at every edge. I once inspected a friend’s new built-in pantry, and I noticed a tiny gap at one corner. Instead of assuming it was acceptable, I grabbed a flashlight, held it at different angles, and peeked into the joint. The subtle gap indicated a misaligned miter, which, if left uncorrected, could cause future peeling paint or even structural issues. That day, I learned that making a habit of detailed inspections saves time and money later.
Test the Strength—Actually Push and Feel
Apply gentle pressure on the joint to check for wobbling or looseness. A secure miter joint shouldn’t move or creak under light pressure. While installing a custom cabinet, I noticed some joints felt slightly wobbly. Instead of ignoring it, I pressed gently and saw movement. This revealed that the adhesive hadn’t set properly, and the joint needed re-gluing and clamping. Remember, a strong joint resists movement over time, ensuring your cabinets won’t rattle or come apart. When you test, you’re not just inspecting—you’re verifying craftsmanship.
Look for Inconsistencies with a Magnifying Glass
Use a 10x magnifying glass to inspect the cut edges. The perfect miter should have tight, crisp corners with no gaps or overlapping edges. During my second renovation, I used a magnifier to examine the miters on a set of built-in shelves. I spotted tiny paper-thin gaps that were invisible to the naked eye. These gaps suggested the saw blade wasn’t calibrated properly, which could compromise the joint’s integrity. Noticing such flaws early prevented me from installing imperfect cabinets that would have caused headaches later. Regular magnified inspection is a small effort for big peace of mind.
Check Alignment with a Carpenter’s Square
Place a carpenter’s square against the joint to ensure 90-degree accuracy. Misaligned miters can be visually appealing but translate into uneven gaps and structural issues. I once received a custom piece with slightly skewed miters. Using a square, I realized that the joint was at a slight angle, which could cause doors to bind or drawers to misalign. Correcting misaligned miters involved adjusting the clamps, then re-sawing or fine-tuning the cut. Proper alignment ensures a professional look and functional durability.
Utilize Your Hands—Feel for Smoothness and Fit
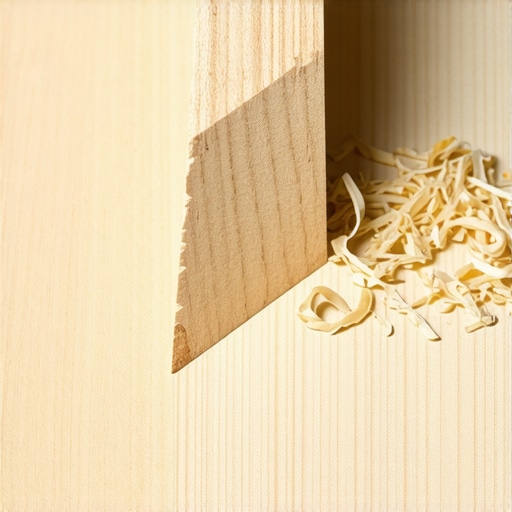
Run your fingers along the joint edges to feel for roughness or irregularities. A well-executed miter joint should feel smooth and even. Once, I caressed a newly installed cabinet and noticed a tiny ridge where the miters met—an uneven cut or improper sanding. Sanding down these ridges made the joint look seamless. Feeling the joints might seem trivial, but it’s an essential step that reveals issues beyond visual inspection. A smooth, flush joint is a hallmark of quality craftsmanship.
Inspect and Repair Before Installation
If you detect flaws, don’t accept them. Remove the cabinet door or panel and re-glue or recut the miters if necessary. For example, I once caught a bad joint just before sealing the cabinet face. I disassembled the miter, re-cut the pieces with a finer blade, and glued everything again. This proactive approach ensures your finished project is both beautiful and durable. Don’t wait until after installation—early detection facilitates easier repairs and guarantees a premium look.
By integrating these meticulous inspection methods, you’ll catch imperfections early and ensure your built-ins stand the test of time. Remember, a quality miter joint isn’t just about appearance; it’s about structural integrity and craftsmanship that lasts. If you need tailored solutions or expert assistance, consider reaching out to professionals at this contact page. For more insights into advanced storage and cabinet techniques, explore these innovative ideas.
Many homeowners assume that choosing the latest trends or the most popular materials guarantees a successful kitchen renovation, but beneath the surface lie nuanced misconceptions that can derail even the best-planned remodels. One of the most widespread myths is that all custom cabinets are created equal; in reality, overlooking structural details like the quality of joinery or material grade can lead to costly repairs later. For example, trusting lower-grade plywood for heavy-use areas may seem economical initially, but studies show that higher-quality plywood resists warping and delamination, ensuring longevity and sustained appearance, which is vital for investment value.
Why do so many focus solely on aesthetics, neglecting functionality? This oversight often results from an underappreciation of the complex interaction between storage accessibility, ergonomic design, and future-proofing. Many think that adding more cabinets is always the answer, yet improper sizing or placement can create clutter and reduce workflow efficiency. The key, as experts suggest, is to analyze how storage solutions serve daily routines, which can be refined by integrating innovative ideas like pull-out shelves or corner optimizers—details that significantly enhance usability. Have you ever fallen into this trap? Let me know in the comments.
When it comes to built-ins, many assume that matching existing cabinetry or opting for pre-made options ensures a seamless look. However, this can lead to aesthetic dissonance if subtle details like filler gaps or molding styles are ignored. A sophisticated challenge lies in aligning built-ins perfectly with existing elements, especially when walls are uneven or architectural features vary. Advanced techniques—including custom scribing and employing adjustable mountings—are critical to achieving a flawless finish. Failing to consider these nuances often results in gaps, tiling issues, or uneven panel alignment, which diminish the overall quality and visual harmony of the space. Amid these complexities, collaborating with experienced craftsmen who understand these advanced subtleties can be the difference between a mediocre result and a true showstopper.
What can go wrong if you ignore these hidden details? Missing the finer points in cabinetry installation or storage planning can cause structural weaknesses, reduce durability, and compromise the functionality of your kitchen. For example, neglecting to reinforce heavy upper cabinets or failing to properly seal joints can lead to sagging or water damage over time. Recognizing and addressing these hidden nuances early ensures longevity and preserves aesthetic integrity. To explore solutions tailored for your project, consider reaching out for expert guidance at this contact page. For a comprehensive understanding of what makes custom cabinetry truly superior, visit this detailed guide. Remember, paying attention to these advanced details can save you thousands and elevate your kitchen remodel from good to exceptional.Maintaining your custom kitchen cabinets and built-ins requires the right tools and a disciplined approach. I personally rely on a high-quality orbital sander, like the Fein MultiMaster, for refinishing or smoothing surfaces without gouging. Its variable speed settings let me adjust based on whether I’m finishing oak or veneer, which prevents damage and prolongs cabinet life. Additionally, a good torque screwdriver—such as the Wiha Precision—ensures I can tighten hardware securely without over-tightening, reducing wear over time. When it comes to cleaning, I prefer using a microfiber cloth combined with a gentle, pH-balanced cleaner designed for wood finishes, like Murphy’s Oil Soap, to preserve the surface quality without stripping protective finishes.How do I keep my cabinets looking their best over the years?
Regular inspections are crucial. I recommend setting a quarterly reminder to check for loose hardware, signs of swelling or cracking, and any sticky hinges. Preventative repairs—like tightening loose screws or reapplying a fresh coat of furniture wax—can prevent costly replacements later. For cleaning stubborn stains or grease buildup, I use a soft brush with a mild mixture of water and vinegar, which cuts through grime without harming the finish. These small, consistent efforts significantly extend the lifespan of your cabinetry. Looking ahead, the trend is moving toward smarter, self-monitoring cabinets equipped with sensors that alert you to leaks or hardware failures, making maintenance more intuitive and less reactive. Embracing these innovations could save you time and money while keeping your kitchen perfect for years to come. For tailored advice, don’t hesitate to reach out at this contact page. Remember, a proactive maintenance routine isn’t just about appearance—it preserves structural integrity and functionality, ensuring your investment lasts. To maximize space effectively and simplify ongoing care, explore these innovative storage solutions as part of your long-term plan.
Secret Lessons That Changed How I Approach Kitchen Transformations
- Trusting the process is great, but every detail counts—especially when it comes to miter joints. The smallest imperfections can snowball into costly repairs or aesthetic disappointments, so investing time in inspecting your craftsmanship is always worth it.
- High-quality tools and resources have become my best friends. They don’t just make the job easier—they ensure precision and longevity. I now rely on specific brands and guides that I trust to keep my projects on point and withstand daily wear.
- Patience and hands-on assessments reveal more than photographs or sketches ever could. A tactile inspection uncovers hidden flaws, and taking that extra moment can prevent your renovation from turning into a maintenance headache later.
- Fostering a keen eye for craftsmanship elevates your entire project—from initial design to final installation. Recognizing what makes a joint truly durable and beautiful transforms you from a homeowner to a DIY connoisseur who appreciates real quality.
Where to Find the Best Gear and Wisdom for Your Kitchen Dreams
- Expert Tools for Fine Finishings: My staple is the Fein MultiMaster orbital sander, which handles delicate refinishing without damage. Its variable speeds and ergonomic design let me achieve flawless surfaces efficiently.
- Guides That Elevate the Game: I recommend reading the Ultimate Guide to Custom Cabinets. It’s packed with insights that help me understand the nuances of joinery and material choices, making every project a step toward mastery.
- Reliable Resources for Inspiration and Solutions: The Built-ins and Storage Hacks page is my go-to for innovative storage ideas that maximize space without sacrificing style. Implementing them has transformed my kitchen into a functional, clutter-free zone.
Your Turn to Tackle the Details
Embracing these lessons and tools has truly reshaped my approach to kitchen remodels, and I believe they can do the same for you. Every careful inspection and quality decision brings you closer to a space that’s both beautiful and lasting. Remember, paying attention to the finer points of joint craftsmanship and storage efficiency isn’t just about aesthetics—it’s about creating a home that endures and delights for years to come. Ready to dive in and apply these insights? Your perfect kitchen awaits!
What’s been your biggest challenge in assessing cabinetry quality? Let me know below!