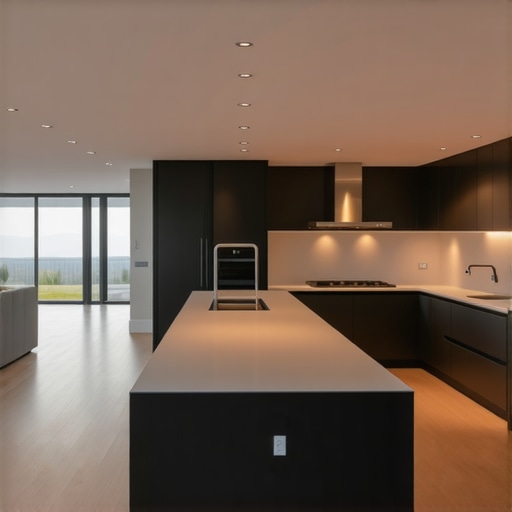
The 36-Inch Clearance Rule: Avoiding Kitchen Island Traffic Jams
It was a chaotic Saturday morning when I realized my beautiful new kitchen had become a battlefield. The island, sleek and inviting, suddenly felt more like a traffic obstacle than a centerpiece. Every time I ventured around it, I imagined a bustling city street, clogged with impatient vehicles. That moment was my lightbulb—something had to give. After redesigning countless kitchens, I discovered a simple but often overlooked secret: the 36-inch clearance rule. This one guideline can save you from daily frustrations and make your space both functional and enjoyable.
The Hidden Power of a Simple Space
Every kitchen remodel should prioritize flow—how smoothly you can move from one station to another without feeling like you’re navigating a highway during rush hour. The 36-inch clearance is the sweet spot recommended by design experts for walkways around islands or other kitchen fixtures. It’s not just about aesthetics; it’s about *real* usability. When I first overlooked this, I underestimated how much it would impact my daily routine. Now, I swear by this rule, and I want to help you avoid my initial mistake by ensuring your kitchen has the right space for movement.
Is the 36-Inch Clearance Overhyped?
Let’s face it, many well-meaning designers, or even DIY kitchen enthusiasts, tend to underestimate the importance of proper clearance. I’ve seen kitchens where the island feels cramped, and every trip around it becomes a test of patience. My early blunder was thinking, ‘More storage and bigger islands are always better.’ But more often than not, I was sacrificing functionality for style. According to the National Kitchen and Bath Association, appropriate aisle width is essential to prevent congestion and accidents. So, don’t fall into the trap of designing without considering how people move through your space.
Have you ever found yourself squeezing past your island, knocking over a glass or feeling frustrated? That’s a clear sign your kitchen might be lacking enough clearance. The good news? It’s a fix that’s simple and transforms your everyday experience.
In the sections ahead, I’ll walk you through how to apply the 36-inch rule effectively, avoid common pitfalls, and turn your kitchen into a fluid, safe environment—no more traffic jams, just smooth sailing. If you’re eager to see how thoughtful spacing can redefine your space, keep reading.
Measure and Map Your Floor Plan
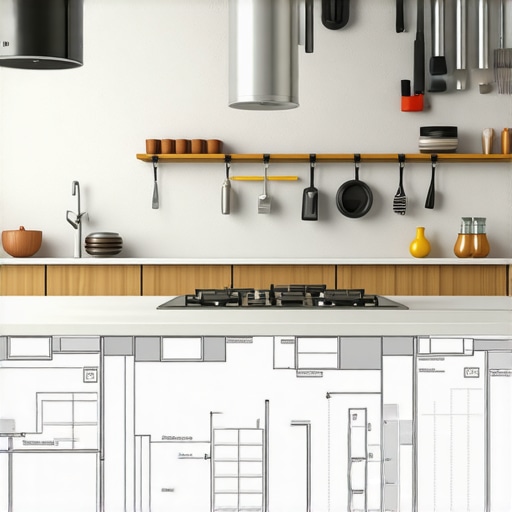
Start by sketching your existing kitchen layout, marking locations of cabinets, appliances, and walking paths. Use a tape measure to record precise dimensions, especially the width of walkways. During my remodel, I found a leftover piece of cardboard to visualize the island size and clearance—this low-tech approach prevented costly mistakes. Keep your measurements handy for reference when discussing options with a designer or contractor.
Apply the 36-Inch Rule Precisely
Once you know your space, ensure that all main walkways around islands, counters, and appliances are at least 36 inches wide. This clearance provides enough room for comfortable movement and safety. For tighter spaces, 42 inches is ideal, especially if multiple people use the kitchen regularly. I once had a cramped 30-inch walkway, which led to constant collisions and frustration. Reallocating a few inches at the planning stage vastly improved the flow.
Reconfigure Layouts to Maximize Space
If your current design doesn’t meet the clearance standards, consider shifting or removing non-load-bearing walls or adjusting cabinet placements. For example, I moved the fridge to free up space around the island, increasing clearance and making the area feel more open. Focus on removing obstructions in high-traffic zones, and consult detailed guides like this guide to understand how custom cabinets can help optimize space utilization.
Choose Storage Solutions that Save Space
Identify items that occupy unnecessary space and implement smart storage ideas. From deep drawers to pull-out shelves, targeted solutions can make a significant difference. During one project, I installed corner pull-outs and tray dividers to reclaim dead zones. Not only did they maximize storage, but they also kept everything accessible. Be mindful to design storage that aligns with your daily routines, reducing clutter and enhancing efficiency.
Optimize Wall Space with Built-Ins
Vertical storage can dramatically declutter countertops. I equipped a neglected corner with built-in spice racks and open shelving, inspired by this article. Builders can incorporate these features during initial construction or through retrofitting. Just ensure these installations align with your workflow, keeping frequently used items within arm’s reach and less-used items stored higher or in less accessible spots.
Integrate Custom Cabinets for a Cohesive Look
Custom cabinets offer tailored solutions for awkward spaces and unique needs. I collaborated with a carpenter to design shallow depth cabinets to maximize narrow corridors, inspired by insights from this resource. From specialized drawers to hidden compartments, custom cabinetry combines form and function. When planning, ensure cabinet heights and widths adhere to the measurements you’ve mapped, preventing oversize or underutilized areas.
Plan for Future Needs and Flexibility
Anticipate how your family’s habits might evolve. Incorporate adjustable shelves, removable inserts, or modular units. I once added a flexible pantry system, which transformed a narrow closet into a versatile storage zone. Incorporating these features ensures your kitchen remains functional long-term and adapts to changing demands.
Many homeowners believe that choosing standard, off-the-shelf cabinets is sufficient for a successful kitchen remodel, but in my experience, this is a common misconception. Custom cabinets are often seen as a luxury or unnecessary expense, yet they can be a game-changer in optimizing space and functionality. Overlooking the nuances of custom cabinetry can lead to issues like wasted space, difficulty in accessing stored items, or even the need for costly adjustments later on. It’s crucial to understand that custom cabinets are not just about aesthetics—they’re about precision fitting and long-term usability, which can significantly elevate your kitchen’s performance.
One widespread myth is that all storage solutions are created equal. In reality, many DIY solutions or pre-made organizers don’t account for the specific dimensions and habits of your household. For instance, a pull-out spice rack installed without measuring the depth of your cabinets can result in wasted space or the inability to access certain jars easily. For advanced storage, think about integrating features like vertical dividers or deep drawers tailored precisely to your needs. This approach minimizes clutter and maximizes accessibility. Learn more about innovative storage options to ensure your solutions are both efficient and elegant.
Another crucial aspect often overlooked is the integration of built-ins. Many assume that built-in features are only for high-end, luxury homes, but I’ve found that they can be customized to fit any budget and space. Built-ins aren’t just aesthetically pleasing; they can hide appliances, provide extra storage, or create a seamless look that makes your kitchen feel larger. However, the common mistake is designing these elements without considering future needs or workflow, leading to inconvenient layouts or the necessity for costly modifications down the line. To avoid this, plan with flexibility in mind, such as adjustable shelves or accessible compartments that evolve with your lifestyle.
**Are you making this mistake when planning your kitchen upgrade?** Many think that big changes require a complete overhaul, but nuanced details—like properly aligned cabinets or thoughtfully placed storage—often have the most positive impact. It’s worth investing in professional guidance or detailed planning to prevent costly errors. For example, improper placement of cabinets or fixtures can lead to functional bottlenecks, negating the benefits of a fresh aesthetic.
For advanced users curious about optimizing their cabinet design, consider the debate over inset versus overlay doors. Inset cabinets offer a sleek, flush appearance but require precise measurement and craftsmanship—and often come at a higher cost. Conversely, overlay cabinets are more forgiving and easier to install but may not provide the same seamless look. Understanding the trade-offs can help you make informed decisions that balance style, budget, and functionality. Experts suggest that choosing the right door style and hardware can significantly influence both the visual appeal and usability of your cabinets. To dive deeper, explore how to fix cabinet door issues and refine your project.
In summary, the crux of avoiding costly mistakes lies in understanding the intricacies of space planning, custom solutions, and future-proofing your design. Remember, the goal is a kitchen that not only looks beautiful but works flawlessly for years to come. Be cautious of the trap that more is always better—embrace nuanced, precise planning to get the most out of your remodel. Have you ever fallen into this trap? Let me know in the comments!**Maintaining your renovated kitchen is crucial to preserving its beauty and functionality over time. Regular upkeep prevents costly repairs and ensures that custom cabinets, built-ins, and storage solutions continue to serve your needs effectively. One of the keys to long-term success is investing in the right tools and adopting disciplined maintenance routines. When I first completed my kitchen remodel, I learned that having a dedicated set of quality maintenance tools saved me time and money, allowing me to address issues before they became major problems. In this post, I’ll share specific tools I personally recommend, maintenance strategies, and insights into where this trend is heading in the future.
How do I keep my kitchen cabinetry and storage solutions working flawlessly long-term?
Johnson & Johnson’s cabinet hinges cleaning method, for example, involves using a small brush and a gentle cleaner to remove dust and grease from hinges and drawer slides, extending their lifespan. I keep a dedicated kit containing a microfiber cloth, silicone spray lubricant, and a cordless orbital sander for minor surface refinishing when needed. Applying silicone spray on hinges and sliders helps maintain smooth operation without buildup, which I do every six months. For countertops and built-ins, I recommend a specialized stone cleaner like those from DuPont, which preserves surface integrity and prevents stains. Regularly checking and tightening screws on cabinet hardware, especially after seasonal changes, can save the frustration of loose doors or drawers.
This disciplined approach ensures that your custom cabinetry remains pristine and functional for years to come. As trends move toward smart homes, integrating IoT-enabled maintenance sensors into your cabinetry or appliances might become commonplace, alerting you to issues before they happen. For now, however, manual upkeep with quality tools remains the best practice.
What tools make maintaining a kitchen easier and more effective?
Personally, I rely on a few game-changing tools that I’ve found invaluable. A cordless multi-tool, for example, allows me to perform minor repairs and surface touch-ups swiftly, saving me from hiring professionals for small fixes. A digital level ensures that shelves and cabinets are perfectly aligned, preventing uneven wear or closures issues. I also keep a small, portable vacuum designed for electronics and delicate surfaces—perfect for cleaning out crevices in built-ins without risking damage.
Using a dedicated vacuum and ultrasonic cleaner for hardware and small components significantly reduces grime buildup, keeping everything functioning smoothly. Investing in a quality set of precision screwdrivers helps during routine hardware adjustments. Trust me—skimping on these tools can lead to bigger issues down the line. Regular inspections, paired with these tools, help you catch potential problems early, saving money and preserving your kitchen’s beauty.
Select Your Maintenance Arsenal Wisely for the Future
Looking ahead, I believe that integrating smart maintenance systems into kitchens will become a trend. From connected sensors that monitor humidity and detect mold to AI-driven diagnostics predicting appliance failures, the future of kitchen upkeep is exciting. However, until such technology becomes mainstream and affordable, sticking to proven tools and regular routines remains the best approach.
Start by incorporating one advanced tip into your maintenance routine today: invest in a cordless multi-tool with attachable brushes or blades. It’s versatile enough to handle sanding, cleaning, and minor repairs, making it a must-have for any dedicated homeowner. Regularly using this tool can help you keep your cabinets, built-ins, and storage solutions in optimal condition, ensuring they continue to enhance your kitchen for many years.
Remember, consistent maintenance is the secret to a beautiful, functional kitchen. By choosing the right tools and sticking to a routine, you can enjoy your remodel’s benefits long after the project is complete. For more detailed advice, explore our comprehensive guide on custom cabinets and storage solutions.”}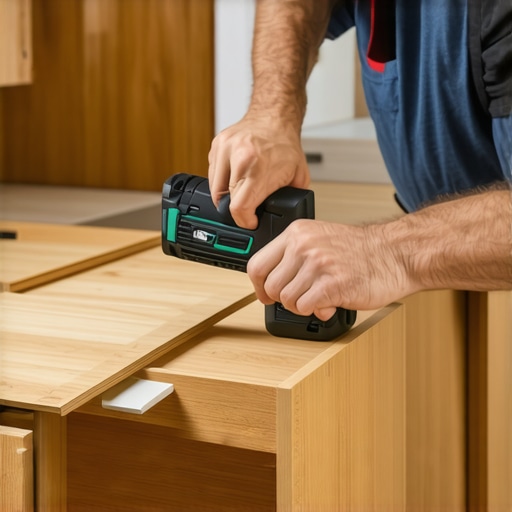 ,
,
The Little Secrets That Changed My Kitchen Game
One of my biggest eye-openers was realizing that even the most stylish kitchen can become a frustrating maze if space isn’t thoughtfully planned. I used to believe that bigger islands meant better functionality, but I learned the hard way that optimal clearance around fixtures is what truly matters. Tiny adjustments—like shifting a countertop or rethinking cabinet placement—have made my daily routines smoother and more enjoyable. This lesson taught me always to prioritize flow over grandiosity, and I hope it helps you avoid common pitfalls in your own kitchen journey.
Tools and Resources That Made a Difference
Over the years, I’ve relied on a few trusted tools and guides to keep my kitchen in top shape. A cordless multi-tool has become my go-to for minor repairs, while a digital level ensures everything stays perfectly aligned — essential for custom cabinets and countertops. I also swear by detailed resources like built-in storage guides and cabinet customization tips. These sources have helped me maximize space and clarity, providing peace of mind and quality results. Trust these references for your next upgrade to avoid costly oversights.
Building Confidence to Step Into Your Remodel
The most inspiring part of my experience has been realizing that even complex tasks become manageable when broken down into clear steps. From sketching layouts to selecting hardware and organizing storage, each small victory fuels motivation. I encourage you to start by measuring your space accurately and then explore innovative solutions like smart storage ideas. Remember, your kitchen is an evolving space—don’t be afraid to experiment, learn, and adapt. Your dream kitchen is within reach if you take it one thoughtful step at a time.