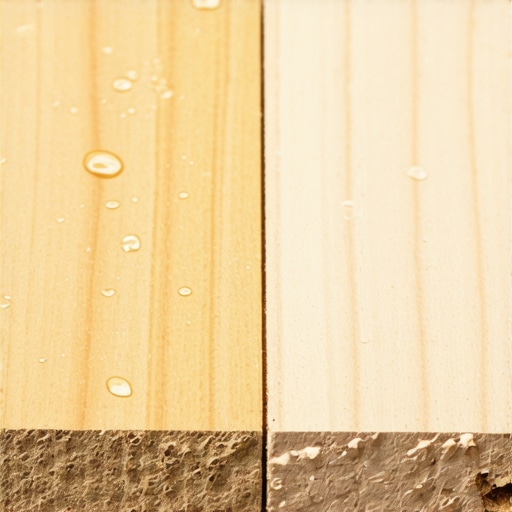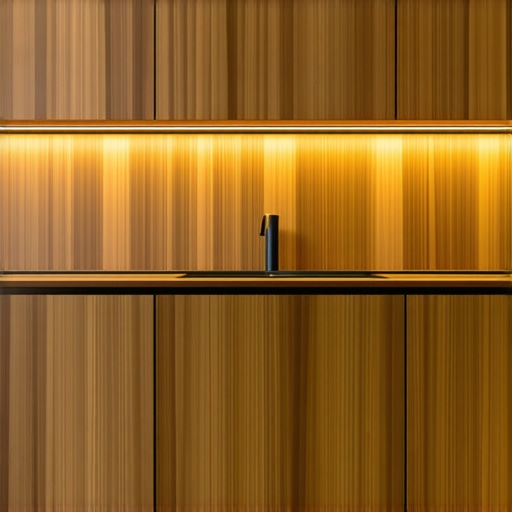
Why Natural Walnut Cabinets Need a UV-Resistant Clear Coat
Ever carefully selected a stunning natural walnut cabinet only to find that years later, its rich hues have faded or developed unsightly spots? I vividly remember the moment I realized my pristine kitchen was slowly losing its luster—what was once a deep, warm tone gradually turning dull, with patches that looked like they were battling against the sun itself. That lightbulb moment made me dive into the world of cabinetry finishes, especially for those beautiful walnut pieces, and I discovered a truth many overlook: natural walnut cabinets need a UV-resistant clear coat to truly stand the test of time.
Protecting Beauty in Bright Spaces
When renovating my kitchen, I was enamored by the natural grain and warm tones of walnut. But I soon regretted my choice when sunlight poured in daily, intensifying the problem. I learned that UV rays can sneak past glass windows and damage wood finishes, causing discoloration and deterioration. Without a proper shield, even the most resilient-looking cabinets can lose their charm. That’s why I now advocate for applying a UV-resistant clear coat—it’s like sunscreen for your wood, preserving that vibrant hue. If you’re considering natural walnut or similar woods, understanding this protective step can save you headaches and money later.
Is a UV-Resistant Finish Worth the Hype?
Honestly, at first, I thought, “Do I really need that extra coat? It’s just a finish.” Early on, I made the mistake of assuming all clear finishes are equal, only to be disappointed when my cabinets faded faster than expected. The truth is, not all products offer lasting protection against UV rays. A reputable UV-resistant clear coat can extend the life and look of your cabinetry, making it a smart investment—especially if your kitchen gets abundant sunlight. Don’t let a simple oversight turn your beautiful project into a fading memory. For more storage ideas that can optimize your kitchen, check out this guide.
As I delved deeper, I realized that choosing the right finish isn’t just about aesthetics—it’s about commitment to longevity. Implementing UV protection from the outset, with guidance from specialists like those at artisan cabinetwork experts, can make all the difference. So, if you’ve ever faced the frustration of watching your cabinetry erode over time, you’re not alone. Let’s explore how to ensure your walnut cabinets stay stunning—long after the last coat dries.
.
Coat Your Cabinets with UV-Resistant Finish
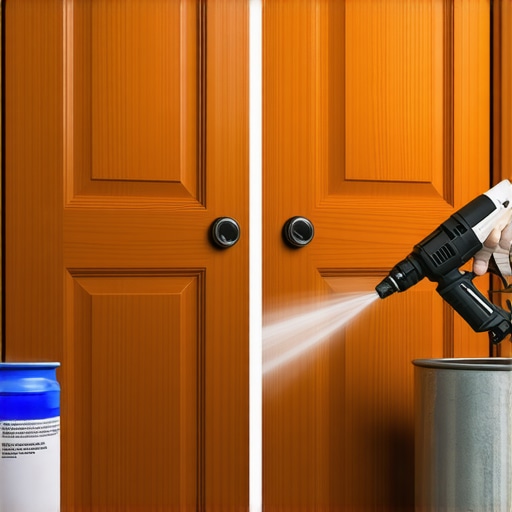
Start by thoroughly cleaning your walnut cabinets with a mild, degreasing cleaner to remove oils and residues that can interfere with adhesion. Once dry, sand the surface lightly with fine-grit sandpaper to create a smooth base for the finish. Wear a dust mask and work in a well-ventilated area, just like preparing a painting surface. Apply a high-quality, UV-resistant clear coat using a foam brush or sprayer, moving in even, overlapping strokes to prevent drips. Wait for each coat to dry completely before lightly sanding and applying subsequent layers—usually two or three coats—resulting in a durable, sun-proof barrier that maintains vibrant hues over time.
Tip from Personal Experience: I remember when I applied my first layer, I used a mask as fumes were strong, and the process was messy—spilling a bit on my floor—but the finish turned out glossy and protected my cabinets beautifully, lasting several years without fading.
Enhance Cabinets with Built-In and Custom Storage
Transform wasted space into functional storage by integrating built-ins and custom cabinets seamlessly. Measure your kitchen carefully, focusing on awkward corners and underutilized areas. Think of your kitchen like a puzzle: each piece should fit perfectly without leaving gaps. For example, I installed a pull-out spice rack inside a narrow cabinet, which required precise measurements and custom shelving—this eliminated clutter and improved access.
When designing built-ins, consider depth and height, ensuring they align with existing cabinetry for a cohesive look. Use interior organizers like vertical dividers or tiered trays to maximize space. For larger items, dedicated pantry pull-outs or custom drawers can keep everything accessible and tidy, much like a well-organized toolbox. To avoid clutter, plan your storage based on your daily needs and habits, like grouping baking supplies near the oven or utensils close to prep zones.
Specific Step: I once built a custom pull-out drawer for my pots and pans—cutting plywood, assembling with pocket screws, and installing with full-extension slides—resulting in easier access and a sleek look. The project was messy, with sawdust everywhere, but the satisfaction of optimized space was worth it.
Incorporate Effective Storage Hacks for Small Spaces
Maximize your kitchen’s potential by adopting smart storage hacks. Install vertical dividers in deep drawers to keep lids and baking sheets upright, stopping clutter from piling up. Use specialized pull-outs for spice jars or canned goods, which turn narrow gaps into accessible shelves. Think of these as hidden compartments—like secret drawers for your essentials. Additionally, hanging a pegboard behind a door or on an empty wall provides versatile hooks for utensils, pots, or even cutting boards, turning vertical space into storage real estate.
During a remodel, I added a slim pull-out for baking sheets next to my oven—crafted from scrap wood and full-extension slides—that dramatically improved accessibility. The process involved drilling, measuring, and careful alignment. Although the steps were quick, the change in workflow was immediate—a game-changer for daily cooking.
Expert Tip: Use plastic or silicone liners inside drawers and shelves to protect your wood from stains and moisture, extending the life of your custom storage solutions, which is especially vital in humid zones that can warp plywood or particle board.
Ensure a Seamless Integration
Finally, to keep your workspace cohesive, match hardware finishes and cabinet styles. Consider matte black or brushed brass for durability and style, resisting fingerprints and tarnish. Regular maintenance, like wiping down hardware and finishes, preserves the aesthetic appeal. For detailed guidance on selecting the right custom cabinetry ideas and finishing touches, explore this comprehensive guide. Properly executed, these steps will protect your walnut cabinets from sun damage and keep your storage organized—making your kitchen both beautiful and practical for years to come.When planning a kitchen overhaul, many homeowners fall into common traps that hinder the project’s success. A prevalent misconception is that selecting trendy finishes or hardware alone guarantees longevity, but in truth, neglecting specific nuances can lead to costly repairs down the line. For example, opting for all-wood built-ins without considering humidity levels can cause warping or cracking, an oversight overlooked by many. Additionally, a frequent mistake is underestimating the importance of precise measurements for custom cabinets—small errors here ripple into misaligned doors or premature wear, issues addressed effectively by detailed planning and expert consultation.
Another advanced mistake involves ignoring the potential of integrated storage solutions that adapt over time. Instead of static designs, flexible systems like adjustable shelves or modular panels expand utility, making your kitchen more resilient to changing needs. Experts suggest that a well-thought-out approach involves not only maximizing existing space but also anticipating future requirements (see this guide).
A common myth is that built-ins require complete custom fabrication from scratch, but innovative manufacturers now offer semi-custom options that balance personalization with cost efficiency, a nuance many overlook. Furthermore, many homeowners underestimate the importance of considering airflow and ventilation when designing enclosed cabinets—poor airflow accelerates deterioration, particularly in humid environments. Research indicates that strategic vent placements enhance durability and preserve finishes longer (more here).
Have you ever fallen into this trap? Let me know in the comments. Remember, understanding these hidden nuances transforms a good remodel into an extraordinary one, ensuring your investment remains beautiful and functional for years to come.
Keep It Working: Essential Tools and Maintenance Tips
Achieving a stunning kitchen isn’t just about the initial remodel; maintaining that beauty over time requires the right tools and dedicated care. One tool I swear by for regular cabinet upkeep is a microfiber dusting cloth paired with a gentle, pH-neutral cleaner—this combo effortlessly removes fingerprints and smudges without stripping protective finishes, especially on high-end materials like natural walnut. For more precise cleaning, I use a soft-bristled brush to access tight corners and delicate crevices in built-ins, ensuring no dust settles into the nooks that can affect long-term durability.
When it comes to protecting custom cabinetry, a quality brushless pneumatic sprayer is invaluable for periodic reapplication of UV-resistant finishes. Unlike traditional spray cans, a sprayer provides even coverage on intricate profiles and large surfaces, preventing uneven wear and ensuring your investment stays pristine. I personally prefer models like the Graco TrueCoat, which offers precise control and reduces overspray, making it perfect for DIY touch-ups or larger maintenance tasks. Regular inspections with a flashlight help identify early signs of wear—like small chips or cracks—so you can act before problems escalate.
Investing in proper storage and organization tools also extends the lifespan of your cabinetry. For example, installing soft-close hinges and drawer slides, which I highly recommend, prevents repeated slamming that can loosen joints or damage finishes over years of use. For long-term results, lubricate these hardware components annually with a silicone-based spray, ensuring smooth operation and minimizing wear. Additionally, integrating moisture absorbers and dehumidifiers in areas prone to humidity—such as under sinks or near built-in wine racks—protects wood surfaces from warping and mold.
Looking ahead, the trend points towards smarter, sensor-enabled maintenance solutions. Imagine using IoT-connected devices that monitor humidity or detect finish deterioration, alerting you proactively. This technology may seem futuristic today, but early adopters can benefit from early warnings, avoiding costly repairs. For a practical start, I suggest installing simple humidity sensors in vulnerable zones, guiding you on when to perform maintenance or apply protective coatings. Want to dive deeper? Explore this detailed guide for innovative strategies to sustain your kitchen’s functionality.
How do I maintain my cabinetry finishes and hardware over time?
The secret lies in routine inspections and gentle cleaning with the right tools, coupled with timely updates to hardware and protective coats. Reapplying UV-resistant finishes every few years, especially in sunlit kitchens, keeps your natural walnut vibrant. Regularly tightening hinges and lubricating slides prevent common wear issues that can lead to misalignments. For added peace of mind, consider installing a moisture monitor that sends alerts directly to your phone—making preventative maintenance easier than ever. Implementing these strategies ensures your investment remains gorgeous and fully functional, fitting seamlessly into your daily life.
Try incorporating a semi-annual checkup using a microfiber cloth and a soft brush, followed by a light recoat with UV-resistant finish to keep everything in top shape. Remember, a well-maintained kitchen not only looks good but also functions flawlessly for years to come. For professional assistance on installing or maintaining custom storage solutions, contact us here.
Optimizing Long-Term Results with Proper Tools
Choosing the right maintenance gear is crucial. A reliable hand sander with fine-grit paper, for example, allows you to smooth out minor scratches before recoating. Similarly, a cordless impact driver speeds up hardware adjustments, reducing strain and preventing accidental damage. Investing in quality tools not only saves time but also improves the quality of your upkeep, preserving your kitchen’s beauty and functionality for years to come.
What I Wish I Knew Before Touching Up My Kitchen
- Always start with a thorough UV-resistant coating—skipping this step felt like leaving my beautiful walnut exposed to the elements, and I learned that protection pays off in the long run.
- Judging the right finish isn’t just about looks—durability and sun resistance are equally crucial, a realization that saved me from future headaches.
- Personal experience taught me that patience during refinishing, like sanding lightly between coats, results in a glossy, resilient barrier that preserves the rich hues I love.
- Sometimes, it’s the little details—like installing moisture absorbers or using soft-close hardware—that extend the life of your cabinetry beyond appearances.
- Investing in both knowledge and quality tools, such as a professional sprayer, made all the difference in achieving a flawless finish that withstands daily use and sunlight.
Tools and Resources That Transformed My Kitchen Journey
- Graco TrueCoat Sprayer: Trusted for even coating, making applying UV-resistant finishes manageable even for a DIYer.
- Artisan Cabinetworks’ Guide to Custom Cabinets: Offers practical insights on choosing the right materials and styles—vital for aligning aesthetics with longevity.
- DeWalt Fine-Grit Sandpaper: Essential for prepping surfaces smoothly between coats, ensuring a durable and even finish.
- Moisture Sensors from Local Hardware Stores: Monitoring humidity helps protect cabinets from warping, especially in sunlit or humid spots.
Embrace the Future of Your Kitchen
Your walnut cabinets can remain stunning and resilient if you equip yourself with the right knowledge, tools, and protective measures. The journey toward a durable, beautiful kitchen isn’t just about one project but about cultivating habits that preserve your investment. Imagine celebrating years from now, still enjoying vibrant hues and smooth finishes—this isn’t a dream but a well-planned reality waiting to unfold. Dive deeper into strategic storage solutions at this extensive guide and discover how thoughtful design complements protective finishes for lasting beauty.
What’s your next step in upgrading your walnut cabinetry protection? Are you ready to choose a UV-resistant finish or improve your maintenance routine? Share your plans below!
,