Why You Should Never Use Standard Wall Anchors for Kitchen Upper Cabinets
It was a typical Saturday morning when I finally decided to hang that new set of upper kitchen cabinets. I grabbed my drill, a trusty level, and a handful of wall anchors. As I secured the first cabinet, I noticed a tiny wobble. Fast forward a year, and that wobble turned into a slight sag. Turns out, those standard wall anchors I relied on? Not built for the weight of upper cabinets. I learned this lesson the hard way, and I’m here to save you from the same mistake.
Why the Wrong Anchors Could Cost You Big Time
Installing kitchen upper cabinets isn’t just about aesthetics; it’s about safety and durability. When I first started my kitchen remodel, I thought all wall anchors were created equal. I used cheap, standard anchors because they were readily available and seemed straightforward. However, I soon discovered that these anchors are designed for light loads like pictures or small shelves, not the hefty weight of customized cabinets. Over time, the stress caused by weight and repeated use can lead to the anchors pulling out, risking costly damage and potential injury.
Is Your Choice of Hardware Really That Critical?
Absolutely. Using standard wall anchors might seem like a harmless shortcut, but in reality, they’re a ticking time bomb waiting for the right load. The key is understanding that heavy cabinets require robust anchoring systems designed specifically for their weight. My early mistake was assuming that any anchor would do the trick. For a reliable solution, I turned to specialized hardware available through [expert advice](https://artisancabinetworkz.com/expert-tips-on-selecting-storage-solutions-for-a-perfect-kitchen-upgrade). Don’t risk your safety—make sure your cabinets are anchored properly from the start.
Have you ever faced the wobble or sag of your kitchen cabinets? If so, you’re not alone. This common oversight can be fixed with the right knowledge and materials. In the following sections, I’ll guide you through the essential steps to ensure your upper cabinets stay firmly in place, providing years of safe, stylish service. Because, let’s be honest, a kitchen is too important to take chances with subpar hardware.
Select the Right Hardware for Your Cabinets
Start by assessing the weight of your cabinets. Heavy-duty wall anchors like toggle bolts or molly bolts are ideal. When I remodeled my own kitchen, I switched from standard anchors to these robust options, which made a huge difference in stability. Remember, using inappropriate hardware is like trying to hold a heavy picture with toothpicks; it won’t hold.
Gather the Necessary Tools and Materials
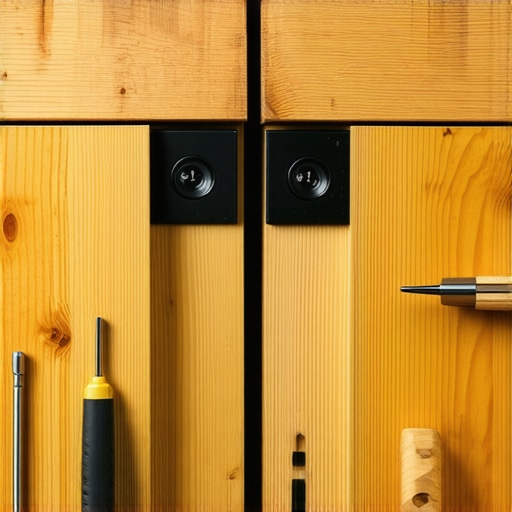
Gather a drill, a screwdriver, a level, a measuring tape, a pencil, and your chosen wall anchors. Ensure your drill bits match the size recommended for your anchors. Precision here saves you from drilling unnecessary holes and weak points. During my project, I learned that pre-drilling the holes slightly smaller than the anchors helped ensure a tight fit, preventing wobbling down the line.
Mark and Prepare Wall Locations
Use a level to draw horizontal lines where the top of your cabinets will sit. Mark the exact locations of studs, if possible, because anchoring into studs provides maximum support. If no studs are available, plan to use multiple anchors for even load distribution. I once struggled because I didn’t locate studs properly, leading to wobbling. To avoid this, I used a stud finder and double-checked my measurements, which paid off.
Drill Holes and Insert Anchors Carefully
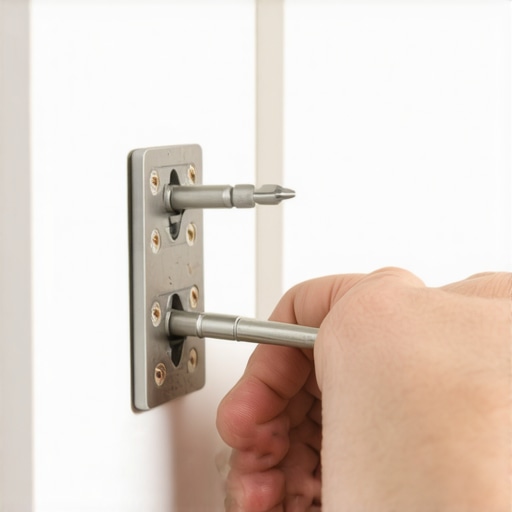
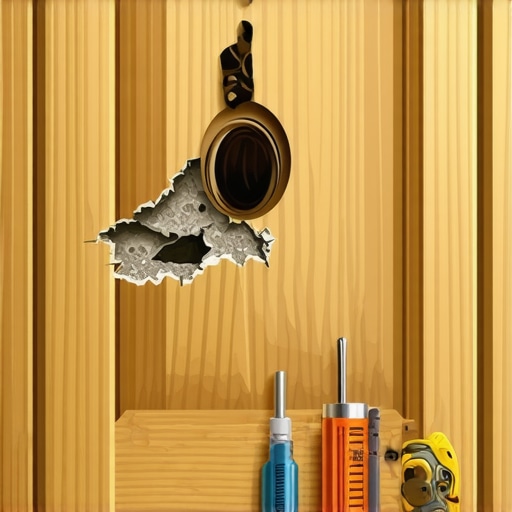
Drill holes at your markings, keeping the drill straight to prevent wall damage. Insert your wall anchors into these holes until flush with the wall surface. Remember, forcing anchors in can damage the wall or reduce their holding capacity. During my installation, I experienced some resistance, so I gently tapped the anchors with a hammer to set them properly without cracking the wall.
Secure Cabinets Using Proper Fasteners
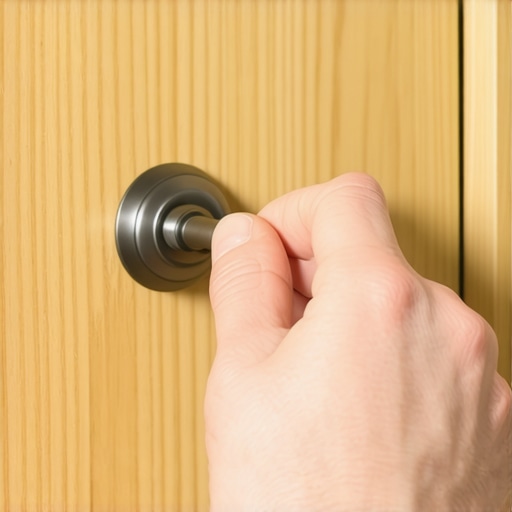
Align the cabinets with your marked lines and studs, then drill pilot holes through the cabinet backs into the anchors. Use screws appropriate for your anchors to firmly attach the cabinets. Tighten screws gradually, checking the level constantly to maintain perfect alignment. I once overlooked this step and ended up with uneven cabinets, so I re-did the process. Patience and precision are key here.
Check Stability and Make Adjustments
After securing, gently test the cabinets by applying light pressure. If wobbling persists, ensure all screws are tight and anchors are properly seated. For stubborn wobble, add more anchors or switch to stronger ones if necessary. Regular inspections over the first few weeks help catch any looseness early. In my case, I noticed a slight sway after a month, so I re-tightened the screws and replaced a weak anchor, which restored stability.
Enhance Safety and Longevity
Finish by caulking around the edges for a clean appearance and to prevent wall damage from moisture. Consider adding internal braces or reinforcement if your cabinets are particularly heavy. Remember, investing in quality hardware isn’t just about immediate stability; it prolongs the lifespan of your entire kitchen setup. For comprehensive storage innovations, check out built-ins and storage solutions.
When it comes to kitchen remodels and storage enhancements, many homeowners cling to common beliefs that can hinder the real potential of their spaces. Contrary to popular opinion, embracing *custom solutions* isn’t just about aesthetics; it’s about understanding nuanced design principles that maximize functionality. A frequent misconception is that standard cabinetry always suffices, but in my experience, this approach often leads to wasted space and unforeseen frustrations.
Are We Overlooking Critical Details When Planning Built-Ins?
Many assume that purchasing ready-made built-ins saves time and money, but neglecting the intricate integration with existing structures can cause misalignments and structural issues later. For example, ignoring the importance of precise measurements or not accounting for wall irregularities can result in gaps or unstable installations. According to well-regarded experts like those at Artisan Cabinetry, investing in custom-fit solutions tailored to your home’s quirks pays dividends in durability and appearance. Let me share a common trap I see: relying solely on superficial design ideas without investigative site measurement. This often leads to modifications that are costly and time-consuming. “The devil is in the details,” as they say, and in the realm of sophisticated storage or cabinetry, overlooked nuances can compromise the entire project. For instance, some believe that *more shelves* automatically translate to better storage, but without considering ease of access or load distribution, you might end up with cluttered and fragile setups.
Why Do Basic Storage Ideas Fail in Advanced Kitchen Designs
An often-underestimated factor is the quality of materials used in custom cabinets. Using inexpensive or improperly dried wood can lead to warping or structural failure over time, especially in high-moisture environments. Experts highlight that selecting appropriate hardwoods or high-quality veneers significantly prolongs cabinet life. Furthermore, integrating innovative storage solutions, like _vertical dividers_ or _hidden compartments_, not only optimizes space but also reduces the clutter that standard cabinets tend to accumulate. When planning your kitchen overhaul, think beyond the superficial—delve into the *hidden mechanics* that ensure longevity and functionality. My advice: don’t fall for the myth that all cabinetry is equal; the choice of materials, joinery, and installation precision defines the project’s success. To explore more about maximizing space and mastering custom cabinetry, visit this comprehensive guide. Don’t forget, the true secret lies in detailed planning, expert craftsmanship, and understanding advanced design nuances. Have you ever fallen into this trap? Let me know in the comments.
Once your custom cabinets and built-ins are expertly installed, the next crucial step is maintaining their functionality over time. To ensure long-term performance, investing in the right tools and adopting effective maintenance routines is essential. I recommend equipping yourself with a quality electric screwdriver, which simplifies tightening and adjusting fasteners without stripping heads. A digital caliper is invaluable for measuring hardware and spacing precisely, especially when scaling projects or upgrading components. Additionally, a soft microfiber cloth and gentle cleaning solutions help preserve finishes without damaging delicate surfaces.
For ongoing adjustments, consider a small adjustable wrench and a level—these allow quick realignments if doors sag or hardware shifts. A dedicated lubricant like WD-40 or silicone spray keeps hinges, slides, and locks operating smoothly, preventing squeaks and sticking. I personally keep a maintenance kit with these essentials in my tool drawer, which makes routine inspections faster and more effective. Predicting where trends are headed, automation and smart maintenance systems are gaining traction. Future storage solutions might include IoT-enabled hardware that signals when components need attention, reducing manual checks and extending lifespan.
How do I maintain custom cabinets and built-ins over time?
Regular cleaning is fundamental. Use gentle cleaners suited for your surface material and avoid harsh chemicals that can degrade finishes. Periodically inspect hardware for looseness; tightening screws periodically prevents misalignments or sagging. Lubricate hinges and slides every 6-12 months using appropriate sprays—this avoids sticking and noise issues. For painted or veneered surfaces, repairs should be performed promptly to avoid further damage. According to detailed guidance from Expert Tips on Selecting Storage Solutions, proactive upkeep is key to longevity. As projects scale, hiring a professional for periodic assessments can identify issues early, saving costs and preserving aesthetics. Implementing these maintenance strategies now will keep your investment in high-end storage solutions working flawlessly for years to come. Don’t forget to try applying a silicone spray to your cabinet hinges this week—it’s a simple step that can greatly enhance functionality.
Lessons That Only Experience Can Teach
After countless hours installing, adjusting, and maintaining my kitchen storage, I realized that the tiniest details make the biggest difference. One lightbulb moment was discovering how crucial proper load distribution is—overloading shelves without reinforcement leads to sagging and frustration. I also learned that investing in quality hardware and materials upfront saves time and money down the road, preventing premature wear or costly repairs. Finally, I’ve found that understanding the unique quirks of your space, like wall irregularities or moisture exposure, can help you choose solutions that truly last. Embracing these insights has transformed my approach from trial-and-error to confident craftsmanship.
Tools and Resources That Changed My Game
For anyone serious about elevating their kitchen storage solutions, I rely on a few trusted tools. A high-quality stud finder, such as the stud finder from Artisan Cabinetry, ensures your anchors hit true support. Additionally, a digital caliper helps me measure hardware precisely, avoiding mismatched screws or misaligned shelves. For learning, the book “The Complete Guide to Custom Cabinets” opened my eyes to advanced joinery and design techniques. And of course, browsing expert advice on selecting the right storage hardware provided invaluable insights, reinforcing that mastering storage is about quality, not just quantity.
Your Next Step in Crafting Better Storage Solutions
Remember, transforming your kitchen storage isn’t just an upgrade—it’s a chance to redefine how your space works for you. Think creatively, invest wisely, and don’t shy away from asking for expert help when needed. Every decision, from choosing durable materials to precise installation, builds toward a kitchen that’s not only beautiful but reliable for years. Dive into the wealth of resources available, experiment with innovative ideas, and most importantly, enjoy the process of creating a space that truly feels like home. You’ve got the tools—now it’s time to turn mistakes into mastery. How will you start improving your storage solutions today?