How to Fix a Loose Cabinet Knob That Keeps Spinning
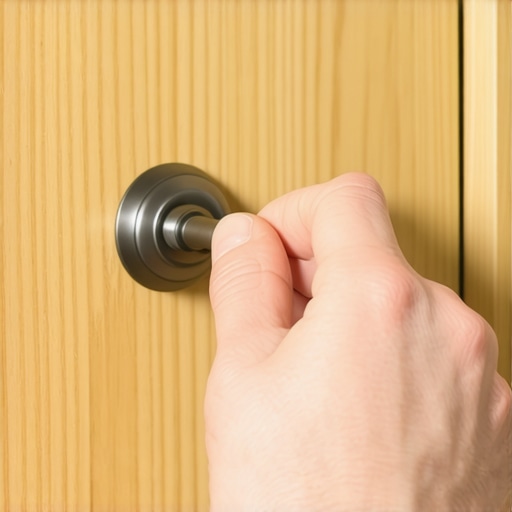
I was in the middle of a frantic Monday morning, the kind where the coffee hasn’t kicked in and you are already five minutes late for a Zoom call. I reached for the cabinet to grab my favorite mug, and instead of a solid grip, I got that dreaded *click-spin-click*. The knob just whirled around like a top, mocking my morning haste. It is a tiny inconvenience, really, but it is one of those household ‘paper cuts’ that drives you absolutely bonkers over time. If you have been living with a knob that refuses to stay put, I am going to show you exactly how to anchor it once and for all. We are not just talking about a temporary turn of the screwdriver, but a real solution that respects your custom cabinets and keeps your hardware feeling as high-end as the day it was installed.
The Frustrating Reality of the Perpetual Spin
I will be the first to admit that I have made the rookie mistake of thinking a glob of super glue was the answer to a spinning knob. It was a disaster. Not only did the knob start spinning again three days later, but I also managed to leave a nasty, cloudy residue on the wood finish that was a nightmare to remove. I have learned the hard way that when hardware starts failing, it is usually because the wood fibers have compressed or the screw has lost its ‘bite’ within the metal housing. According to the Forest Products Laboratory, wood is a hygroscopic material, meaning it constantly expands and contracts with changes in humidity. This microscopic movement is exactly why your hardware can feel rock-solid in July but start spinning like a weather vane come the dry air of January. If you are currently planning a modern kitchen remodel, getting the hardware installation right from the start is crucial, but for those of us living with older setups, we need a tactical fix.
Do I actually need to buy new hardware?
This is the question I get asked most often by neighbors who see me tinkering in my garage. The answer is almost always a resounding no. Unless you have managed to fix a stripped screw hole in the actual metal of the knob—which is rare—the problem is usually the connection point. You do not need to hunt down new pieces, especially if you spent time finding hardware that does not snag your pockets or matches your decor perfectly. We are going to use simple household items to create the friction necessary to stop the rotation. Have you ever felt like your kitchen was slowly falling apart one screw at a time, or is it just me? Tell me I am not the only one who has let a loose handle go for six months before finally snapping. Let’s dive into the mechanics of why this happens and the three-minute fix that will change your daily kitchen experience.
Stop the Spin with the Toothpick Hack
I remember a specific job in a gorgeous kitchen where the homeowner had invested in custom cabinets as a game-changer in your kitchen remodel journey, only to have the heavy brass knobs start rotating on the high-use pantry doors. They were worried the wood was ruined. I took a standard round toothpick, dipped the tip in a tiny bead of wood glue, and jammed it into the screw hole. After snapping off the excess and letting it dry for twenty minutes, the screw had something substantial to bite into. It has been three years, and those knobs haven’t budged an inch. This is essentially a micro-version of knowing how to fix a stripped screw hole in a solid wood cabinet door, providing the mechanical friction that smooth metal lacks.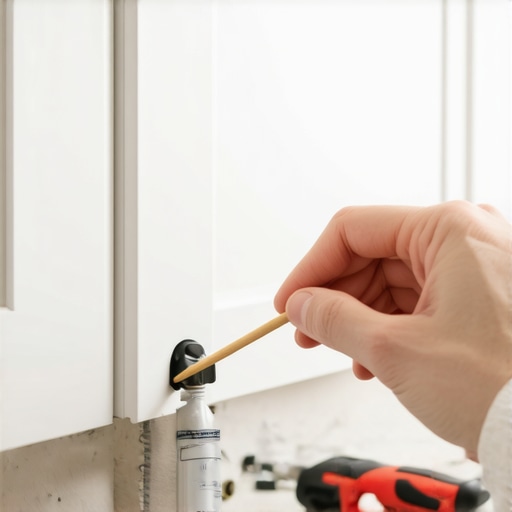
Prepare your materials for a permanent grip
You do not need a heavy-duty workshop for this. Grab a box of toothpicks (birch is best because it is a hardwood), a bottle of basic wood glue, and your screwdriver. If you are worried about messy spills on your custom cabinets ideas that transform your homes style, keep a damp microfiber cloth nearby. The goal is to create a shim. When the screw enters the hole, it crushes the toothpick fibers against the wall of the hole, creating a mechanical lock that prevents the hardware from rotating when you pull or twist on the handle.
The right way to apply the shim
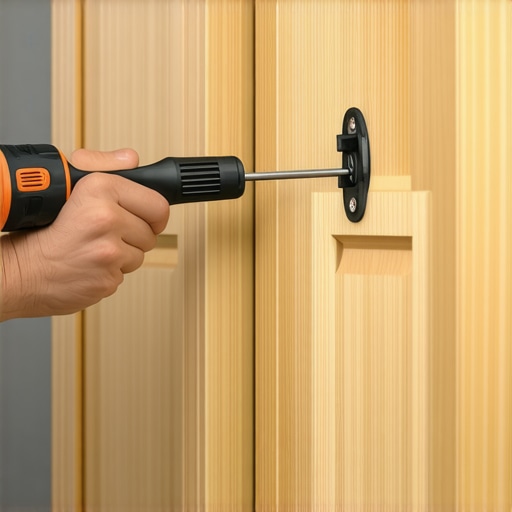
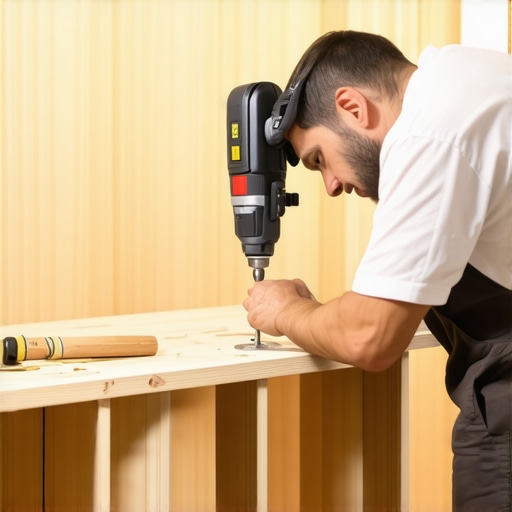
First, unscrew the knob completely. Inspect the hole for any debris. Insert the toothpick—just one or two is usually enough—and mark where it meets the surface of the door. Pull it out, snap it just below that mark so it sits recessed, and add a tiny dot of glue. Push it back in. Now, when you re-install the knob, make sure you are using the correct alignment. This is just as important as the best way to drill holes for new cabinet hardware in the first place; if the screw is crooked, the shim will not be able to do its job properly.
The rubber washer trick for polished surfaces
Sometimes the issue isn’t the screw hole, but the back of the knob sliding against a very slick, factory-finished surface. This happens often with built-ins and storage hacks for a sleek functional kitchen where the paint or lacquer is particularly smooth. If the wood isn’t the problem, head to the plumbing aisle of your local hardware store and look for tiny, thin rubber O-rings or washers. Placing one of these between the back of the knob and the cabinet face acts like a gasket. It creates immense grip without needing to over-tighten the screw, which can actually lead to cracking the wood or damaging the finish.
Why metal on metal always loses
Most hardware is designed with a flat metal base. When that metal sits against a hard-cured finish, there is almost zero coefficient of friction. By adding that rubber layer, you are compensating for the slight vibrations and torque of everyday use. It is the same logic we use for the secret to a quiet kitchen dampening your cabinet doors; you are adding a buffer that absorbs movement. Once that washer is compressed, that knob is locked in place, even if you are yanking on it to reach heavy pots in your the best way to organize heavy dutch ovens in a deep drawer.While the toothpick trick is a lifesaver, I need to address a common myth that keeps DIYers—and even some pros—in a cycle of constant repairs. Everyone tells you that if a knob is loose, you just need to ‘crank it down’ harder. In my experience, over-tightening is actually the silent killer of high-end cabinetry. When you apply excessive torque to a metal screw against wood, you aren’t just securing it; you are causing localized compression failure of the wood cells. According to the Engineered Wood Association (APA), wood has a specific ‘proportional limit’ in compression perpendicular to the grain. Once you exceed that, the wood fibers collapse and will never ‘spring back.’ This is why your hardware feels loose again a month later—you’ve literally crushed the structural integrity of the hole.
Are you accidentally ruining your finish with ‘industry standard’ habits?
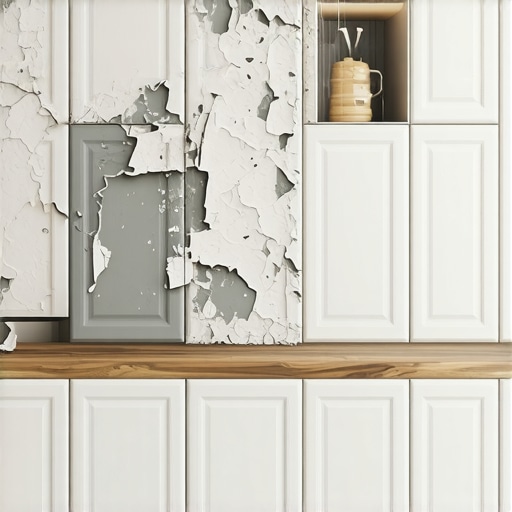
This brings me to the ‘Oops’ factor I see most often in modern kitchen remodels. People spend thousands on custom cabinets but then use cleaners or installation methods that destroy the topcoat. If you have painted cabinets, particularly white ones, you might notice they are discoloring. I often explain the real reason your white painted cabinets are turning yellow isn’t just age; it is often the oils from your hands reacting with a sub-par finish. This is also why using standard interior paint on your kitchen cabinets is a five-year mistake. Standard latex does not have the chemical resistance or hardness required for high-touch areas like a knob base.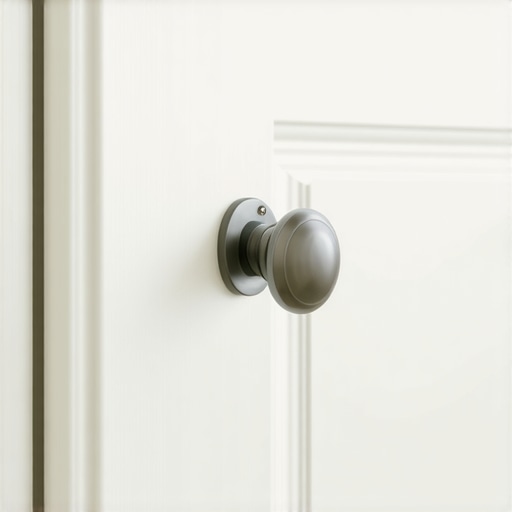 Another trap involves the floor. If you are doing a full renovation, keep this in mind: why luxury vinyl plank should not be trapped under your base cabinets. Floating floors need to move; if you pin them down with heavy boxes, the resulting floor tension can actually shift your base cabinets just enough to pull doors out of alignment, making your hardware look crooked when it is actually the cabinet that has moved.We also need to talk about the ‘Lazy Susan’ obsession. While it is the classic go-to, it is often a waste of valuable real estate. I almost always tell my clients why you should skip the lazy susan and install Lemans pull-outs instead. They offer far better ergonomics and do not involve a central pole that limits what you can store. It is these tiny, expert-level decisions that separate a ‘pretty’ kitchen from one that functions like a well-oiled machine for twenty years. Have you ever fallen into the ‘tighter is better’ trap and ended up with a stripped hole? Let me know in the comments—I have definitely been there myself early in my career.If you want to move beyond the toothpick-and-glue stage, you need to invest in the right gear. Most homeowners use a standard Phillips head on cabinet hinges, but that is actually a mistake that leads to frustration. High-end hardware used in modern kitchen remodels featuring custom cabinets and built-ins usually requires a PoziDriv #2 bit. It looks almost identical to a Phillips but features four extra tick marks that prevent cam-out—that annoying slipping that strips the screw head. When I am providing expert tips on selecting storage solutions for a perfect kitchen upgrade, I always recommend keeping a PoziDriv screwdriver in your junk drawer. It makes the 5-minute hinge adjustment for fixing wonky cabinet reveals feel like a precise professional task rather than a struggle with a slipping tool.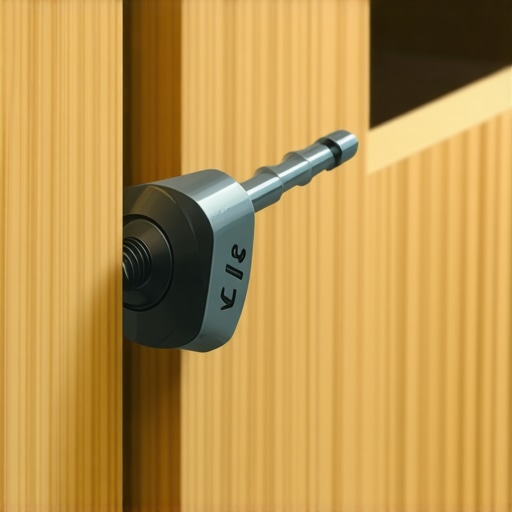
How do I maintain my custom storage solutions over time?
Maintaining your kitchen isn’t just about the wood; it is about the moving parts. According to the Blum Technical Product Guide, high-quality soft-close mechanisms are rated for 100,000 opening and closing cycles, but that rating assumes the cabinet is level and the slides remain free of grit. If you notice your kitchen is getting louder, it might be time for innovative storage solutions for modern kitchen remodels that include routine slide cleaning. Check for dust or crumbs that fall into the tracks, which is why your drawer slides are grinding and how to clear the ball bearings before the metal starts to pit. If a drawer feels sticky, don’t just pull harder; learn how to fix a drawer that wont close all the way by checking for obstructions or slightly loose mounting screws that might be catching. For heavy-use areas, I always look at structural support, particularly the best way to reinforce a sink base for heavy farmhouse sinks to ensure the weight of a full basin doesn’t cause the cabinet box to rack and pull hardware out of alignment.
The shift toward touch-to-open and invisible tech
Looking ahead to 2025 and beyond, I predict we will see a significant decline in traditional knobs and pulls. The trend is moving toward completely ‘clean’ faces where the hardware is invisible. This is where learning how to install a hidden magnetic catch for touch-to-open doors becomes a vital skill for any DIY enthusiast. These systems eliminate the ‘spinning knob’ problem entirely because there is nothing to grab. We are seeing more smart storage ideas to maximize your kitchen space this year that utilize motorized servos for upper cabinets, allowing them to glide open with a simple tap. While these high-tech solutions are exciting, they require even tighter tolerances during installation. My challenge for you: Spend ten minutes this weekend performing a quick tune-up on your most-used cabinet door. You will be shocked at how much newer your kitchen feels when the lines are perfectly straight and the movement is silent.
What Years of Cabinet Repair Taught Me About Small Fixes
Over the years, I’ve realized that even the most expensive custom cabinets can feel low-quality if the primary touchpoints—the knobs and handles—are wobbly. One thing I’ve learned is that most hardware issues stem from ignoring the break-in period. Just like a new car, your hardware needs a quick check and tighten about three months after installation as the wood settles into its new environment and moisture levels stabilize.
Another hard-won lesson: always check the screw length. If the screw is even a fraction of a millimeter too long, it will bottom out in the knob’s threaded hole before it actually pulls the hardware tight against the wood. This creates a ghost spin that no amount of torque will fix. If you are working on modern kitchen remodels featuring custom cabinets and built-ins, having a few small stainless steel washers on hand to act as spacers is a professional move that saves hours of frustration and prevents damage to the finish.
The Tools I Keep in My Kitchen Junk Drawer
You do not need a full rolling toolbox to keep your kitchen in top shape. I recommend every homeowner keeps these specific items on hand to maintain their built-ins and storage hacks for a sleek functional kitchen:
- Blue Thread Locker: A tiny drop of Loctite 242 on the screw threads before you install a knob creates a chemical bond that won’t vibrate loose but can still be removed with a manual screwdriver if you ever want to change styles.
- PoziDriv Screwdriver: This is the secret to not stripping the high-performance screws found in professional custom cabinets.
- Painter’s Tape: If you are ever drilling new holes, a bit of tape prevents the wood from splintering and gives you a clean surface to mark your measurements without staining the wood.
#IMAGE_PLACEHOLDER_E#
Take Control of Your Kitchen Experience
It is easy to overlook a spinning knob as a minor nuisance, but your home should be a place of ease, not a collection of tiny irritations. Fixing your hardware is about more than just simple maintenance; it is about respecting the investment you have made in your property and ensuring your kitchen continues to provide joy every time you reach for a coffee mug. Do not let a ten-cent screw or a compressed wood fiber ruin the tactile feel of your renovation. Take five minutes this weekend, grab a toothpick or a rubber washer, and reclaim your kitchen’s mechanical integrity. Have you ever had a cabinet knob that just refused to stay tight no matter what you tried? Let me know in the comments below!