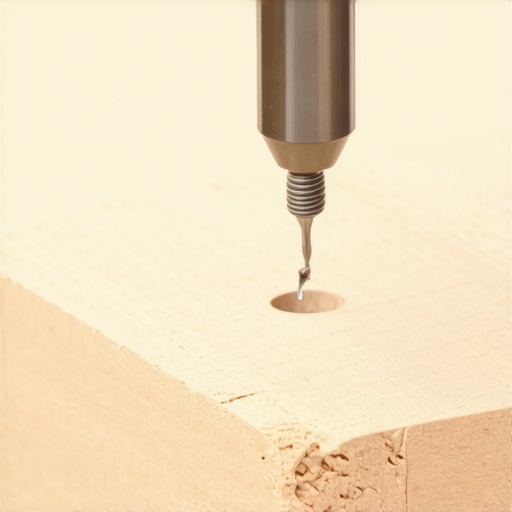
How to Fix a Stripped Screw Hole in Cheap Particle Board
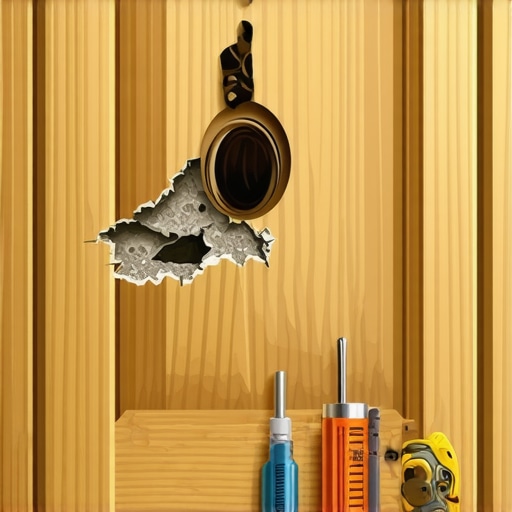
Ever found yourself stuck in the middle of a project, only to realize that a screw hole in your particle board has stripped out? I remember the first time it happened while assembling some budget-friendly cabinets for my kitchen. I was frustrated, thinking I’d have to redo the entire piece or settle for wobbly shelves. But then, a lightbulb moment hit: there’s actually a way to repair those stripped screw holes without breaking the bank or resorting to high-end solutions.
Today, I want to share exactly how I managed to fix this common problem and get my cabinets sturdy again. Whether you’re tackling a DIY remodel or just trying to hang a few shelves, understanding this fix can save you time and money.
Why You Shouldn’t Ignore a Stripped Screw Hole
Ignoring a loose screw in your particle board can lead to bigger issues down the line. Over time, the wobbliness can worsen, causing furniture to become unsafe, especially in high-traffic areas like kitchens and kids’ rooms. Plus, it diminishes the visual appeal—those tiny wobbles become glaring imperfections.
But here’s the thing: particle board is notoriously tricky when it comes to holding screws. Its cohesive structure is weaker compared to solid wood, making repairs tricky but not impossible. Early on, I made the mistake of trying to screw in new hardware without reinforcement, only to face a wobbly door or loose shelf within weeks. That taught me a valuable lesson: if you want lasting results, you need a smart fix.
For inspirations and innovative storage ideas, I recommend checking out this resource on modern storage solutions. But before you jump into repairs, let me walk you through the most effective method I’ve found—one that’s simple, affordable, and works wonders on particle board.
Concerned About Making Things Worse? Here’s What I Learned Early on
My initial mistake was to focus solely on tightening the screw further, thinking it would grip better. Instead, I increased the damage, making the hole even looser and more difficult to repair. That experience taught me an important lesson: sometimes, the best fix involves creating a new anchor point rather than forcing a flawed one. I now approach these repairs with patience and the right materials—and I’ll show you how.
In the following sections, I’ll guide you step-by-step through a tried-and-true repair process. If you’ve faced similar frustrations, stay tuned—these tips will help you restore your furniture’s stability and keep your space looking sharp.
Preparing for the Repair
Start by removing the loose screw and any debris from the damaged hole. Use a small brush or compressed air to clear out dust and fragments. To reinforce the weakened particle board, gather some wood glue, toothpicks or wooden dowels, a utility knife, and a drill or screwdriver. I once fixed a wobbly kitchen cabinet during a weekend overhaul, and having all supplies ready made the process smooth.
Filling and Reinforcing the Hole
Insert Toothpicks or Dowels
Dip toothpicks or wooden dowels into wood glue. Break them to fit snugly into the stripped hole, filling it completely. Press them in firmly and let cure for at least 30 minutes. I once used a small clamp to hold the toothpicks in place, ensuring the glue set tightly. This creates a new, solid core for the screw—like installing a new anchor in your wall.
Trimming Excess Material
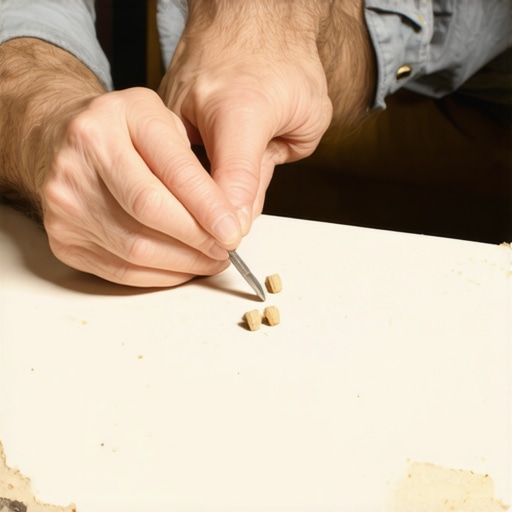
Once the glue is dry, use a utility knife to cut off any protruding parts of the toothpicks or dowels flush with the surface. Sand lightly if needed. This step ensures the surface remains smooth for the screw insertion without bulges. I learned that neatness here prevents misaligned doors or panels later on.
Reinserting the Screw
Drill a small pilot hole into the filled area, slightly smaller than the screw diameter. Carefully screw in your original fastener, applying steady pressure. If resistance is high, remove and add another dab of glue before retrying. I once found that tightening the screw gradually prevented further stripping, especially in particle board. Remember, the goal is a tight, secure fit without overtightening that might damage the repair.
Final Touches for Stability
If needed, apply a bit of wood filler over the repair site to smooth out the surface and repaint or stain to match your cabinet finish. For aesthetic consistency, I often use touch-up markers or paint to hide the repair. This method has saved countless furniture pieces from ending up in the trash, giving them a second life. For more ideas on upgrading your kitchen storage, consider exploring modern storage solutions.
 When it comes to designing your dream kitchen with built-ins or custom cabinets, many homeowners fall prey to common myths that can sabotage their project. Let’s dig deeper into some misconceptions that even seasoned DIY enthusiasts sometimes overlook, and why understanding these nuances can save you money and frustration.
One widespread belief is that all built-in storage solutions are inherently compact and space-saving. However, not all custom or built-in designs maximize efficiency; some can unintentionally eat into your usable space or disrupt the room’s flow. For example, overly ornate or bulky cabinetry might look stylish but can reduce your functional surface area, making your kitchen less practical. To avoid this, browse through built-ins that elevate your living space for innovative ideas.
Many assume that opting for high-end materials automatically guarantees long-term durability. While premium finishes and hardwoods are attractive, they demand proper maintenance and installation. A common mistake is neglecting climate considerations—wood cabinets in humid areas require special finishes or treatments to prevent warping. Expert tips on selecting storage solutions for a perfect kitchen upgrade highlight how material choices impact longevity (learn more here).
Now, let’s address a nuanced question: How do you avoid the trap of designing built-ins that look great but hinder daily use? The key lies in understanding *workflow ergonomics* and *accessibility*. For instance, installing a deep, cluttered pantry may seem efficient but can lead to forgotten items and disorganized chaos. Instead, consider the benefits of accessible, well-lit, and logically arranged storage—these are often overlooked in generic designs. As a rule of thumb, integrating smaller, dedicated zones for frequently used items dramatically boosts functionality.
Why do some custom cabinets fail to meet expectations despite being described as ‘professional-grade’?
This often boils down to craftsmanship and attention to detail. For example, poorly aligned doors or insufficient reinforcement in high-traffic areas can cause long-term issues. This highlights why selecting experienced cabinet makers is crucial—those who understand advanced joinery techniques and proper hardware installation. Consulting expert guides on choosing cabinet styles ensures your investment delivers lasting beauty and practicality. Remember, the devil’s in the details, and a well-executed project significantly reduces future repairs. Want to see how expert craftsmanship transforms spaces? Check out this comprehensive guide.
During your remodeling journey, beware of falling into these traps—more importantly, focus on marrying form with function. Your dream kitchen isn’t just about looks; it’s about creating a space that works seamlessly for your lifestyle. Have you ever fallen into this trap? Let me know in the comments.Maintaining your custom cabinets and built-in storage is crucial to ensuring their long-term performance and aesthetic appeal. As someone who has invested in transforming my kitchen with innovative storage solutions, I understand the importance of employing the right tools and methods to keep everything functioning flawlessly.
Invest in Quality Power Tools for Precision and Efficiency
My go-to tool for cabinet maintenance is a high-quality oscillating multi-tool. Its versatility allows me to sand, cut, and remove old adhesive with precision, especially when dealing with stubborn glue or misaligned hardware. Additionally, a cordless drill with variable speed settings ensures I can tighten or remove screws without over-torquing delicate surfaces. I recommend models like the Makita XDT12Z for their durability and ergonomic design, which reduces fatigue during prolonged use.
Use Specialized Software and Measuring Tools for Longevity
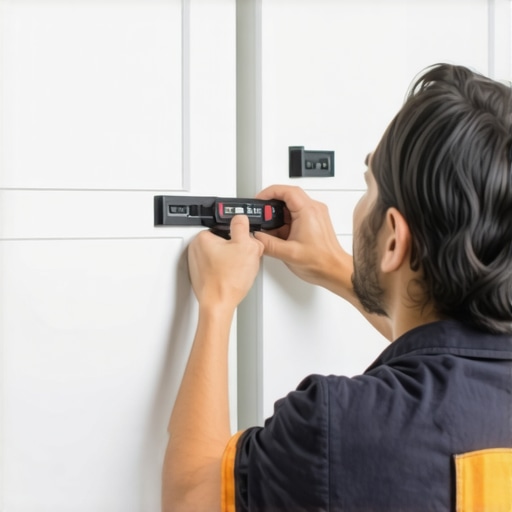
For planning future modifications or scaling your storage solutions, digital design software like SketchUp provides detailed 3D models, helping you visualize changes before committing. Pair this with a quality laser distance meter such as the Bosch GLM 50 C to accurately measure spaces, ensuring your built-ins remain perfectly aligned over time. Precision in measurement prevents issues like uneven shelving or misfitting cabinet doors, both of which can cause headaches later.
Implement Regular Maintenance Routines
Establishing a schedule for inspection and upkeep is vital. I check hinges, slides, and seals every six months, lubricating hinges with a silicone spray like WD-40 Specialist Smart Straw. Regularly cleaning and re-tightening hardware prevents wear and tear that can lead to costly repairs. Keep an eye on the interior surfaces—wiping down with gentle cleaners preserves finishes and prevents dust buildup that can affect mechanisms.
Address Scaling Opportunities Early
As your needs evolve, scaling your storage solutions becomes necessary. Modular cabinetry systems like those from Sixty Night allow flexible expansion, which is a significant advantage over fixed installations. When planning to scale, consider materials resistant to moisture and temperature changes, especially if your kitchen is prone to humidity. Consulting expert resources, such as this guide, can help you choose durable options that maintain integrity over decades.
Future Trends and How Technology Will Enhance Maintenance
Looking ahead, I predict smart maintenance systems will become standard. Devices embedded with sensors for detecting humidity, temperature fluctuation, or wear could notify homeowners via smartphone apps when a component needs attention. This proactive approach minimizes downtime and keeps everything running seamlessly. Investing now in modular, upgradeable hardware positions you advantageously for this technological shift.
How do I keep my built-ins in top shape over time?
Stay consistent with inspections, use specialized lubricants on moving parts, and incorporate scalable systems that adapt to your changing space. Don’t forget to record maintenance activities with digital notes or apps to track improvements and identify recurring issues early. Remember, the right tools not only make repairs easier but can also extend the lifespan of your cabinetry.
Try integrating a cordless oscillating multi-tool into your routine—it’s a game-changer for quick fixes and detailed refinishing. For more insights on optimizing your storage, see built-in storage hacks.
Three Surprising Lessons I Wish I Had Known Sooner
First, I underestimated the importance of detailed planning; a clear vision saved me countless hours and frustration. Second, not all materials are created equal—investing in quality hardware and finishes makes a noticeable difference in durability and appearance. Lastly, wiring and lighting integrations are often overlooked but are critical for a seamless look and functionality—skimping here can lead to costly adjustments later.
Tools and Resources That Elevated My Kitchen Journey
My Essential Toolkit for Built-in Perfection includes a high-quality laser level for precision placement, a cordless drill with variable speed for gentle and powerful tasks, and a digital measuring device to ensure everything fits perfectly. For inspiration and in-depth guidance, I rely on this comprehensive guide and seamless storage ideas to refine my design and execution.
Your Next Move Starts Today
Building custom storage solutions isn’t just about improving your kitchen—it’s about transforming your living space into a haven of efficiency and beauty. Don’t let doubts hold you back. Take that first step, and watch how your home evolves into the retreat you’ve always envisioned. What’s the biggest built-in or storage challenge you’re facing right now? Share your story below, and let’s find solutions together.