How to Retrofit Soft-Close Dampers to Your Old Noisy Cabinet Doors
I still vividly remember the first time I slammed shut a stubborn cabinet door in my kitchen. The loud bang echoed through the room, and I could feel my frustration building. That cheap, squeaky hinge had been tormenting me for years, turning simple daily routines into annoying battles. It was then I realized: there has to be a better way.
Why Upgrade to Soft-Close Dampers in Your Vintage Cabinets?
If you’re like me, your kitchen cabinets tell a story—some charming, some… less so. Old, noisy doors can turn a cozy space into a source of constant irritation. Plus, they can cause wear and tear over time, leading to costly repairs or replacements. The good news? Installing soft-close dampers is more accessible than ever, and it can instantly elevate the function and serenity of your home.
In fact, studies show that kitchen noises, including slamming cabinet doors, can increase stress levels, impacting your overall comfort. According to a report by the National Sleep Foundation, reducing disruptive noise at home can significantly improve sleep quality and mental well-being. So, fixing those rickety doors isn’t just about convenience—it’s about creating a more peaceful environment.
Will Retrofit Dampers Really Make My Cabinets Quieter? I Was Skeptical Too.
Early on, I made the common mistake of assuming that pricey, fancy hinges were the only solution. When I tried to retrofit soft-close dampers myself, I faced misaligned doors and poor performance because I didn’t pick the right hardware or install them properly. Trust me: a little research and patience go a long way. Once I got the hang of selecting the right dampers and tools, the results were astonishing—doors that closed softly, quietly, and effortlessly. If you’re wondering whether this project is worth your time or money, I promise you, the tranquil mornings and silence in the evenings are worth every effort. Curious about the basics? Check out more expert tips on selecting storage solutions for your kitchen, which can complement these upgrades beautifully.
Alright, enough of the why—let’s dive into how you can bring these improvements into your own home, starting with the essentials of choosing the right dampers and installing them correctly for a seamless, noise-free experience.
Select the Right Dampers for Your Cabinets
Start by measuring your cabinet doors’ weight and size. Visit a local hardware store or browse online to compare dampers designed for lightweight or heavier doors. I once ordered several types online, which led to a messy unpacking session and some unnecessary returns. To avoid this, consult the expert tips on choosing hardware. Look for dampers with adjustable tension; this allows fine-tuning for a smoother, softer close.
Gather Necessary Tools and Hardware
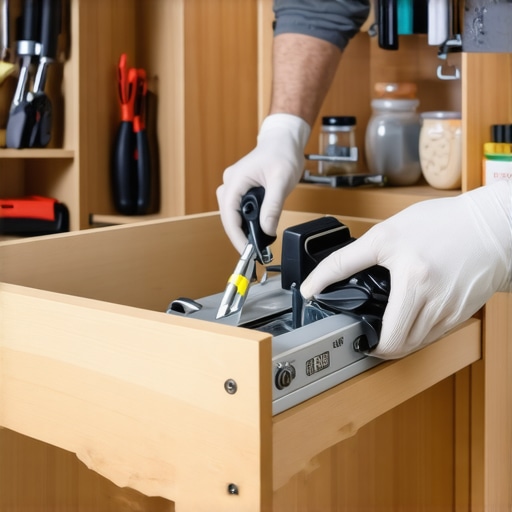
You’ll need a drill, screwdriver, measuring tape, pencil, and the dampers. Mark the hinge or door frame locations with a pencil, considering the damper’s mounting points. My first attempt involved an imprecise marking, which resulted in misaligned dampers. Precise measurement and marking are crucial. For detailed guidance, refer to the seamless kitchen remaster strategies that emphasize measurement accuracy.
Attach the Dampers Properly
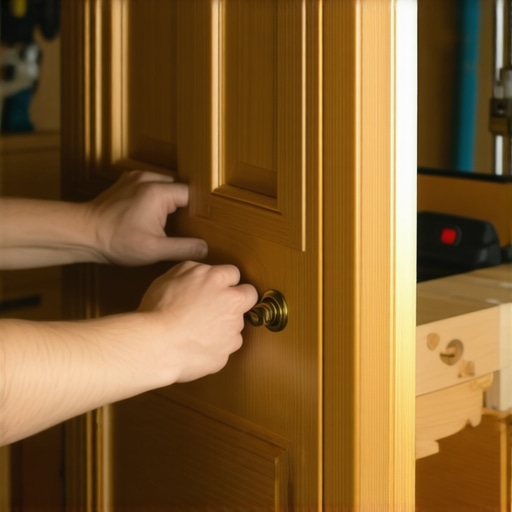
Align the damper according to your markings and pre-drill holes to prevent wood splitting. Use the screwdriver to secure the dampers tightly into place. A tip: tighten the mounting screws just enough to hold but not to strip the wood. I once overtightened, causing damage to the particleboard, which is common with cheaper materials. Choosing the right materials is vital; consider reading about material comparisons for durability.
Test and Adjust for Optimal Performance
Slowly close the cabinet door to observe the dampers in action. If the door slams or closes too quickly, adjust the tension screws to soften the action. I learned this adjustment process by trial and error, often ending with a door that closed too softly, making me think I had installed the wrong damper. Practice patience: small turns of the screw can significantly change the closing speed. For advanced techniques, check out soft-close hinge adjustment tips.
Secure and Finalize Installation
Once satisfied, tighten all screws firmly. Remove any visible marks or debris for a clean look. Remember, if you encounter persistent issues, consulting a professional may save time and prevent damage, especially with custom features. For integrating these hardware upgrades into larger remodel projects, explore creative storage solutions that complement soft-close systems and enhance your entire kitchen’s feel.
While many homeowners focus on choosing the right materials or trendy styles, a subtle but critical nuance often gets overlooked: the psychological and spatial impact of storage solutions. A prevalent myth is that larger or more elaborate cabinets automatically translate into better organization. In reality, expert-oriented designs prioritize thoughtful compartmentalization and accessibility, as detailed in this guide on storage selection. Many assume built-ins are rigid fixtures that limit flexibility, but in fact, they can be customized to adapt to changing needs, a point emphasized in seamless remap strategies.
Tools I Recommend for Long-Term Kitchen Care
Maintaining your custom cabinets and built-ins requires the right equipment. I personally swear by my cordless impact driver for its versatility—whether tightening loose hinges or installing new hardware, its high-torque power makes repetitive tasks much easier. For fine adjustments, a digital caliper helps me measure hardware and spacer gaps precisely, ensuring everything aligns perfectly over time. A trusted level is indispensable; I prefer a magnetic one that attaches easily to metal surfaces, keeping everything perfectly plumb during installation or tweaks. Additionally, a good vacuum with a soft brush attachment keeps dust from settling in intricate moldings and joints, prolonging the aesthetic appeal of your cabinetry.
For cleaning and minor touch-ups, I use specialty wood cleaners compatible with the finish—like Howard Wood Polish—which gently restores shine without damaging delicate surfaces. Regularly inspecting hinges, drawer slides, and sealant applications helps prevent issues before they require costly repairs. Remember, proactive maintenance is key to preserving your investment in built-ins and custom cabinetry.
How do I maintain my storage solutions over time?
Adopting a routine check every few months ensures hardware stays tight, hinges function smoothly, and no signs of wear develop unnoticed. Using a silicone-based lubricant on moving parts prevents squeaks and keeps everything operating effortlessly. Moreover, periodically reassessing your organization system—especially after seasonal changes or new items—can help maintain accessibility and prevent clutter from undoing your space-saving efforts. For ideas on optimizing storage, check out expert tips on selecting storage solutions that suit your evolving needs.
Planning for Future Upgrades and Scaling
As your lifestyle changes, so should your storage. Modular systems with adjustable shelves and removable dividers make scaling straightforward. Investing in high-quality drawer slides and hinges—such as those rated for heavy use—ensures durability as your cabinetry ages. For example, heavy-duty soft-close slides are designed to support frequent use without sagging or failure, saving you money in the long run. Technology is also advancing; smart hinges with built-in sensors can alert you to loose hardware or misalignments through your smartphone, providing proactive maintenance alerts.
Predicting where kitchen design trends are heading suggests a move toward even more personalized, adaptable storage options—think hidden compartments or integrated charging stations. Regularly updating your hardware and tools to the latest standards can make these transitions seamless. For ongoing inspiration and cutting-edge ideas, delve into articles like this resource on innovative storage.
If you haven’t already, try one of the advanced maintenance techniques, such as applying a lithium-based lubricant to all hinge joints for maximum longevity—it’s a simple step that pays off immensely in durability and smooth operation, especially under high humidity conditions. Incorporate these tools and habits into your routine, and your custom kitchen will serve you beautifully for decades to come.
To explore more about maintaining and enhancing your cabinetry, visit our contact page for expert advice tailored to your home’s unique needs.
As I reflect on the journey of upgrading my kitchen, one lesson stands out above all: that small, strategic changes in storage and cabinetry can make a monumental difference in both functionality and peace of mind. The hardest lesson I learned about custom cabinets and built-ins is that they’re not just about aesthetics—they’re about creating a space that truly works for your lifestyle. Sometimes, the simplest hidden compartments or soft-close upgrades can transform your daily routines, reducing clutter and frustration. Additionally, I’ve realized that relying solely on trendy styles without considering practical details often leads to quick dissatisfaction, an insight I wish I had known when starting my renovation. Finally, I discovered that ongoing maintenance and thoughtful future-proofing—like choosing durable hardware and modular solutions—are key to long-term satisfaction, saving you time and money in the long run.