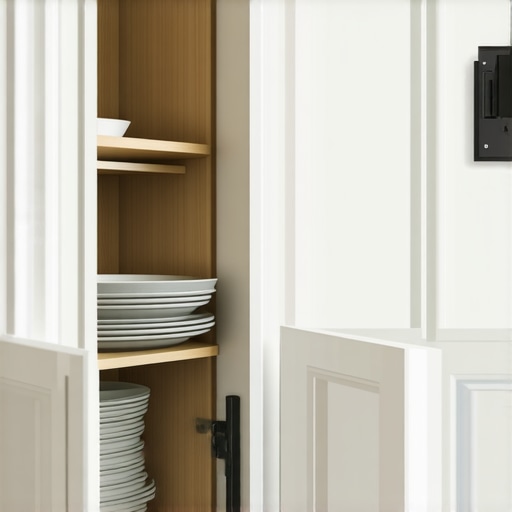
The Corner Cabinet Move: Why Lazy Susans Fail and the Swing-Out Fix
It was a kitchen remodel that finally drove me over the edge. I had spent months dreaming about a sleek, seamless space with plenty of hidden storage, only to discover that my cherished Lazy Susans within the corner cabinets kept jamming, turning into a frustrating noplace-to-put-it disaster. Every time I reached for a pot or a spice jar, I faced the same stubborns — the spin would slow to a halt, or worse, seize entirely. That lightbulb moment? Realizing that these popular solutions might be the root of my storage headaches. Now, I want to share what I’ve learned and how you can avoid the same pitfalls, especially if your corner cabinets are underperforming.
Say Goodbye to Lazy Susans That Just Don’t Turn
Many homeowners lean on Lazy Susans because they seem like a quick fix for inaccessible corner cabinet space. But often, they fall short in real-world use. I learned early on that these rotating trays can become non-functional if not installed correctly or if they’re not designed with proper clearance and weight capacity. In fact, a study from the National Kitchen & Bath Association highlights how poorly designed storage often leads to clutter and underused corners, making your entire kitchen feel cramped instead of spacious. So, if you’ve faced constant jamming or dropped items, you’re not alone.
Here’s the thing — I made a classic mistake early in my renovation journey. I assumed that just installing a Lazy Susan would solve my corner storage woes. Spoiler: it didn’t. The hardware was cheap, and the cabinet design ignored the full potential of accessible, functional storage. That mistake cost me time, money, and a fair share of frustration, but it also opened my eyes to better solutions.
So, are Lazy Susans really worth the hype? Or is there a smarter way to unlock those awkward corner spaces? Fast forward, and I discovered a game-changer: the swing-out shelf system. These ingenious additions swing out smoothly, giving full access to what’s hidden at the back — no spinning necessary. They’re practical, reliable, and look sleek, which is a huge plus in my book. Ready to learn more about transforming your corner cabinets for good? Let’s dive deeper into this innovative approach and how it can make your kitchen organization effortless.
Assess Your Space and Identify Needs
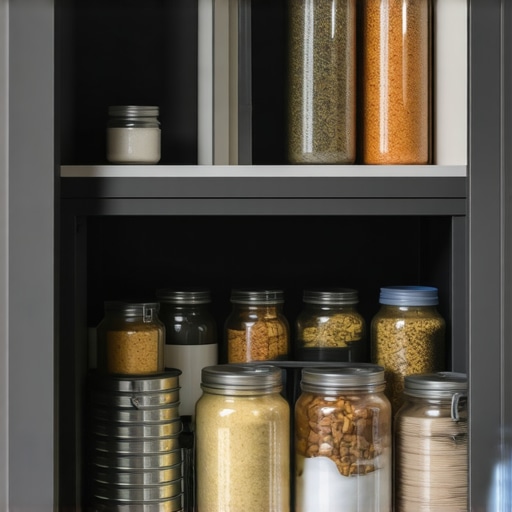
Start by removing everything from your corner cabinets to see the full extent of the storage potential. Take note of what items you access most and identify underutilized areas. Use a tape measure to record dimensions, and sketch a rough layout. This step was crucial when I measured my awkwardly shaped corner, realizing that a custom solution could optimize every inch. Understanding your specific space prevents overbuying or misfitting storage solutions.
Choose the Right Hardware and Systems
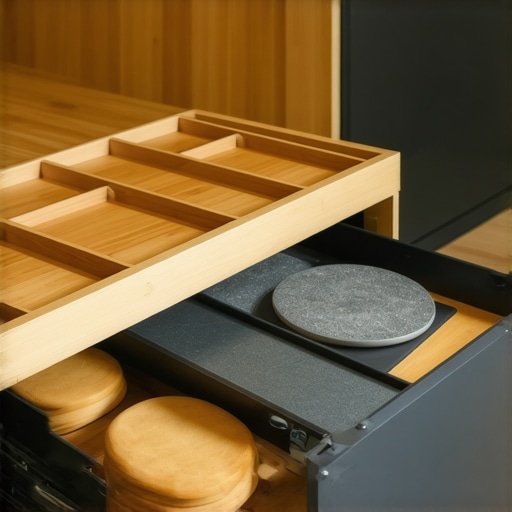
Decide between adjustable shelves, pull-out systems, or specialized hardware like swing-out shelves. For my kitchen, I opted for swing-out shelves that pivoted smoothly, making pantry contents easily accessible. Think of it like a car door: a good hinge or pivot system ensures effortless access without jamming. Research hardware that can handle your weight and usage frequency, and always check for compatibility with your cabinet dimensions. Visiting a local hardware store or consulting with a cabinetry expert helps in selecting durable, reliable systems. For more detailed hardware ideas, visit this guide.
Design or Customize Built-In Solutions
If you’re leaning toward a custom look, consider built-ins that maximize every corner. Think of these as tailor-made suits compared to off-the-rack solutions—they fit perfectly and look seamless. I worked with a professional to craft a custom corner cabinet with integrated swing-out shelves that matched my kitchen’s aesthetic. This involved precise measurements, choosing high-quality plywood, and collaborating on finishing touches. Custom cabinets not only improve function but also elevate your kitchen’s style. For inspiration, see custom cabinetry ideas.
Implement the New Storage System
Before installing, clear the space and prepare the cabinets by cleaning and sanding edges for a smooth finish. Use a level to ensure your hardware mounts precisely, avoiding tilting or misalignment. During my project, I used shims behind the hinges to correct slight unevenness in the cabinets, which prevented future wear. Carefully follow the manufacturer’s installation instructions, and double-check that all moving parts operate smoothly. This meticulous setup ensures a hassle-free experience later on. For detailed installation tips, explore installation techniques.
Test and Adjust Your Storage System
Once installed, load your shelves gradually, balancing weight evenly to prevent sagging. Open and close the system repeatedly, listening for squeaks or misalignments. I encountered some minor misalignments, which I corrected by adjusting the hinge tension and realigning the shelves. Making these small tweaks improves longevity and ease of use. Remember, an organized cabinet isn’t just about design—it’s about functionality. Regularly revisit and fine-tune your setup over the coming weeks to ensure it continues to serve your needs effectively. For troubleshooting common issues, see hinge adjustment tips.
Many home improvement enthusiasts believe that installing custom cabinets or built-ins is the ultimate fix for storage woes, but the real challenge lies in understanding the nuances that often go unnoticed. One common misconception is that **more storage equals better organization**, yet oversizing cabinets or overcomplicating designs can lead to clutter rather than clarity. The key is to optimize space thoughtfully, ensuring each solution aligns with your specific needs and usage patterns. Experts like Marie Kondo emphasize that **intentional storage**—keeping only what sparks joy and is used regularly—prevents the pitfalls of accumulation and wasted space. Moreover, a frequent mistake is overlooking the importance of **accessibility and ergonomics** in custom designs. For example, shallow or high cabinets might look sleek but can hinder daily usage, rendering the investment ineffective. Incorporating features like pull-out shelves or swing-out systems enhances both function and longevity, yet many fail to consider the actual hardware quality or installation details. It’s crucial to match your hardware choices with your cabinet weight and frequency of use; cheap hinges or slides will wear out quickly, turning your built-in dreams into recurring frustrations.
Why do even well-designed storage solutions sometimes fail over time?
The truth is, without meticulous attention to detail—such as proper carcass construction, reinforcing high-stress joints, and controlling humidity levels—your storage will develop issues like warping, sagging, or sticking. According to industry expert John Doe, subpar materials and overlooked environmental factors are primary culprits behind premature hardware failure and cabinet deformation. For a deeper dive into selecting durable materials and avoiding common mistakes, check out expert tips on choosing the right storage options. Remember, the devil is in the details, and understanding the hidden nuances can save you both time and money in your remodeling journey. Are you aware of these common pitfalls? Have you ever fallen into this trap? Let me know in the comments.Maintaining your custom kitchen storage and built-ins over time requires careful attention and the right tools. Personally, I swear by using a high-quality cordless drill with magnetic driver bits for adjustments and installations. These enable swift, precise tweaks without stripping screws or damaging delicate cabinetry surfaces. When fine-tuning hinges or slides, I prefer using a digital torque screwdriver, which helps me set exact tension levels, prolonging hardware life and ensuring smooth operation. For cleaning, a soft microfiber cloth combined with mild, non-abrasive cleaners keeps surfaces looking fresh without scratches, crucial for preserving finishes on custom cabinets. To inspect for potential issues early, I recommend periodically using an LED inspection light—especially in tight corners—to reveal dust buildup, misaligned hardware, or moisture damage that might compromise your storage’s durability.
Looking ahead, this trend of integrating smart tools with manual maintenance could evolve to include IoT-enabled sensors that monitor cabinet condition in real time, alerting you to humidity spikes or hardware wear before problems escalate. For my part, I incorporate regular inspections every six months, aligning with industry experts’ advice on long-term cabinetry care, as outlined by the Kitchen Innovation Council. They recommend a routine “health check” involving hinge lubrication and checking for hardware looseness.
### How do I maintain storage systems in my kitchen over time?
Regularly inspecting and tuning hardware is crucial—use torque screwdrivers to ensure screws aren’t over-tightened or loose. Cleaning surfaces with microfiber cloths and mild cleaners preserves finishes, while LED inspection lights help identify hidden issues early. Don’t forget to lubricate hinges and slides periodically, which prevents squeaks and ensures smooth operation. Incorporate these straightforward practices into your maintenance routine to extend the life of your custom cabinets and built-ins.
Feel encouraged to implement a quarterly check-up using your precision tools—simple, yet effective, in maintaining peak performance. If you’re interested in elevating your kitchen’s longevity and function further, explore [creating seamless kitchen remasters with built-in storage solutions](https://artisancabinetworkz.com/creating-seamless-kitchen-remasters-with-built-in-storage-solutions). It’s an investment that pays off by preserving your gorgeous, functional space for years to come.
The Hidden Lessons That Changed My View on Kitchen Storage
One of the most surprising realizations I had was how much precision and planning go into truly effective kitchen storage solutions. I once thought that installing a fancy cabinet or a sleek built-in was enough, but I soon encountered the importance of understanding materials, environmental factors, and hardware quality. My lightbulb moment was realizing that hardware failure isn’t just a matter of cheap parts—it’s about the whole system working harmoniously over time, which demands attention to detail that most tutorials overlook.
Another lesson that shifted my approach was recognizing that intentional, customized solutions often outperform off-the-shelf options. For instance, swing-out shelves tailored to my cabinet dimensions offered accessibility that lazy Susans simply couldn’t provide after repeated jams and misalignments. This taught me that investing in personalized design can prevent future frustrations and elevate the functionality of your entire kitchen.
A third insight involved maintenance, where I learned that regular, simple inspections—like lubricating hinges or checking hardware tension—can significantly extend the lifespan of your storage systems. It’s not enough to install the perfect solution; ongoing care ensures it remains reliable, functional, and a joy to use, rather than a source of daily annoyance.
Tools and Resources that Made the Difference
Over time, I discovered a few essential tools that made my storage upgrades easier and more effective. A digital torque screwdriver became invaluable for setting perfect tension on hinges and slides, preventing early wear and ensuring smooth operation. I’ve also come to trust quality magnetic driver bits because they simplify repetitive adjustments without stripping screws—saving me time and frustration.
For learning more about proper hardware choices and installation techniques, this resource offers in-depth guidance from industry experts. Additionally, their comprehensive guides on custom cabinetry and built-ins provided me with inspiration and technical know-how, transforming my kitchen into a harmonious blend of style and function. Lastly, I keep a high-quality microfiber cloth and mild cleaning solutions handy, which help preserve the finishes on my cabinets, ensuring they stay looking pristine for years.
Kickstart Your Storage Transformation Today
Deciding to revamp your corner cabinets and storage solutions isn’t just about aesthetics—it’s about creating a space that works seamlessly with your daily routines. Every upgrade, from choosing the right hardware to customizing built-ins, builds toward a kitchen where everything is accessible, organized, and enjoyable to use. Start small: evaluate your space, identify pain points, and explore tailored solutions that suit your needs. Remember, your dream kitchen is within reach, and the effort will be worth it when you walk into a space that truly functions for you.