How to Level Base Cabinets on Old, Sloping Hardwood Floors
I’ll never forget the moment I stood in my kitchen, trying to install new base cabinets on a floor that stubbornly sloped like a mountain trail. The cabinets looked fine at first glance, but once I started securing them, I realized they were wobbling, teetering, and threatening to become a permanent eyesore. It was a classic lightbulb moment—an annoying, frustrating, but ultimately enlightening revelation about working with old, uneven hardwood floors.
Why Old, Sloping Floors Make Cabinets a Challenge
If you’ve ever tried installing cabinets on a vintage hardwood floor, you know the struggle. These floors often settle unevenly over the decades, creating a natural slope that can make a perfectly level cabinet look crooked. It’s a problem I faced head-on and eventually learned to tackle successfully. But trust me, ignoring it isn’t an option if you want a professional-looking kitchen. Uneven floors can cause doors to swing open unexpectedly, drawers to jam, and your entire project to look slapdash.
In fact, according to a study published by the National Park Service, many historic homes with original hardwoods experience some degree of settling and unevenness. This means that solving this puzzle isn’t just about aesthetics—it’s about maintaining the integrity and lasting beauty of your remodel.
So, what’s the solution? How can you ensure your new cabinets sit perfectly flush and function smoothly on a floor that was never perfectly flat? That’s exactly what I aim to share with you today. Whether you’re undertaking a full kitchen renovation or just want to get that built-in storage right, the methods I’ve refined will save you time, money, and headaches.
If you’ve struggled with wonky floors trying to sabotage your project, you’re not alone. And yes, there are practical, effective techniques to level those cabinets without having to rip up the entire floor or resort to staring at a crooked kitchen every day. Ready to dive into the step-by-step process? Let’s get that cabinet leveling mastered once and for all.
Assess and Mark the Floor
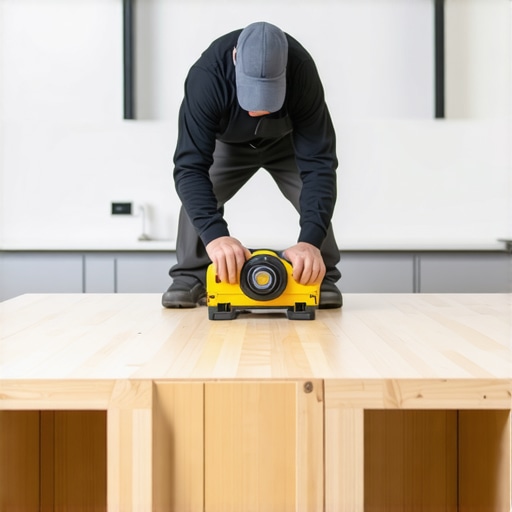
Start by inspecting your floor slope. Use a long level or a straightedge to identify high and low spots across the footprint of your cabinets. Mark these points with painter’s tape for reference. I remember when I tackled my kitchen project, I spent extra time here, noticing subtle high spots that standard tools missed—this careful assessment saved me headaches later.
Decide on a Leveling Method
Choose between shimming, adjustable feet, or leveling compounds. For most old hardwood floors with minor slopes, shimming is effective. If you prefer a more permanent solution, adjustable feet are excellent—especially for floor-mounted cabinets. Since I aimed for a quick fix, I went with shims, stacking thin wooden pieces to get the cabinets flush.
Prepare Your Materials
Gather hardwood shims, a drill, screws, a level, and a measuring tape. Use high-quality shims designed for flooring to ensure durability. In my experience, softwood shims tend to compress over time, causing unevenness, so I opted for hardwood shims that held their shape longer.
Install the Shims
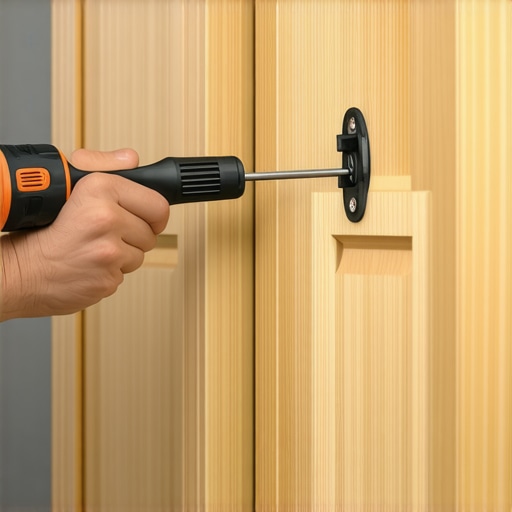
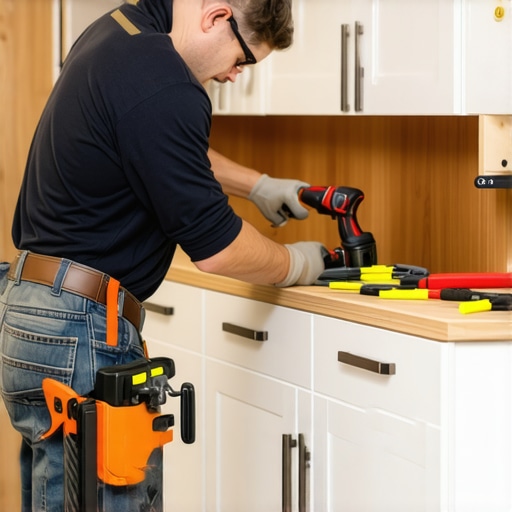
Place shims under the low side of each cabinet corner, starting at the base. Tap gently with a hammer for a snug fit, checking with your level as you go. Avoid over-tightening, which could warp the cabinet frame. I used a cordless drill to insert screws through the shims into the cabinet base, securing them firmly—this method prevents shifting during subsequent steps.
Adjust for Perfect Level
Continuously check with a long level across the cabinet and the floor. Adjust shim stacks as needed. When I did this, I found that tiny adjustments made a big difference—an extra quarter inch of shimming eliminated the wobble completely. Make sure to test door and drawer operation after leveling—everything should open smoothly without sticking.
Secure the Cabinets
Once level, secure the cabinets to the wall and to each other using appropriate screws. For wall attachment, locate studs and drill into them for maximum stability. During my installation, I drilled into wall studs first, then into the floor, ensuring the cabinets wouldn’t shift over time. Precise securing prevents future misalignment even if the floor shifts slightly again.
Finish with Trim and Sealing
Fill any gaps between shims and cabinets with wood filler or caulk. Sand smooth for a seamless look, and apply finish if necessary. In my kitchen, painting the shims the same color as the cabinets made the fix nearly invisible. This final touch enhances the professional appearance of your build.
Applying these steps carefully turns a potentially frustrating uneven floor challenge into a manageable project. If you’re interested in optimizing your kitchen storage beyond leveling, check out built-in storage hacks to maximize space and functionality.

Many homeowners embark on kitchen renovations with a set of assumptions that, while common, often lead them astray. A prevalent misconception is that choosing trendy materials or high-end finishes guarantees a timeless, functional space. However, refining your understanding reveals that the true secret lies in nuanced planning—specifically, understanding how design choices impact usability over time. For instance, investing heavily in an ultra-matte black finish may seem stylish now, but as I’ve seen in my projects, fingerprints and smudges become more noticeable than anticipated, requiring extra maintenance. Additionally, while built-in appliances are praised for sleek aesthetics, overlooking accessibility can turn these features into daily frustrations, especially during cleaning or repairs. This is why expert-level remodeling demands deliberate balance between beauty, function, and longevity.
Why do some kitchen layouts look great but feel inefficient in daily use?
Studies from industry leaders suggest that improper zoning—placing appliances and storage too far apart—hinders workflow, causing users to take unnecessary steps. Furthermore, many overlook how a cabinet’s internal organization impacts time saved during meal prep. Implementing strategic storage solutions like vertical dividers or custom pull-outs can drastically cut clutter and frustration, elevating the space from merely attractive to highly practical. It’s also a common mistake to underestimate the importance of lighting; layered lighting schemes not only highlight design features but also improve task performance significantly. You can learn more about maximizing kitchen efficiency by exploring smart storage ideas.
Another nuanced pitfall is selecting materials without considering climate and humidity. For example, solid wood, although beautiful, can warp in damp environments if not properly treated, leading to costly repairs. Conversely, engineered options like high-quality plywood lend stability and durability, as noted by experts from the National Park Service. This knowledge helps refine your choices beyond superficial aesthetics, ensuring your kitchen remains functional and beautiful for years to come.
Moreover, many homeowners believe that custom cabinets inevitably cost a fortune. While they do require an upfront investment, the long-term benefits—increased storage efficiency, better use of space, and personalized design—often outweigh the initial price. My experience shows that planning meticulously with a focus on niche needs, such as integrated spice racks or hidden charging stations, enhances both usability and value. Discover how to revolutionize your space by exploring built-ins and creative storage.
Finally, don’t underestimate the importance of detailed measurements and mock-ups. Skipping this step is one of the most common and costly mistakes, leading to mismatched proportions and awkward spaces. Investing in a pre-installation 3D rendering can save you from these pitfalls, translating ideas into precise, actionable plans. Remember, a flawless kitchen is as much about meticulous planning as it is about stunning visuals.
In summary, the secret to a successful kitchen remodel isn’t just picking trendy features but understanding the layered complexities behind usability, durability, and long-term satisfaction. Having awareness of these nuances will help you avoid common pitfalls and craft a space that truly works for your lifestyle. Do you have a hidden mistake you’ve made or avoided in your renovations? Share your experience in the comments below! For more tips on transforming your kitchen with custom solutions, check our comprehensive guide on custom cabinets and design ideas.
Achieving a beautiful, functional kitchen isn’t a one-and-done task; it requires ongoing maintenance and the right tools to keep everything performing at its peak. Over the years, I’ve honed a set of equipment and methods that ensure my built-ins, custom cabinets, and storage solutions continue to serve efficiently and look great. In this section, I’ll share the tools I recommend and maintenance tips that will help you preserve your remodel’s long-term integrity.
Prioritize Precision with Quality Measuring Equipment
Accurate measurements are the backbone of a successful kitchen upgrade. I swear by a high-quality digital caliper and a laser distance meter; these tools provide the precision needed for aligning cabinet doors and ensuring level surfaces. For frequent calibration, I use the Greenlee laser measure, which is reliable and easy to operate. Having these on hand prevents costly errors during installation and ensures your customizations fit perfectly over time.
Invest in Power Tools That Last
When it comes to maintenance, a durable, variable-speed drill like the Dewalt 20V MAX is indispensable. It handles everything from tightening cabinet screws to installing new hardware. Pair it with an orbital sander for touch-up work, keeping surfaces smooth and ready for sealing or finishing touches. I find that quality power tools reduce fatigue and make routine maintenance tasks more manageable.
Utilize Smart Storage for Ongoing Upkeep
Long-term results depend heavily on organization. I recommend dedicated storage containers for spare hardware, touch-up paints, and cleaning supplies. Implementing these systems prevents clutter from compromising your cabinets’ condition and simplifies routine inspections. Visit built-in storage solutions to learn how well-designed compartments can make upcoming maintenance effortless.
Routine Checks to Avoid Long-Term Damage
In my experience, annual inspections of cabinet hinges, pulls, and seals catch issues before they escalate. Tighten loose screws, clean tracks of sliding drawers, and reapply lubricants where needed. For hinges, I prefer synthetic graphite powder, which provides long-lasting lubrication without attracting dust. Regular checks will keep doors closing smoothly and hide potential problems until they require more extensive repair.
The Future of Kitchen Maintenance and Tools
Looking ahead, automation and smart home integration are poised to revolutionize maintenance routines. Wireless sensors can alert you to humidity changes or leaks that threaten cabinetry, allowing preemptive action. I predict that within the next few years, app-controlled diagnostics will become a standard feature in high-end kitchen systems, making upkeep more intuitive and less time-consuming.
How Do I Keep My Cabinetry in Top Shape Over Time?
One effective technique is applying a periodic coat of furniture-grade wax or protective finish, especially to wood veneer surfaces. This shields against moisture and fingerprints, maintaining their luster for years. Also, using a microfiber cloth and gentle cleansers prevents scratches and preserves hardware finish. I encourage you to try the tip of applying a beeswax-based polish biannually—it’s simple but remarkably effective at extending your cabinets’ lifespan.
Remember, investing in quality tools and establishing a maintenance routine pays dividends in the form of longevity and sustained beauty. For more insights on creating a durable and stylish kitchen, explore built-in storage hacks. Don’t wait—start by giving your cabinets a quick check today and see how your tools can make upkeep easier and more effective!
The Hardest Lesson I Learned About Kitchen Remodels and Built-Ins
One of the most valuable insights I gained was realizing that every detail counts—especially when working with uneven floors. Initially, I thought a quick shim would suffice, but I soon learned that meticulous assessment and patience are key to achieving truly perfect results. This taught me that rushing through foundational steps often leads to long-term frustration and added costs.
3 Myths About Custom Cabinets That Might Steer You Wrong
Many believe that custom cabinets are prohibitively expensive or that they limit design flexibility. In reality, thoughtful planning and strategic choices can make custom solutions more affordable and versatile, transforming your space into a reflection of your lifestyle. Dispelling these myths opened opportunities for innovative storage and a personalized aesthetic.
What Experts Won’t Tell You About Durable Kitchen Storage
While quality materials are obvious, the real secret lies in smart internal organization—like adjustable shelves and hidden compartments—that maximize usability. Investing in these details can drastically improve your daily experience, turning a standard kitchen into a well-oiled hub of activity. Listening to seasoned professionals reveals the importance of tailored storage tailored to your habits.
Where to Go from Here
If you’re inspired to elevate your kitchen, start by mapping out your priorities—whether it’s leveling cabinets, choosing the right finishes, or adding innovative storage solutions. Reach out to experienced remodelers or browse curated resources to guide your journey. Remember, a well-executed remodel is an investment that will serve your family for years, blending beauty with practicality.
Your Next Step in Kitchen Excellence
Now that you’ve learned some behind-the-scenes insights, it’s time to take action. Whether tackling a small update or a full-scale renovation, applying these lessons will set you apart. Use the tips and resources provided to plan confidently—your dream kitchen is within reach!
What aspect of kitchen remodeling are you most excited to try or improve? Share your thoughts and experiences below—I love hearing about your projects!