How to Fix a Cabinet Door That Is Rubbing the Frame
There I was, standing in my pajamas at 6:00 AM, holding a mug of coffee I desperately needed, and I couldn’t get the pantry door open. It wasn’t locked. It was just stuck. That high-pitched, wood-on-wood *skritch* sound echoed through the quiet kitchen as I finally yanked it free. The door was rubbing against the frame again, leaving a nasty little scar on my beautiful finish. If you have spent any time or money on a [modern kitchen remodel featuring custom cabinets and built-ins](https://artisancabinetworkz.com/modern-kitchen-remodels-featuring-custom-cabinets-and-built-ins), you know that the slightest misalignment feels like a personal insult to your home’s design. It’s annoying, it’s loud, and if you don’t fix it, you’re eventually going to grind the paint right off. [image_placeholder]
Your Rubbing Cabinet Doors Are More Than Just a Nuisance
If you ignore a door that rubs, you are basically asking for a more expensive repair down the road. Wood doesn’t just stop expanding or shifting; it reacts to everything from the humidity in your house to the weight of the plates you’ve stacked inside. I’ve seen beautiful [custom cabinets for a stylish kitchen overhaul](https://artisancabinetworkz.com/the-ultimate-guide-to-custom-cabinets-for-a-stylish-kitchen-overhaul) lose their luster in just a few months because the homeowner ignored a simple hinge issue. Believe me, I learned the hard way. Early in my DIY journey, I thought the solution to a rubbing door was a palm sander and some grit. I ended up sanding off the finish and half the wood before realizing I just needed a screwdriver. It was an embarrassing, dusty mistake that took me a weekend to fix. Today, we are going to bypass my stupidity and get your doors gliding like butter again. Most of the time, the fix is as simple as a [five-minute hinge adjustment for wonky reveals](https://artisancabinetworkz.com/the-5-minute-hinge-adjustment-for-fixing-wonky-cabinet-reveals).
Is this actually something a total amateur can handle?
You might be worried that messing with your hinges will make the problem worse, especially if you’ve got [inset doors that are notoriously tricky](https://artisancabinetworkz.com/the-secret-to-hanging-inset-doors-without-leaving-a-gap). But here is the truth: modern European hinges are designed for this exact reason. They are meant to be tweaked. According to data from the National Kitchen & Bath Association (NKBA), cabinetry is often the largest investment in a kitchen remodel, and maintaining the alignment is the single most effective way to preserve that value over time. Have you ever found yourself ready to rip a cabinet door off its hinges just to stop that grating sound? You aren’t alone, and you don’t need a contractor to fix it. We are going to look at why this happens—whether it’s seasonal swelling or the fact that [your walls are simply out of plumb](https://artisancabinetworkz.com/how-to-align-cabinet-doors-when-your-walls-are-out-of-plumb)—and exactly how to stop the friction for good.
Identify Exactly Where the Rubbing Starts
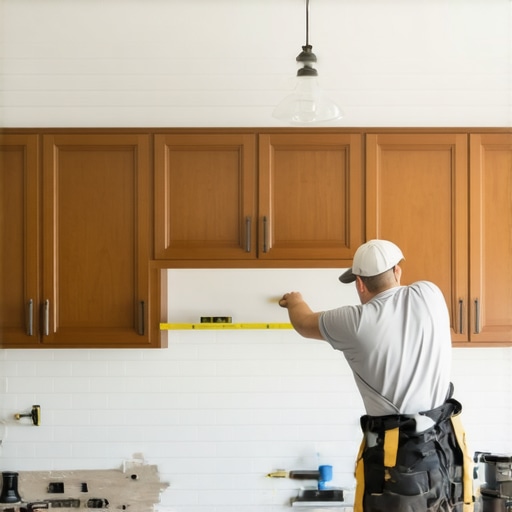
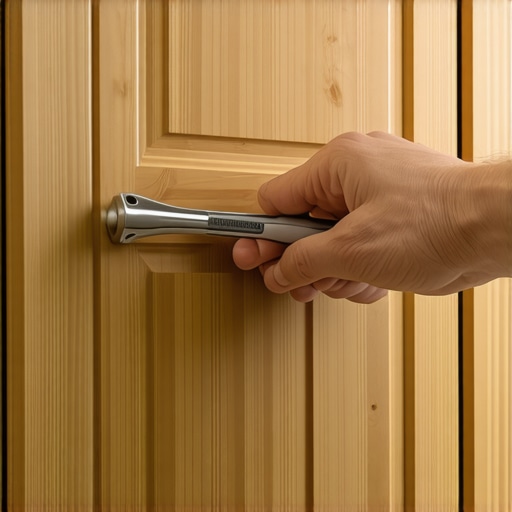
Before you start cranking on screws, you need to know where the friction is. Close the door slowly and watch the edges. Is it hitting the cabinet frame on the side, or is it dragging along the bottom? Think of your cabinet door like a car door that’s out of alignment; if you force it, you’ll eventually damage the latch or the paint. If you’ve invested in modern kitchen remodels featuring custom cabinets and built-ins, this friction can actually cause the wood to splinter or the finish to chip away, leaving raw wood exposed to grease and moisture. Look for the ‘witness marks’—those little shiny or scuffed spots where the door makes contact. 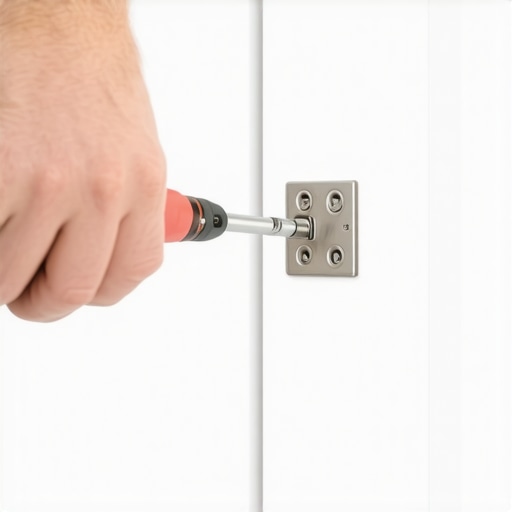
Turn the Front Screw to Move the Door Sideways
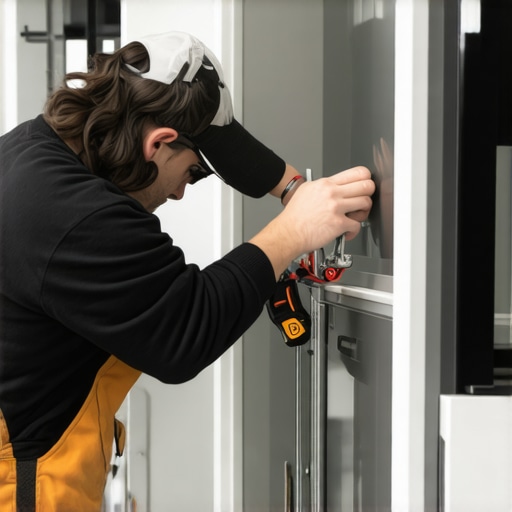
This is the most common fix for doors that overlap or hit the side of the frame. If your door is rubbing against the frame on the handle side, or if two double doors are overlapping in the middle, you need the side-to-side adjustment. Locate the screw closest to the door face on the hinge arm. This screw acts like a steering wheel for your cabinetry. Turning it clockwise usually moves the door toward the hinge side, while counter-clockwise pushes it away. I remember working on a project involving innovative storage solutions for modern kitchen remodels where I spent an hour trying to figure out why the doors wouldn’t meet in the center. It turned out I had cranked one hinge too far right and the other too far left, creating a ‘V’ gap. The trick is to make small, quarter-turn adjustments on both the top and bottom hinges to keep the door plumb.
Get the Height Perfect Without Losing Your Mind
If the door is dragging on the bottom shelf or hitting the crown molding above, you need the vertical adjustment. On most European hinges, this is controlled by the screws on the mounting plate—the part actually attached to the cabinet box. You’ll usually see two screws in slotted holes. Loosen them slightly—just enough so the door can slide up or down—then hold the door at the correct height and retighten. This is significantly easier if you have a helper or a small wood shim to hold the weight while you tighten. I once tried to do this alone on a heavy pantry door and ended up with the door falling onto my toes. It was a painful reminder that the logic behind why your drawer fronts are crooked and the adjuster screw fix applies here too: gravity is always fighting your progress.
Pull the Door Inward to Eliminate Noisy Gaps
The third screw, usually found at the very back of the hinge arm, controls the depth. This is what you use if the door doesn’t sit flush against the cabinet or if there’s a massive gap that lets dust into your storage. If you find the secret to hanging inset doors without leaving a gap elusive, this is your secret weapon. By loosening this screw, you can pull the door toward you or push it toward the cabinet box. If it’s too tight, the door might spring open on its own or rub against the face frame as it swings. You want just enough breathing room so the door clears the wood but stays tight enough to look like a seamless part of your 5-minute hinge adjustment for fixing wonky reveals. Work slowly, and always test the swing after every single turn of the screwdriver.
Now that you’ve mastered the screwdriver, let’s dig deeper into why those doors keep acting up in the first place. You can adjust your hinges until you’re blue in the face, but if the underlying structure is flawed, you are just treating the symptoms rather than the disease. One of the most common beliefs in DIY is that as long as the cabinets look level, the job is done. But I’m going to challenge that: a ‘level’ cabinet that is pinned down incorrectly is a ticking time bomb for your alignment. If you have invested in modern kitchen remodels featuring custom cabinets and built-ins, you need to look at what is happening beneath the wood.
The Invisible Trap That Ruins Your Base Cabinets
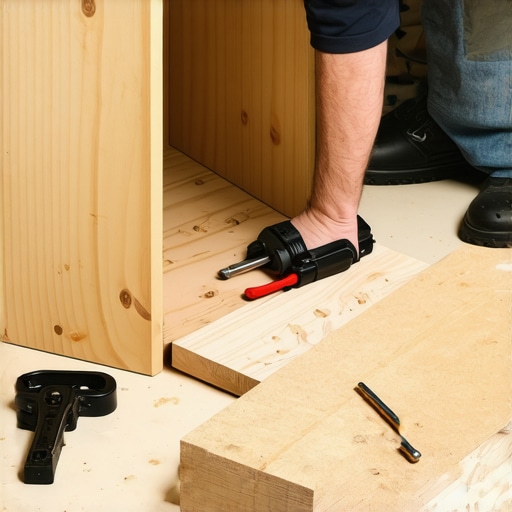
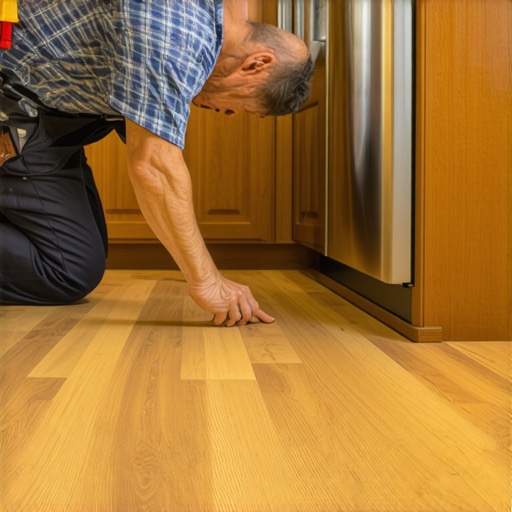
Here is the ‘oops’ factor most people never see coming: trapping your flooring. If you are installing luxury vinyl plank (LVP) or laminate, common wisdom says to run the floor wall-to-wall and set the cabinets on top for a ‘clean’ look. In my experience, this is a recipe for disaster. These floors are designed to be ‘floating,’ meaning they expand and contract. When you set 500 pounds of cabinetry and granite on top of it, you pin that floor in place. Eventually, the floor will buckle or pull, shifting the base of your cabinets just enough to throw those hinges you just adjusted out of whack again. That is why luxury vinyl plank should not be trapped under your base cabinets. If your doors are suddenly rubbing months after a remodel, check your floor expansion gaps before you blame the hinges.
Another myth I love to bust is the necessity of the Lazy Susan. Everyone says they are essential for corners, but they are actually one of the least efficient uses of space in a modern home. They are prone to mechanical failure, and once a jar of honey falls off the back into the ‘abyss,’ you’re looking at a full afternoon of disassembly just to clean it up. I always recommend people skip the lazy susan and install lemans pull outs instead. It’s an advanced move that keeps your storage accessible without the wobbling hardware issues that plague standard corner units.
Why do your custom cabinet boxes feel flimsy despite the price tag?
If you’ve ever noticed your cabinet boxes ‘racking’ or twisting when you open a heavy drawer, it’s likely because of how they were joined. A study by the National Kitchen & Bath Association (NKBA) highlights that cabinetry durability is directly tied to the mechanical fastening of the box, not just the wood species. Many ‘custom’ shops cut corners by only using pin nails and a prayer. If you want your custom cabinets as a game changer in your kitchen remodel journey to actually last twenty years, you must ensure the construction is sound. This is why your cabinet boxes should be stapled glued and screwed. Without all three, the box can shift, and once the box loses its squareness, no amount of hinge turning will ever make those doors sit flush again.
We also need to talk about appliance placement. A major mistake I see in high-end remodels is crowding. For example, why you should never place a dishwasher directly against a wall comes down to clearance for your hands and your trim. If it’s too tight, the steam will eventually warp the side panel of your expensive custom cabinetry. Have you ever fallen into this trap of prioritizing a ‘tight fit’ over proper clearances? Let me know in the comments. It’s these small, expert-level nuances that separate a kitchen that looks good in a photo from one that actually works for a decade.
I’ve spent thousands of hours in workshops, and if there is one thing that drives me crazy, it’s seeing a homeowner use a standard Phillips #2 on a European hinge. You’re stripping the head, and you don’t even know it. Most modern hinges, like those from Blum or Grass, actually use a PoziDrive #2. It looks similar, but it has extra ‘teeth’ that prevent cam-out. According to the Blum Technical Manual, using the correct bit ensures the torque is applied evenly without damaging the adjustment screws. If you’ve invested in the ultimate guide to custom cabinets for a stylish kitchen overhaul, don’t ruin them with a $2 screwdriver from the junk drawer. I also recommend picking up a Pica Dry long-nose marker; unlike a standard pencil, it reaches into the hinge holes perfectly so you can mark exactly where the mounting plate needs to sit if you ever have to remove the door for painting or deep cleaning.
Stop Using the Wrong Tools on Your Hardware
Maintenance isn’t just about screws; it’s about understanding the seasonal cycle of your home. Wood is a living material that breathes. During the humid months, your doors might swell just enough to catch on the frame, and in the winter, they shrink back. I always tell my clients that the best way to clean your new granite countertops should extend to your cabinet faces, but with a caveat: never spray cleaner directly onto the hinges. The moisture can get trapped behind the plate and lead to premature corrosion or wood rot in the screw holes. Also, check your alignment twice a year. In my own kitchen, I do a ‘hinge check’ every daylight savings time. It sounds obsessive, but catching a slight sag before the door starts rubbing is the difference between a five-minute fix and a full door replacement that costs hundreds.
How do I keep my custom cabinets working like new for decades?
Maintenance is a game of prevention. Start by integrating smart storage ideas to maximize your kitchen space this year so you aren’t overloading individual hinges with heavy stacks of plates. If you have a heavy mixer on a pull-out shelf, check the slides for debris. Whatever you do, never use WD-40 on your drawer slides; it’s a solvent, not a lubricant, and it will actually strip away the factory grease. Instead, use a dry silicone spray. I’ve seen how a snapped garage door cable can shift your workshop cabinet alignment, and while that’s an extreme case, even small vibrations in your home from heavy appliances can loosen hardware over time. Keep a dedicated ‘cabinet kit’ in your utility drawer: a PoziDrive screwdriver, some dry silicone lubricant, and a soft microfiber cloth.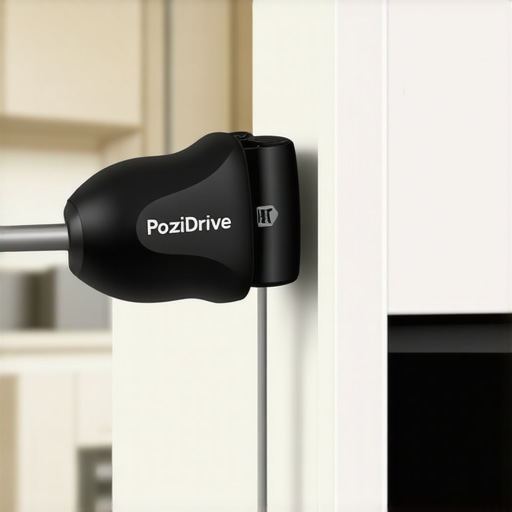
The Future of Smart Cabinetry
In the next few years, I predict we’re going to see a surge in ‘smart hinges’ with haptic feedback or built-in tension sensors that alert your phone when a door is out of plumb. We already have soft-close technology as a standard; the next step is active maintenance alerts. Until then, you are the sensor. My big piece of advice? Don’t wait for that grating ‘skritch’ sound that ruins your finish. If a door feels slightly heavy or a drawer has a tiny ‘catch’ when you pull it, stop and investigate. Go grab that PoziDrive and give it a quarter turn today. It’s the smallest habit that protects the biggest investment in your home. If you’re feeling overwhelmed by a project that has gone past the DIY stage or if you need help designing a layout that avoids these issues from day one, you can always contact us for a professional evaluation.
Mistakes I Made So You Don’t Have To
One thing I’ve realized after years of working with custom cabinets ideas that transform your home’s style is that silence is the ultimate luxury. When a door starts to rub, it’s not just a sound; it’s a sign of stress on the wood. Through my own trial and error, I’ve discovered that the environment is often as much to blame as the hardware.
- The Humidity Trap: Never adjust your hinges on the most humid day of the year. If you get them perfect when the wood is at its peak expansion, they might look gapped or wonky when the air dries out. Aim for a ‘middle-ground’ season for your final tweaks.
- The Overload Factor: I’ve seen homeowners wonder why their doors sag, only to find they’ve packed fifty pounds of cast iron on a shelf meant for spice jars. Distributing weight is key to revolutionizing your kitchen remodel using built-ins and creative storage without straining the hardware.
- The Good Enough Fallacy: If you see a tiny chip in the paint where the door is hitting, don’t just touch it up and walk away. Fix the hinge first. Paint won’t stick to a surface that is being constantly ground down by friction.
Tools I’ll Never Leave Out of My Kitchen Kit
You don’t need a whole workshop, but you do need the right stuff. For any smart storage solutions for small kitchens in 2025, these three items are non-negotiable for me:
- PoziDrive #2 Screwdriver: Stop using your standard Phillips. A PoziDrive has four extra points of contact that prevent the bit from slipping and stripping your expensive hardware.
- Pica Dry Long-Nose Marker: This is a game-changer for marking screw locations deep inside narrow cabinet boxes where a standard pencil simply won’t reach.
- Dry Silicone Spray: Essential for keeping your slides moving without attracting the dust and grime that oil-based lubricants love. It’s a core part of my expert tips on selecting storage solutions for a perfect kitchen upgrade.
Your Kitchen Deserves to Be Silent and Smooth
At the end of the day, your home should be a place of peace, not a place where you have to fight with your furniture. Taking ten minutes once or twice a year to check your alignment ensures your transform your kitchen with custom cabinets expert guide for 2025 remains a success for a generation. Don’t let a simple screw turn stand between you and a perfectly functioning home. If you’re running into issues that a screwdriver can’t solve, or if you’re ready to start fresh with a professional design, contact us and let’s get it right from the start. Which cabinet door in your house is the biggest offender right now? Let me know below!