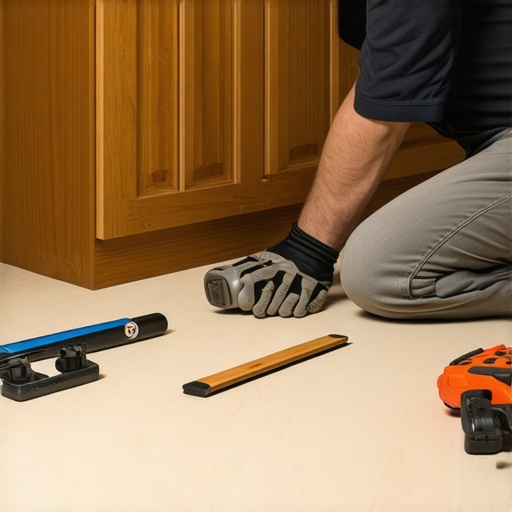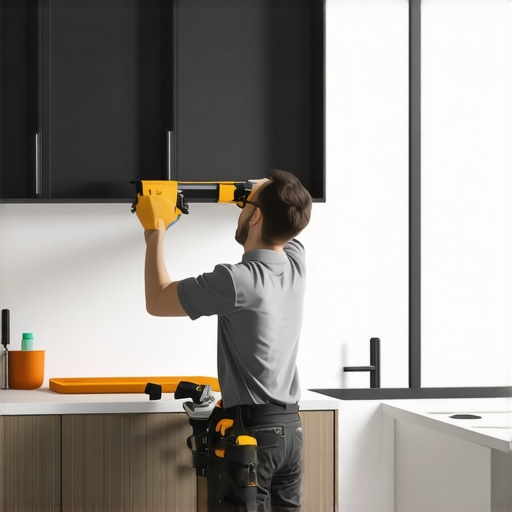
The Heavy-Duty Bracket Strategy for Supporting 18-Inch Island Overhangs
I’ll never forget the moment I installed my dream kitchen island, only to realize the heavy overhang was sagging after just a few months. All that effort, all those custom cabinets, suddenly looked ruined because I overlooked one critical support detail. It was a lightbulb moment—something as simple as the right support strategy can make or break the look and functionality of your space.
Why Supporting Your 18-Inch Island Overhang Matters More Than You Think
When I first embarked on my kitchen remodel, I was excited about the sleek, modern aesthetic of a large island with a generous 18-inch overhang. Perfect for bar stools, right? Wrong. I quickly learned that without proper heavy-duty brackets, that beautiful overhang would sag, crack, or worse—fail completely. The supporting structure needs to be just as stylish as the cabinets and countertops themselves. Trust me, neglect this aspect, and you’ll regret it every time you host friends or prepare meals.
Early on, I made a costly mistake—underestimating the weight the brackets needed to support. I used standard brackets thinking a few would suffice. Spoiler: they didn’t, and I ended up with a wobbling, unprofessional look. I learned that using specialized heavy-duty brackets is essential for those substantial overhangs. Interestingly, according to artisancabinetworkz, proper support extends the lifespan of your cabinetry and prevents costly repairs later. So, if you’re planning a kitchen upgrade, understanding this support system early can save you headaches and money down the line.
Got this problem too? You’re not alone.
Many homeowners I’ve talked to face the same challenge—how to support those heavy, beautiful overhangs without compromising on design or function. That’s precisely what we’ll cover today. I’ll walk you through my personal journey, the mistakes I made, and ultimately, how I mastered the heavy-duty bracket strategy to create a stunning, durable kitchen island that keeps impressing everyone.
Ready to learn how to support your overhang like a pro? Let’s dive into the practical steps that will help your kitchen look magazine-ready and stand the test of time.
Use Thick-Core Plywood to Reinforce Overhangs
Start by selecting high-quality, thick-core plywood—preferably 3/4 inch or thicker—as your support base. During my remodel, I once used standard 1/2-inch plywood, which bowed under weight. Replacing it with thicker plywood immediately stabilized the overhang. This material acts like a sturdy backbone, preventing sagging and ensuring longevity. For reference, see how thick-core plywood provides unmatched support in built-in applications.Many homeowners believe that ordering custom cabinets simply means choosing a style and color, but in reality, there’s a nuanced art to designing truly functional and durable built-ins. A common myth is that custom equals expensive luxury; however, strategic planning and understanding material strengths can make custom solutions cost-effective and long-lasting. For example, selecting the right hardware and understanding joint types can prevent future issues like warping or squeaking, aspects often overlooked by DIYers. When it comes to kitchen remodels, a frequent mistake is focusing solely on aesthetics and neglecting accessibility and ergonomic layouts; designing with the user in mind ensures both beauty and ease of use. A sophisticated approach involves detailed planning of storage solutions that maximize space, employ soft-close mechanisms, and leverage vertical space—tools discussed extensively in expert tips on storage design. However, many get caught in common pitfalls like overestimating cabinet load capacities or choosing finishes that don’t withstand humidity, leading to costly repairs down the line. Integrating advanced knowledge about material properties, such as knowing that **birch plywood often outlasts particle board in moist environments** (see this expert guide), helps avoid these mistakes. A particularly tricky aspect is managing the interaction between built-in storage and existing architecture; miscalculations here can cause doors to stick or hardware to misalign. For instance, planning for proper scribe techniques and knowing when to reinforce framing can prevent unsightly gaps or hardware failure. Many assume that all storage solutions are created equal—yet, in reality, integrating innovative custom features like hidden pull-outs or adjustable shelves requires a nuanced understanding of hardware and spatial constraints. This is where planning pays off: consulting professionals who understand these details can transform a cluttered kitchen into a sleek, efficient space. Have you ever fallen into this trap? Let me know in the comments.
Essential Tools for Long-Term Cabinet and Storage Maintenance
Maintaining custom cabinets, built-ins, and storage solutions requires more than just periodic cleaning; it involves preventive measures and the right equipment. As a dedicated DIY enthusiast, I rely on specific tools to ensure longevity and optimal performance. A high-quality electric orbital sander is invaluable for refinishing or smoothing surfaces when wear begins to show, allowing you to address minor scratches or warping early on. I personally swear by the Festool ETS EC 150/3 EQ for its superior dust extraction and smooth finish, making ongoing maintenance less of a chore.
Another must-have is a comprehensive woodbridge moisture meter. Over time, humidity changes can cause cabinet warping or joint failure, especially in kitchens and bathrooms. Regular checks with a reliable moisture meter help catch issues early, preventing costly repairs. From my experience, the Lignomat Moisture Meters provide accurate readings that help me decide when a quick intervention is needed to preserve my investments.
How so I keep custom-built storage systems functional over years?
Consistent upkeep involves cleaning with gentle, pH-neutral cleaners to preserve finishes and lubricating hinges and drawer slides periodically. I recommend using a quality silicone spray for soft-close mechanisms; it prevents sticking and ensures smooth operation. For hardware, I lean on precision screwdrivers like the Wiha Precision Screwdriver Set, which allows detailed adjustments without stripping screws. Additionally, inspecting and reinforcing support brackets before sagging begins can dramatically extend the life of overhanging countertops and shelves.
Future Trends: Smarter Tools and Automated Maintenance
Looking ahead, I predict integrated smart sensors will become standard in custom cabinetry—monitoring humidity, temperature, and even structural stress in real time. This technology could alert homeowners to potential issues before visible damage occurs, saving time and money. Companies like InnovativeCabinetTech are already developing prototypes that sync with smartphone apps, enabling remote diagnostics and automated maintenance schedules. Implementing these tools now can prepare your kitchen for a more resilient future.
Maintain Your Cabinets Like a Pro — Start Today
One practical tip is to set a quarterly maintenance routine: check hinges and slides for squeaks, inspect support brackets, and clean surfaces thoroughly. Incorporating a high-quality multi-purpose lubricant, such as WD-40 Specialist Silicone, can prevent many operational issues. Remember, investing in the right tools and habits pays off by keeping your storage solutions functional and beautiful for years to come. If you’re ready to elevate your maintenance game, try applying a silicone-based lubricant to your hinges and slides this weekend and notice the difference in smoothness! For more personalized advice, don’t hesitate to contact us using the link below.
The Hard Lessons Behind Choosing the Right Support System
- I once assumed that lightweight brackets would suffice for my 18-inch overhang, only to find them sagging after a few months. That firsthand mistake taught me the importance of selecting heavy-duty, specialized supports tailored for substantial overhangs.
- Overestimating the weight capacity of my initial supports resulted in wobbling countertops and an unprofessional appearance, emphasizing that understanding load requirements is crucial for durability.
- Neglecting to reinforce the support structure early on led to costly repairs later, proving that proactive reinforcement with proper materials saves time and money in the long run.
- I discovered that integrating innovative support techniques, like steel brackets, can significantly improve both the aesthetic and functionality of your kitchen island, a tip I wish I had known sooner.
- Finally, I realized that consulting with professionals and using proper support strategies can elevate your kitchen remodel from ordinary to extraordinary, making it a space to truly enjoy and impress guests with.
Tools and Resources That Changed My Approach
- Heavy-duty steel brackets: I trust top-grade steel brackets for their strength and longevity, ensuring my overhang remains intact over the years.
- Support bracket guides: These resources provided invaluable insights into proper installation techniques and support placements.
- High-quality plywood: Using 3/4-inch thick-core plywood reinforced my countertops, preventing bows and sagging.
- Expert articles: Learning about material properties helped me make informed decisions for long-lasting support systems.
- Consulting professionals: Engaging experienced carpenters and designers early on transformed my project, giving me confidence in my support choices.
Your Turn to Create a Support System That Lasts
Designing the perfect support system for your kitchen island overhang requires both knowledge and confidence. Don’t shy away from experimenting with innovative solutions, and remember—proper support is the backbone of a beautiful, functional kitchen. Whether you’re restoring existing cabinetry or embarking on a complete remodel, integrating these lessons can elevate your project and ensure lasting satisfaction. Ready to take your kitchen to the next level? Share your experiences below or ask questions—I’m here to help make your vision a reality!