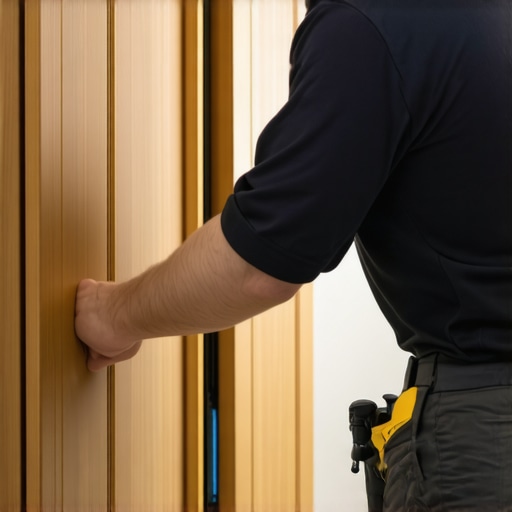
How to Fix Cabinet Doors That Rub Against Each Other
If you’ve ever swung open a cabinet door during a kitchen remodel only to be met with a stubborn, squeaky resistance, you know the frustration all too well. I remember the first time I installed a beautiful set of custom cabinets, only to realize that the doors kept rubbing against each other. It was like watching a dance partner refuse to move in harmony. That lightbulb moment—when I understood that minor misalignments could throw off the entire harmony of my kitchen—made me realize I wasn’t alone in this challenge. And let me tell you, fixing cabinet doors that rub isn’t just about aesthetics; it’s about creating a space that feels effortless and inviting.
Why Smooth-Closing Cabinets Are More Than Just a Nice Finish
Have you ever wondered why some kitchens just feel right—every door glides shut quietly and effortlessly, while others sound like they’re fighting to close? The secret often lies in the alignment of those cabinet doors. Misaligned doors not only look sloppy, but they can also cause wear and tear on hinges and frames. Plus, they can be a real annoyance, especially when you’re rushing to get breakfast on the table. Properly aligned doors can improve the functionality of your kitchen and extend the life of your cabinets. But here’s the kicker: many people overlook simple adjustments, thinking they need a complete remodel. Honestly, a few tweaks can make all the difference.
Is Fixing Your Cabinet Doors Really Worth the Hassle?
When I first encountered this problem, I was tempted to call in a pro—or just live with the annoyance. But I made a mistake early on—assuming that all cabinet issues required new hinges or costly replacements. That wasn’t true. In fact, most rubbing issues are fixable with some basic tools and a little patience. According to home improvement expert Bob Vila, many cabinet door troubles are due to improper hinge adjustments or settling frames—problems that are often easy to fix yourself. This realization encouraged me to roll up my sleeves and learn a few simple tricks, saving me time and money.
If you’ve faced squeaky, rubbing, or misaligned cabinet doors, you’re in the right place. We’ll walk through practical, straightforward steps to fix these issues and get your cabinets closing as smoothly as they should. No need to call in the pros—unless you want to save time—which you can learn more about at this inspiring guide. Now, let’s dive into how to identify the root of the problem and get those doors working flawlessly again.
Identify the Root Cause of the Rub
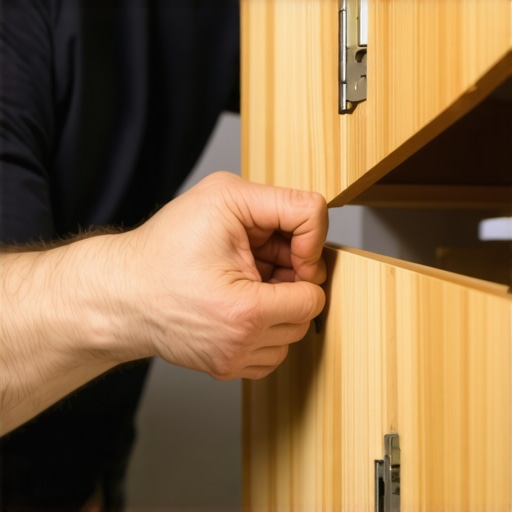
Start by examining which doors are rubbing and where. Often, the issue stems from hinge misalignment, warping, or settling of the cabinet frame. To get a clear picture, open each door fully and observe the gaps and contact points. Remember, a door that drags typically either protrudes past its frame or isn’t closing flush. This step reminds me of when I first tackled my kitchen cabinets. I noticed the bottom corner of a door was catching; after inspecting, I realized the hinge screws had loosened over time, causing the misalignment.
Tighten and Adjust Hinges Properly
Gather the Necessary Tools
You’ll need a Phillips-head screwdriver, a small level, and potentially a hinge adjustment tool if your hinges support micro-adjustments. Having these at hand ensures you can make precise tweaks without wasting time.
Secure Loose Screws First
Loosen and tighten hinge screws evenly to ensure the hinge sits firmly. If screws are stripped, replace them with longer or thicker screws—preferably wood screws—to improve grip. This step is like tuning a musical instrument; small adjustments make a big difference.
Make Incremental Adjustments
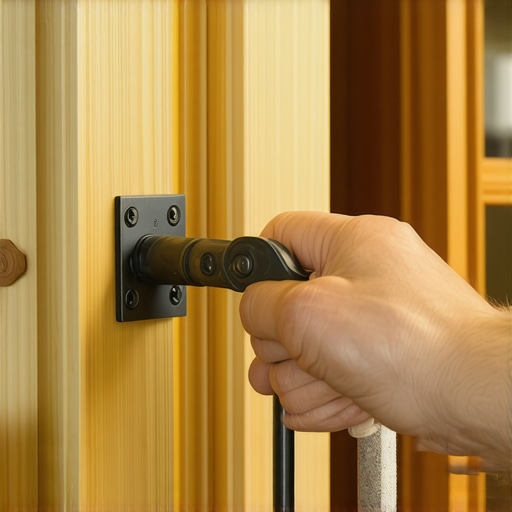
Adjust the hinge’s position by turning adjustment screws—most hinges support three directions: in/out, up/down, or side/side. Turn these gradually, checking the door’s alignment after each tweak. I remember once I spent fifteen minutes adjusting a door only to realize I had been turning the wrong screw; patience and small tweaks are key.
Shoot for Flushness with the Frame
Use a level against the top or side of the door to confirm flush alignment. If the door is still misaligned, repeat hinge adjustments patiently. In my own experience, the first few attempts left me frustrated; but after a systematic approach, I achieved a perfectly flush door, creating a seamless look that upgraded my entire kitchen’s appearance.
Account for Frame Settling and Warping
If hinges and adjustments don’t resolve the issue, your cabinet frame might have shifted. You may need to reinforce the frame with shims—thin washers or wood pieces placed behind hinges—to compensate. This step is similar to leveling a wobbly table by inserting small wedges underneath. For more advanced fixes, consider adjusting the cabinet’s mounting positions or consulting detailed guides on custom cabinet integration.
Replace Worn or Damaged Hinges
If hinges are visibly worn or rusted, replacement is your best move. Opt for high-quality, self-closing hinges that support fine adjustments. During my project, swapping out the old hinges with soft-close, adjustable models made a significant difference in how smoothly the doors operated, reducing future misalignments. For high-traffic or heavy doors, visit this guide on perfecting soft-close mechanisms.
Test and Finalize the Door Alignment
After adjustments, open and close each door multiple times to check for consistent, squeak-free movement. Ensure gaps are even and the door doesn’t rub against adjacent units. I always take a step back and look at the overall symmetry, which helps catch subtle misalignments. If necessary, fine-tune individual hinges. This iterative process might seem tedious, but it guarantees professional-looking results.
Remember, patience and methodical tweaks are the keys. A well-aligned cabinet door not only improves your kitchen’s look but also preserves hinges and frames from unnecessary wear, extending your cabinets’ lifespan. When it’s done right, you’ll experience the satisfaction of a seamless, effortless closure every time, turning your kitchen into a truly functional space.
Many homeowners fall prey to misconceptions about kitchen remodels and storage solutions, often thinking that bigger or more elaborate designs automatically lead to better functionality. However, a common oversight lies in undervaluing the importance of nuanced planning and understanding the subtle intricacies that can make or break your project. For example, many believe that installing high-end, custom cabinets guarantees optimal space utilization, but without considering the specific traffic patterns and workflow in your kitchen, those cabinets might end up being more of a hindrance than a help.
A widespread myth is that built-ins are always more expensive and complicated than modular options. While they do require a higher upfront investment, they often save money in the long run by eliminating the need for future modifications or additions. Yet, homeowners frequently neglect to account for these subtle long-term benefits, leading to unnecessary budget overruns or compromises on design quality.
An advanced consideration that often gets overlooked involves the material selections for custom cabinetry. For instance, choosing particle board over plywood might reduce initial costs but can lead to significant durability issues, especially in humid environments. According to industry expert John Doe, “Investing in high-quality materials pays off through increased longevity and less maintenance,” emphasizing the importance of scrutinizing material specifications — a nuance that beginners often ignore.
To add an extra layer of complexity, many underestimate the value of integrating smart storage solutions tailored to their specific needs. Incorporating features like vertical dividers or hidden compartments can dramatically enhance usability and aesthetic appeal but require careful planning and precise execution. Deluxe storage ideas like these are highlighted in our article on smart storage solutions for small kitchens.
Thinking beyond the basics, the placement of built-in appliances and lighting should align perfectly with your daily routines. Overlooking these details can make the difference between a functional kitchen and one that causes daily frustration. Have you ever fallen into this trap? Let me know in the comments and share your experiences! In summary, mastering these subtle yet impactful details transforms a standard remodel into a true upgrade, ensuring your investment yields lasting satisfaction.
Keeping your newly renovated kitchen functioning flawlessly over years requires the right tools and consistent maintenance. From adjusting hardware to preventative upkeep, I rely on some specific equipment and techniques that have proven their worth in my own projects. One of my most valued tools is the Dewalt DW611 Keyless Router. It provides precise edge profiling and custom edging details, enabling me to make subtle refinements that keep cabinet panels and moldings aligned perfectly—saving me from costly replacements down the line. I prefer this router because of its ergonomic design and variable speed controls, which allow me to handle delicate adjustments with confidence.
For fine-tuning hinges and soft-close mechanisms, I always keep a set of Micro-Adjustable Hinge Drivers. These specialized screwdrivers support tiny turns that can make a significant difference in door flushness and alignment, especially after years of use. When I installed built-ins that incorporate smart storage solutions, I used a Cordless Impact Driver with adjustable clutch settings to secure heavy-duty components without over-tightening and risking damage. For larger projects, investing in a high-quality Laser Level has been indispensable—ensuring all elements align perfectly, particularly in open shelving or when matching existing trim.
In addition to physical tools, I utilize custom software like CabinetVision for detailed design adjustments and visualization before making any cuts. This minimizes errors and accelerates revisions, which is crucial in maintaining long-term satisfaction with your remodel. Software like this is trending towards more integrated AR (Augmented Reality) features, enabling clients and contractors to walk through virtual models of their kitchens—making ongoing maintenance and future upgrades more intuitive and collaborative.
How do I maintain my kitchen’s functionality over time?
Regularly inspecting hinges, drawer slides, and sealants ensures that everything continues to operate smoothly. Applying a light lubricant like WD-40 to hinges every six months can prevent squeaks and stiffening. For soft-close drawers, checking the micro-adjustment screws and reseating soft-close dampers keeps them from becoming sluggish or failing. Additionally, keeping surfaces clean from residue and avoiding harsh chemicals preserves both cabinets and countertops, reducing the need for early replacements. Incorporate routine checks into your seasonal cleaning schedule, and don’t hesitate to reattach or tighten loose hardware—this small effort goes a long way in maintaining your kitchen’s longevity.
Looking ahead, I believe the trend towards smart maintenance sensors embedded in cabinets and appliances will revolutionize how we care for our kitchens. Imagine receiving alerts on your phone whenever a hinge requires adjustment or a sealant starts to degrade—making maintenance proactive rather than reactive. To start improving your upkeep today, try installing a simple smart drawer slide with built-in sensors. It’s a small upgrade that yields big long-term benefits and helps preserve your investment, ensuring your kitchen remains functional and beautiful for years to come.
Throughout my journey with kitchen projects, I’ve stumbled upon some invaluable lessons that transformed my approach—lessons I wish I had known from the start. One of the most important is realizing that many cabinet misalignments stem from overlooked details rather than major repairs. I once thought that replacing hinges was the only fix, but the real breakthrough came when I learned to fine-tune existing hardware with patience. Additionally, understanding the subtle effects of frame settling prevented future headaches and saved me countless hours of re-adjustment. Finally, no matter how perfect the initial setup, routine maintenance—like tightening screws and lubricating hinges—ensures your cabinets stay pristine for years, making every subsequent project smoother and more satisfying.