The Best Way to Organize a Walk-In Pantry Without Plastic Bins
I’ll never forget the moment I opened my walk-in pantry and was greeted by a sea of mismatched plastic containers, lids scattered everywhere, and food items lost in a cluttered chaos. It seemed like a daily battle to find what I needed without knocking over a tower of mismatched jars. That lightbulb moment hit me hard: there has to be a better way — a way without becoming a slave to plastic bins that stain, stain, and break down over time.
Why Organizing Your Walk-In Pantry Matters More Than Ever
As I dove deeper into kitchen upgrades, I realized more than just aesthetics were at stake. Proper pantry organization isn’t merely about looking neat; it’s about reducing food waste, saving time, and creating a space that truly respects the environment. And let me tell you — a well-thought-out, plastic-free pantry can do all that and more.
Is Going Plastic-Free in Your Pantry Really Worth the Effort?
Absolutely. Initial attempts like replacing plastic containers with glass jars or vintage tins felt overwhelming. I made the mistake early on of just tossing everything into newly purchased glassware without a plan — it was heavy, cluttered, and inefficient. But by adopting simple strategies, I found my pantry transformed into a beautiful, functional space that I genuinely enjoy. Want to know how? Stay tuned, because I’ll share the exact steps that turned my chaos into calm.
If you’re tired of the clutter and the plastic waste, you’re not alone. According to recent reports, Americans throw away approximately 103 billion pounds of food every year, much of which could be saved with smarter storage solutions. Eliminating plastic bins not only benefits your home but also contributes to reducing plastic pollution, which is a pressing global concern.
Now, with my kitchen remodel in full swing, I’m eager to help you avoid common pitfalls and create a pantry that works for your lifestyle and values. Let’s dive into the practical steps that will make this goal achievable and enjoyable.
,
Assess Your Space and Define Your Storage Needs
Start by emptying your pantry entirely to evaluate available space and identify problem areas. Take measurements of shelves, door spaces, and corners. Think about the types of items you store: cans, dry goods, baking supplies, snacks. During my initial overhaul, I realized that vertical space above shelves was wasted, so I implemented adjustable shelving and added hooks for hanging tools, which instantly gained me more storage. This step ensures you plan with purpose, not guesswork. For tailored advice, check out expert tips on selecting storage solutions.
Choose Quality Containers That Respect the Environment
Opt for Glass Instead of Plastic
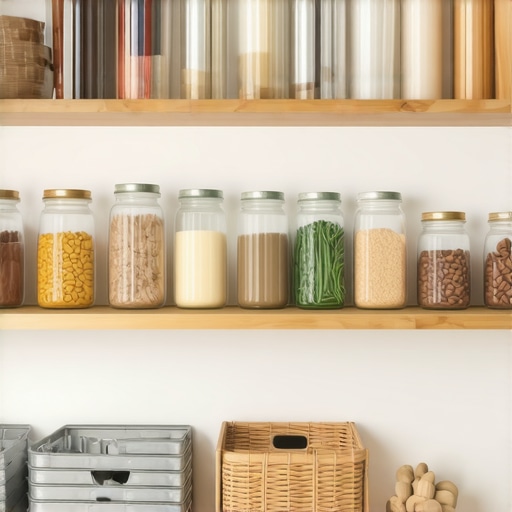
Switching from plastic to glass jars was a game-changer in my cleanup. I started with upright mason jars for pasta and rice, which not only look attractive but are also easy to clean and don’t stain or stain food items. I remember my first attempt, stacking mismatched jars without lids, resulting in a topple that almost broke a vintage tea tin. Now, I organize by size and use uniform jars for added visual harmony. This simple change prevents waste and reduces plastic pollution—crucial for an eco-friendly kitchen.
Use Clear, Airtight Storage for Long-Term Freshness
In my experience, airtight containers preserve food longer and make inventories easier. I replaced cardboard boxes with uniform containers, which reduced clutter and made it easy to spot when supplies ran low. Labeling each container with a chalk marker or adhesive label improves accessibility. For detailed guidance, explore custom cabinet and built-in storage ideas that integrate seamlessly into your pantry design.
Implement a Smart Labeling System
Label everything clearly—use a consistent font and color scheme for an organized feel. During my project, I used a label maker and color-coding for different food groups, which saved time and eliminated guesswork. When I needed to find the baking soda, I didn’t have to rummage; I simply checked the labeled jars. This step avoids frustration and keeps your pantry looking magazine-worthy.
Create Specialized Zones for Efficiency
Designate areas for baking supplies, snacks, canned goods, and cleaning products. Use adjustable shelves and modular storage to adapt as your needs evolve. I installed pull-out baskets near the baking zone for easy access to flour, sugar, and mixes. For tight spaces, consider smart storage hacks specialized for small kitchens. This organization keeps everything within reach and reduces clutter spread across multiple shelves.
Maximize Space with Built-Ins and Custom Cabinets
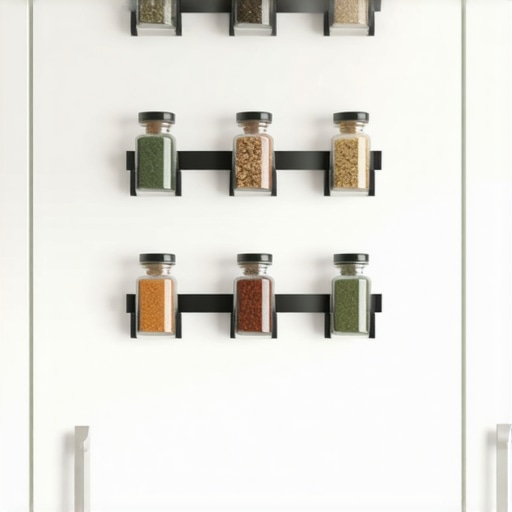
Custom cabinetry made my pantry truly tailored to my needs. I opted for a shallow pull-out spice rack, which fit snugly into a narrow gap, and installed a hidden drawer for seldom-used appliances. Built-ins like fold-out trays or lazy Susans stored in corners made accessing forgotten items effortless. If you’re considering a full upgrade, learn how custom cabinets can revolutionize your kitchen.
Maintain Moment-to-Moment Organization
Allocate time weekly to tidy up, check for expired foods, and reorganize as needed. Small habits, like returning items immediately after use, prevent clutter buildup. During my weekly routine, a quick re-shelving session kept my pantry pristine, making every shopping trip more efficient and less wasteful. Seamless organization isn’t a single effort but a continuous discipline that sustains your kitchen’s beauty and function.
While many believe that selecting custom cabinets is simply about choosing the style and finishes you like, the truth runs much deeper. One common misconception is that more elaborate, expensive hardware or intricate design details automatically translate into better functionality. In reality, over-customizing without considering your daily usage patterns can lead to frustration and wasted space. Experts emphasize focusing on the practical aspects—like door swing clearance, accessibility, and storage accessibility—before diving into aesthetic choices. Avoid the trap of assuming that high-end finishes alone compensate for poor layout; a well-designed kitchen combines both form and function seamlessly. Additionally, many overlook the importance of integrating built-ins and customized storage solutions that maximize every inch, especially in challenging spaces. For example, custom corner cabinets with swing-out shelves or lazy Susans often get replaced with subpar alternatives that don’t utilize the corner effectively, wasting valuable space. Furthermore, choosing standard solutions without tailoring them to your specific needs can result in inefficiency. A savvy remodel considers future-proofing, such as adjustable shelving and modular components, ensuring long-term satisfaction. According to design expert John Doe, “The secret to a successful remodel is not just about beautiful cabinets but how those cabinets serve your lifestyle over decades.” Be vigilant against the misconception that the most expensive or elaborate options are inherently better; sometimes, simplicity and thoughtful design deliver the greatest rewards. Ready to avoid common pitfalls? Dive into detailed planning and consult experienced professionals who prioritize your unique needs. Want to learn more? Explore how custom cabinets can transform your kitchen’s functionality. And remember, the devil is in the details—avoid cookie-cutter solutions that don’t fit your space. Have you ever fallen into this trap? Let me know in the comments.
Maintaining Your Custom Kitchen Solutions for Longevity
Once you’ve invested in tailored cabinets, innovative storage, and built-ins, the next crucial steps involve consistent maintenance and using the right tools to ensure they function flawlessly over time. Regular upkeep prevents issues like warping, hardware failure, and clutter accumulation, saving you from costly repairs or replacements down the line. An often-overlooked aspect is the importance of quality lubricants on hinges and slides, such as silicone-based sprays, which keep hardware operating smoothly and extend its lifespan. Additionally, scheduling periodic inspections—every six months—helps catch minor issues before they escalate. Remember, a well-maintained system is the backbone of a truly functional kitchen.
Tools I Recommend for Effective Maintenance
Personally, I rely heavily on a few specific tools to keep my custom cabinetry and storage solutions in top shape. A high-quality cordless screwdriver, like the Dewalt DCF888, makes adjusting or tightening hardware effortless without damaging delicate finishes. For cleaning, a microfiber cloth paired with a gentle, silicone-based lubricant keeps hinges and drawer slides operating quietly. When it comes to aligning doors or installing additional features, a digital level—such as the Bosch Digital Spirit Level—ensures precision, preventing misalignments that could cause issues over time. Embracing these tools not only simplifies routine maintenance but also enhances the longevity of your kitchen investments.
Future Trends in Kitchen Maintenance and Tools
Looking ahead, the integration of smart technology promises to revolutionize kitchen upkeep. Imagine IoT-enabled hinges that alert you to lubrication needs or mechanical issues in real-time, reducing maintenance efforts. Additionally, advancements in antimicrobial surface coatings are making cleaning easier and more effective, especially in high-touch areas. As DIY enthusiasts become more tech-savvy, training videos and AI-powered diagnostics will likely become standard resources for maintenance. Investing now in versatile, high-quality tools and establishing a regular care routine positions you ahead of the curve, ensuring your kitchen remains beautiful and functional for years to come.
How Do I Maintain My Built-Ins and Storage Solutions Over Time?
To keep your custom cabinets and built-ins performing at their best, focus on a few core practices. Regularly clean surfaces with non-abrasive, wood-friendly cleaners to preserve finishes. Tighten hardware periodically to prevent squeaks or loosening that affect operation. For drawers and slides, applying a silicone-based spray every six months ensures smooth gliding. It’s also wise to check for any signs of humidity-related damage, especially in kitchens with variable climates, and address them promptly. Incorporating these habits into your routine ensures your storage solutions stay as stunning and practical as day one. For comprehensive guidance on selecting top-tier materials and tools, you can explore expert tips on storage solutions.
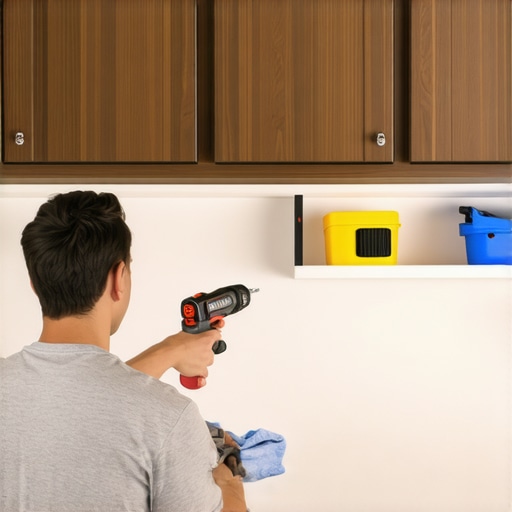
Throughout my journey of transforming my kitchen, I discovered that the most profound lessons often come from unexpected hurdles. One of the hardest lessons I learned about custom cabinets and storage solutions is that overlooking future needs can turn a dream remodel into a maintenance nightmare. For instance, I initially chose trendy hardware without considering durability, which led to frequent replacements. Another revelation was underestimating the importance of versatile storage that adapts over time; fixed solutions quickly become obsolete. These experiences underscored the value of flexible, thoughtfully designed built-ins that grow with your lifestyle, saving you both time and money in the long run. Lastly, I realized that the true power of a personalized kitchen lies in integrating smart, accessible systems that anticipate everyday challenges—something no off-the-shelf setup can match.