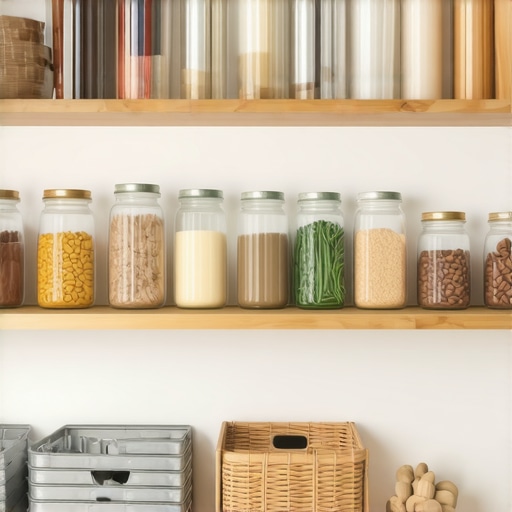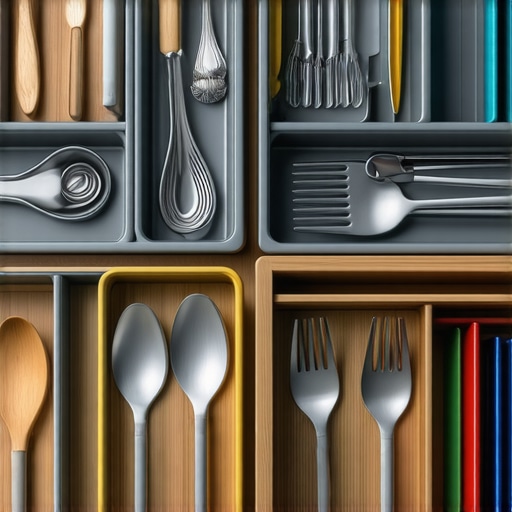
Why We Recommend Drawer Organizers Over Standard Silverware Trays
Ever opened your silverware drawer, only to be met with a jumbled mess of utensils, random gadgets, and who-knows-what? That frustrating sensation of digging through a sea of chaos is something I’ve become all too familiar with. It wasn’t until I finally upgraded from a standard silverware tray to a dedicated drawer organizer that I realized how much easier my daily routine could be. The difference was night and day—no more frantic searches or accidental jabs in the dark. That lightbulb moment transformed my entire approach to kitchen storage, and I want to share why I believe drawer organizers are the upgrade worth making.
Reclaim Your Kitchen Space and Your Sanity
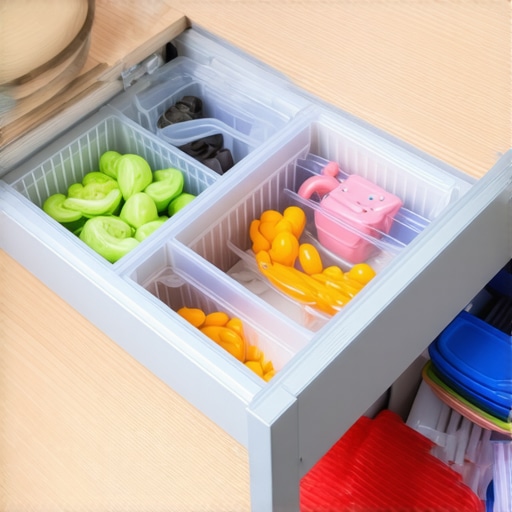
So, what makes drawer organizers such a standout choice over traditional silverware trays? It’s all about maximizing every inch of your drawer. Standard trays often have fixed compartments that don’t fit your unique utensils or limit flexibility. In contrast, drawer organizers can be customized to suit your specific needs. They allow you to create dedicated zones for knives, spatulas, measuring spoons, and even small gadgets, all within the same space. This customization means less clutter and more efficiency, empowering you to prepare meals faster and with less hassle.
Skeptical About the Cost or Effort?
Many folks are skeptical about replacing a simple tray with a more elaborate system, fearing it might be too complicated or expensive. Believe me, I’ve been there. Early on, I made the mistake of trying to squeeze my utensils into a one-size-fits-all tray, only to find myself reorganizing weekly. The secret is starting with a smart storage solution that adapts to your kitchen. And surprisingly, the investment pays off quickly in saved time and reduced frustration.
Now, if you’re wondering whether drawer organizers are really worth the hype or just an overhyped trend, you’re not alone. My aim is to help you navigate this common kitchen dilemma, so you can decide if this upgrade is right for you. Ready to explore how you can transform your cluttered drawers into organized oases? The next steps aren’t just about tidy drawers—they’re about making your entire kitchen experience smoother and more enjoyable.
Select the Right Organizer System
Start by assessing your current drawer contents. Take everything out and categorize utensils, gadgets, and small items. Choose a modular, customizable drawer organizer that fits your drawer dimensions. For example, a layered tray system allows you to separate knives from utensils, making each zone easily accessible. Remember, a well-chosen organizer acts like a tailored suit—fit for purpose and comfortable to use.
Measure Your Space Accurately
Use a tape measure to record the interior length, width, and depth of your drawers. When applying these measurements to your chosen organizer, leave a small gap (about 0.25 inches) to accommodate expansion and movement. I once skipped this step and bought an organizer that didn’t fit an inch too short, causing frustration and delayed organization. Precise measurements prevent this and streamline the whole process.
Sort and Purge Before Placement
Sort utensils into groups—such as cooking tools, cutlery, and specialty gadgets. Discard duplicates, broken items, or tools you no longer use. This step cleans out unnecessary clutter, making room for efficiency. I did this during a sloppy Saturday morning, ending with a manageable pile and a much neater drawer. It’s a small effort that yields big results, transforming chaos into clarity.
Assign Dedicated Zones for Each Item Type
Arrange utensils within the organizer so that similar items are grouped. For instance, place all grilling tools together or keep baking utensils in one section. Think of it as creating mini workstations within your drawer. This logical division lets you grab what you need without searching, much like having built-in compartments in custom cabinets—only on a smaller, more accessible scale.
Optimize Accessibility and Safety
Position frequently used utensils at the front. Keep sharp knives in the most secure part of the organizer, with blade guards if necessary. Use non-slip liners under items prone to sliding. I remember when I misplaced a sharp paring knife because I stored it at the back; now I keep it front and center, saving me a frantic search during meal prep. Proper placement enhances safety and speed.
Implement Space-Saving Techniques
Use stackable trays or nested compartments to maximize vertical space. For small gadgets, consider pull-out drawer inserts that allow you to see all items at once. If your drawer is shallow, look for slimline organizers designed specifically for narrow spaces. These tricks turn a cluttered drawer into a sleek, functional zone—like adding built-ins that seamlessly blend into your kitchen design.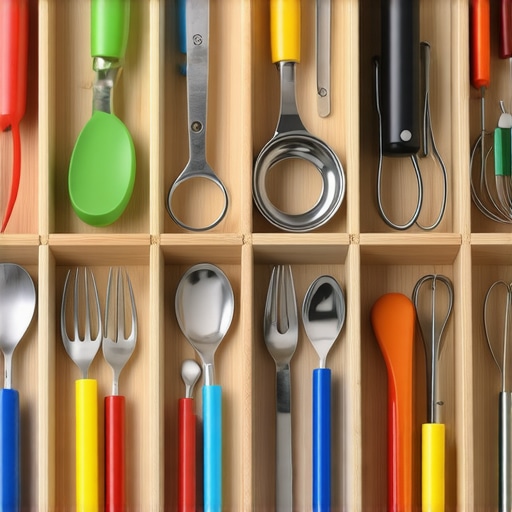
Maintain and Adjust Regularly
Periodically revisit your drawer setup. Remove items that are no longer needed and reorganize as your collection grows or shrinks. You might discover that certain zones need re-arranging for better flow. I schedule a quick reorganization every three months, keeping the system fresh and functional. Regular upkeep prevents clutter from creeping back and ensures your storage solution remains optimal.
While many believe that choosing custom cabinets or built-in storage automatically guarantees a perfect kitchen, the reality is more nuanced. A common myth is that all built-ins are created equal, but the truth is that the details matter immensely. Oversights such as ignoring existing structural limitations or misjudging material durability can transform a dream renovation into a logistical nightmare. As an expert in kitchen design, I’ve seen how these subtle pitfalls undermine seemingly perfect plans.
One of the most overlooked pitfalls is failing to consider the long-term implications of material choices. For instance, opting for high-gloss finishes on cabinetry might look stunning initially, but they can be prone to visible scratches and fingerprints, especially in high-traffic kitchens. Experts suggest that matte or textured finishes often outperform glossy veneers in durability and ease of maintenance. According to a study by the Kitchen Cabinet Institute, material selection directly impacts user satisfaction and longevity, emphasizing the importance of choosing the right surface for your lifestyle.
Why bypassing the assessment of existing infrastructure leads to costly mistakes
Many homeowners jump into custom cabinet projects without thoroughly assessing structural elements like stud spacing, wall thickness, or load-bearing capacities. This oversight can cause misalignments, gaps, or even compromised structural integrity over time. For example, placing heavy built-in appliances or large cabinets against walls not designed to support such weight can result in warping or sagging. It’s crucial to consult with professionals who can evaluate your space accurately before beginning fabrication.
Another common misconception is that built-in storage should be static. Contrarily, flexible storage solutions, such as adjustable shelving or modular components, often outperform fixed installations. They accommodate evolving needs and prevent obsolescence. To master this, consider exploring innovative storage solutions designed for adaptability. This forward-thinking approach ensures your kitchen remains functional years after the initial installation.
How can you prevent overestimating installation complexity?
Many assume that custom solutions will automatically elevate their kitchen’s look and function without considering installation challenges. However, complex craftsmanship often requires precise measurements, specialized tools, and skilled labor. Rushing into ambitious projects without proper planning can lead to delays, budget overruns, or subpar results. Some experts recommend investing time in detailed planning phases, including mock-ups and precise measurements, to align expectations with reality. For a smoother experience, engaging with experienced craftsmen who understand the intricacies of built-in systems is essential. They can advise on hidden issues like uneven floors or existing cabinetry interference.
Finally, don’t neglect the importance of seamless integration. Built-ins should complement your existing décor and spatial flow. Neglecting this can result in disjointed aesthetics that diminish your home’s charm. For example, integrating cabinetry with existing millwork or matching hardware creates a cohesive look. For inspiration and detailed planning strategies, check out seamless kitchen remasters.
Remember, behind every successful installation lies meticulous planning and nuanced knowledge. Don’t fall for the myth that all built-ins are plug-and-play. Instead, embrace a comprehensive approach that considers long-term durability, structural compatibility, adaptability, and aesthetic harmony. Have you ever fallen into this trap? Let me know in the comments and share your experience!
Maintaining your custom cabinets and built-in storage is essential for long-term functionality and aesthetic appeal. As with any investment, regular upkeep ensures that your kitchen remains both beautiful and practical over the years. One of my go-to methods is implementing a routine inspection schedule, where I check hinges, hardware, and surfaces every few months. This proactive approach allows me to catch issues like loose screws, scratches, or misalignments early, preventing costly repairs down the line.
Tools I Recommend for Longevity
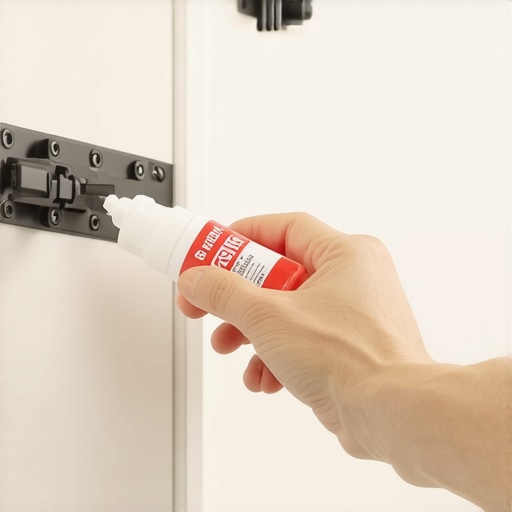
First, I always keep a quality handheld torque screwdriver on hand. It’s invaluable for re-tightening cabinet hardware without over-tightening, which can strip threads or cause warping. Additionally, a microfiber cloth and gentle cleaner, such as a diluted vinegar solution, help maintain surfaces without damaging delicate finishes. For hinges and sliders, I favor silicone-based lubricants, which I apply during my bi-annual checks to keep everything operating smoothly.
Beyond physical tools, software like Cabinet Vision has revolutionized how I plan maintenance schedules. It allows me to log inspections, set reminders, and even track wear patterns over time, making upkeep an organized and efficient process. As technology advances, I predict more integrated systems will emerge, seamlessly alerting us to maintenance needs via smart sensors embedded within cabinetry or appliances.
How do I maintain built-ins and storage over time?
Preventative care is key. Regularly cleaning surfaces with non-abrasive products, inspecting hardware for loose screws, and applying lubricants to hinges and slides are simple yet effective steps. For cabinetry in high-moisture areas, sealing edges with a durable, water-resistant finish can prevent warping or swelling. Additionally, consider installing vented panels or moisture barriers behind enclosed cabinets to protect against humidity damage. This minimizes the risk of long-term issues and keeps your investment looking and functioning like new.
Implementing these maintenance routines not only prolongs the life of your built-ins but also helps retain their value—crucial if you’re planning future renovations or reselling. For broader strategies, exploring custom cabinet upgrades for 2025 can give you fresh ideas for integrating smart maintenance features into your design.
Start by choosing a specific tip, like applying silicone lubricant to your hinges, and make it a part of your kitchen routine this month. Small efforts today will translate into stunning results tomorrow, ensuring your storage solutions continue to serve you well for years to come.
Learning That Changed My Approach to Built-Ins and Storage
- I’ve realized that rushing into a custom cabinet project without detailed measurements and planning often leads to costly mistakes and frustrations. Taking the time to assess your space and needs upfront can save you headaches later.
- Understanding the importance of structural evaluation was a game-changer. Ensuring your walls and studs can support built-ins prevents sagging and damage, making the difference between a fleeting upgrade and a lasting investment.
- I’ve learned that flexibility in storage designs, like adjustable shelves and modular components, can adapt to changing needs, extending the functionality and lifespan of your built-in systems.
- Prioritizing maintenance routines, such as lubricating hinges and inspecting hardware regularly, significantly prolongs the beauty and usefulness of custom cabinets, preserving their value over time.
- Finally, selecting durable materials and finishes tailored to your lifestyle—like matte textures over high-gloss in busy kitchens—ensures your built-ins remain stylish and resilient for years to come.
Tools and Resources That Made a Difference
- Cabinet Vision: This software transformed my planning and maintenance scheduling, making complex projects manageable and organized.
- Professional consultation guides: Trusted sources like artisan cabinet sites provided invaluable insights on structural and material choices, preventing common pitfalls.
- Maintenance kits: A good set of lubricants, quality screwdrivers, and cleaning cloths help keep my built-ins functioning smoothly and looking pristine.
- Inspirational blogs: Following industry experts and DIY enthusiasts expanded my understanding of innovative storage solutions and design aesthetics.
Your Next Step Towards a Clutter-Free Kitchen
Embrace the lessons learned from my journey—careful planning, structural awareness, and regular upkeep. These strategies will empower you to create built-ins and storage systems that are not only beautiful but also enduring. Imagine walking into your kitchen and finding everything in its place, ready to make your cooking and daily routines enjoyable. Start today, and transform your space into an organized haven—you’ll wonder why you waited so long!
What unexpected obstacle did you encounter when upgrading your built-ins? Share your story below and let’s learn from each other’s experiences!
,